Pipe #2 - Billiard in progress

Want to show you work to the world? Want a place to post photos of your work and solicit the opinions of those that have gone before you? Post your work here.
Post Reply
Houncer
Posts: 24
Joined: Sat Jan 05, 2013 7:11 am

Pipe #2 - Billiard in progress

Post by Houncer »

Hello,

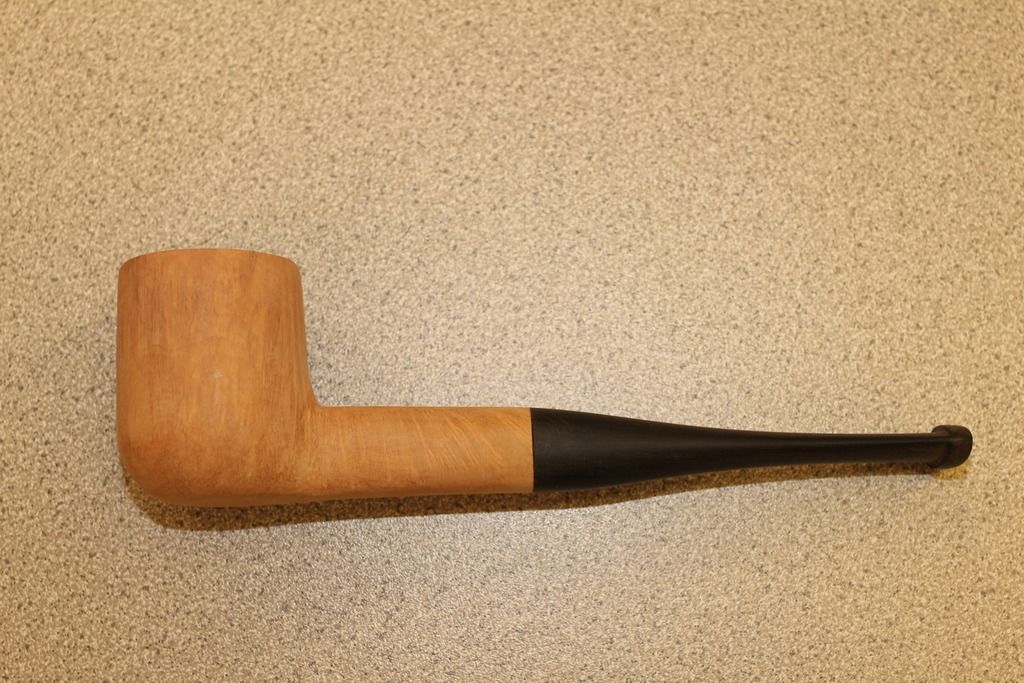
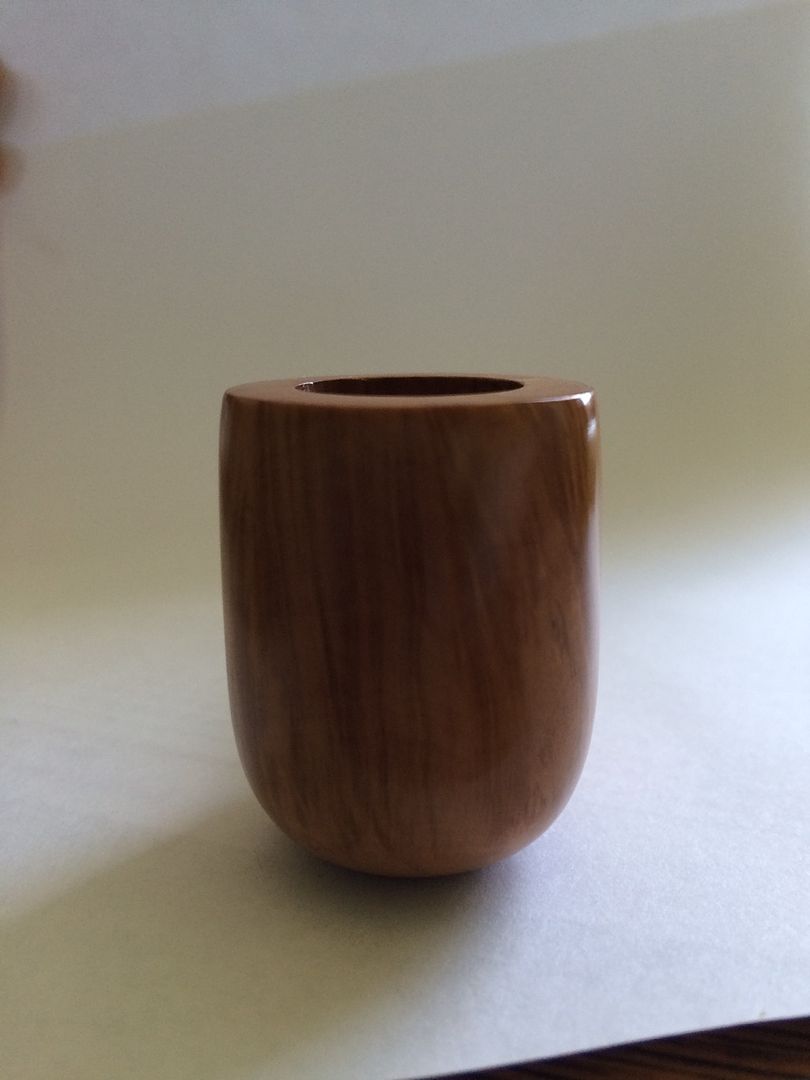
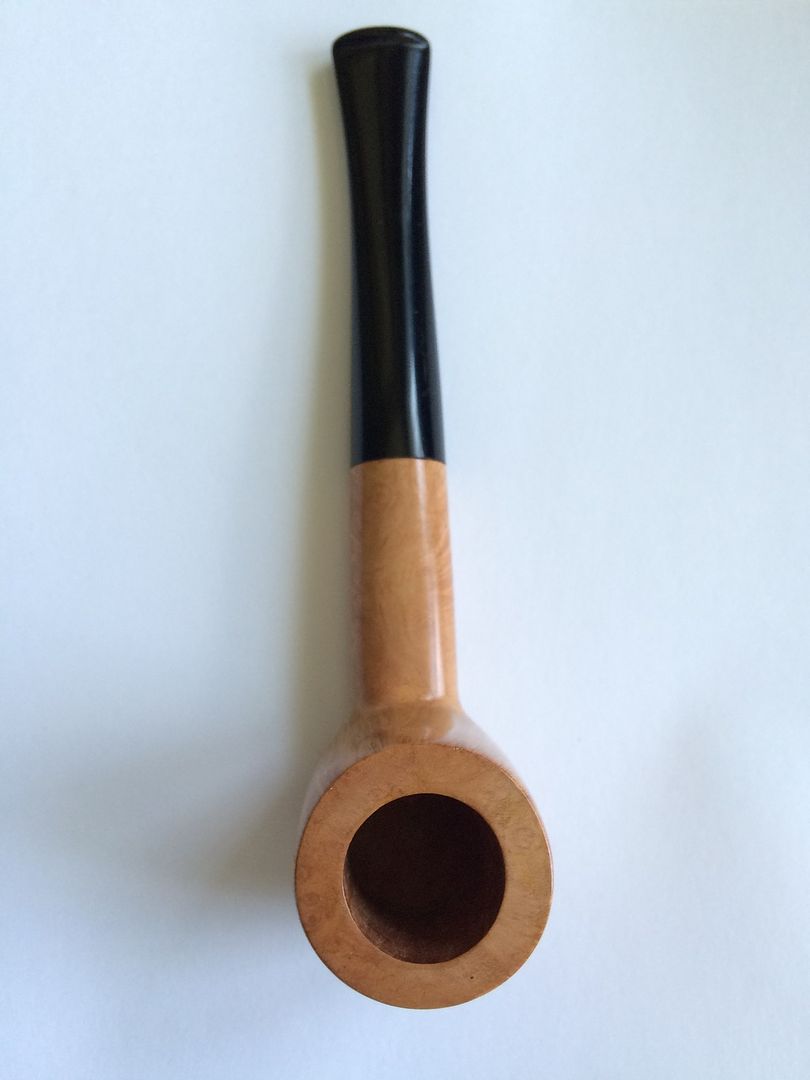
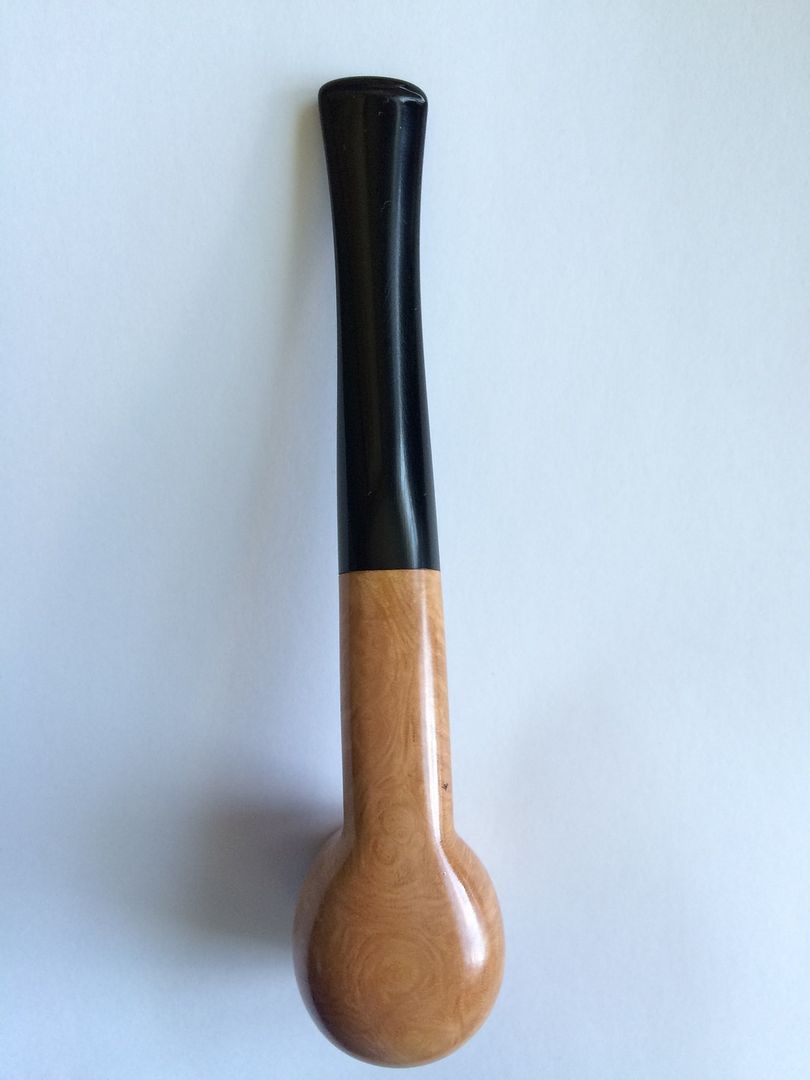
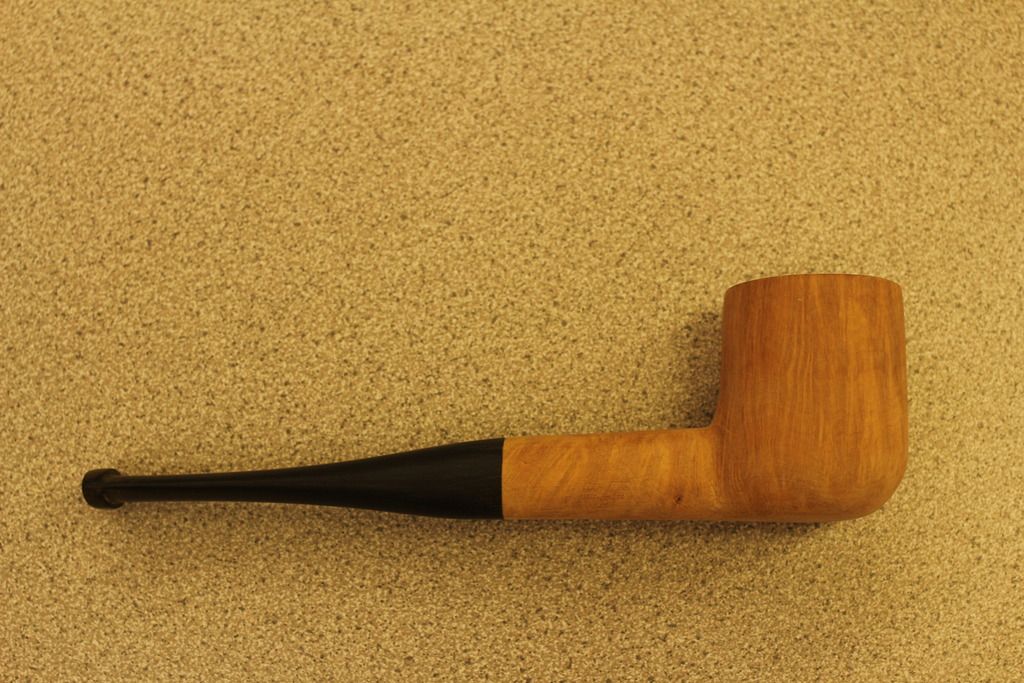
I am working on my second pipe & second go at a billiard. This started out as a pre-drilled kit & would love some suggestions on how to make this a better billiard before I proceed.

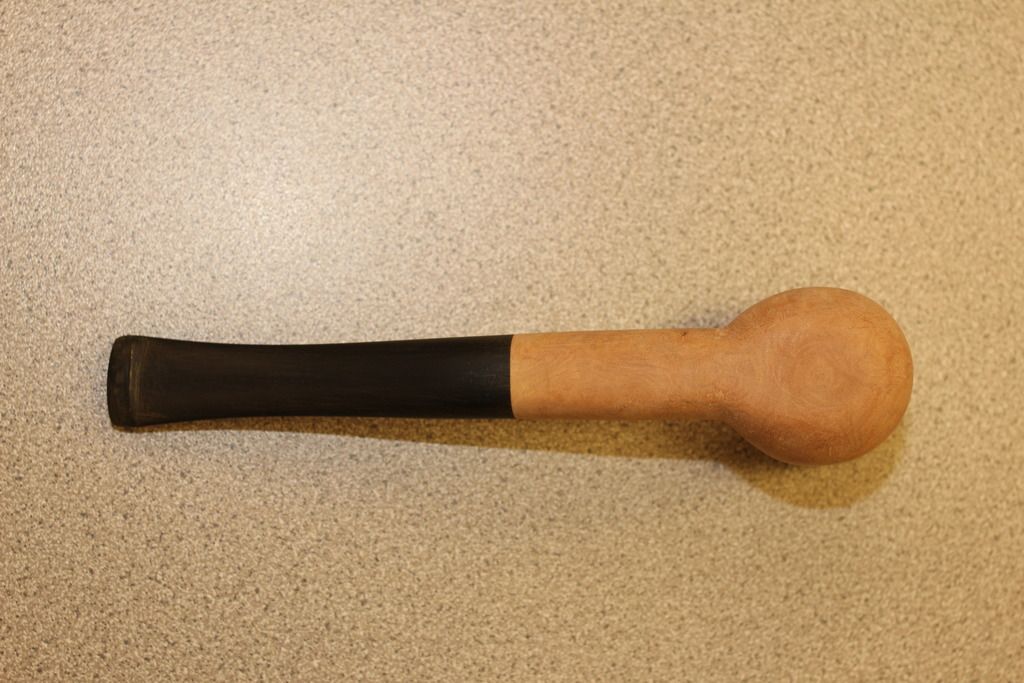
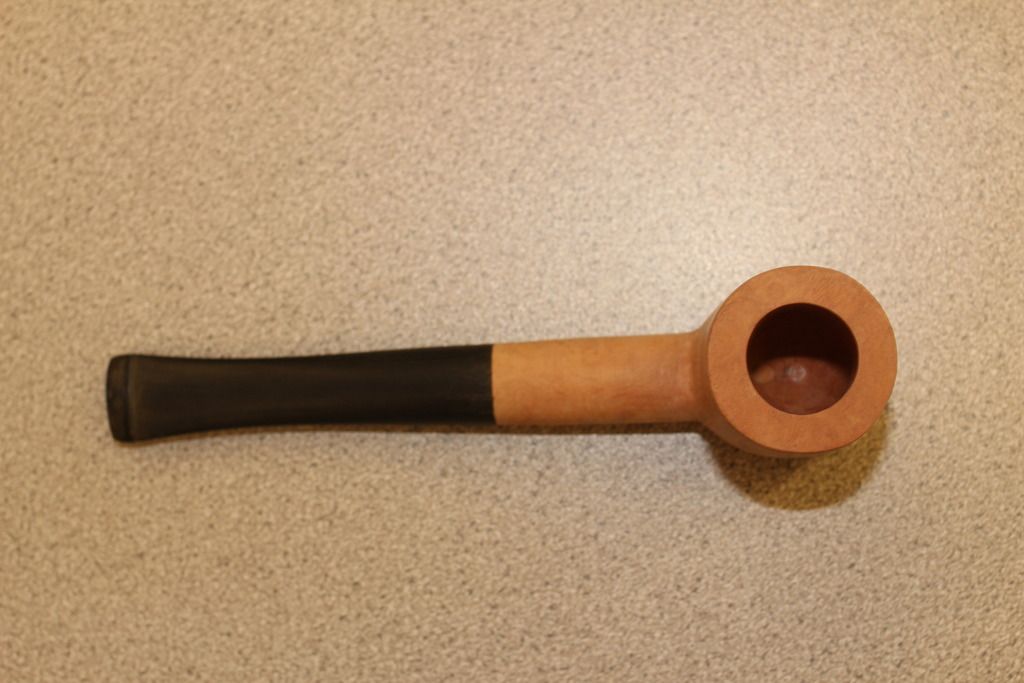
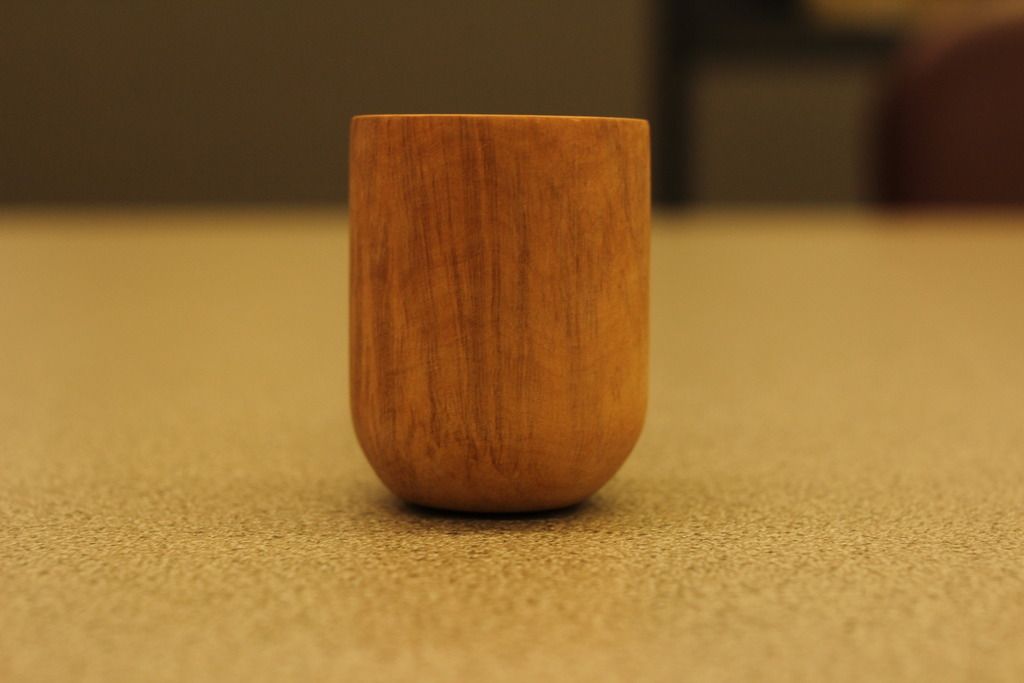
I can already see that in the front view I need to make the sides more symmetrical. I found the point where the shank & bowl meet to be exceptionally difficult! Tools at my disposal include belt sander, files, sandpaper and drill press.

I know many of you are getting ready or on your way to Chicago, so thanks to anyone who has a minute or two to help me out.

-Chris
Image

Image

Image

Image

Image

Image
Last edited by Houncer on Sat Apr 25, 2015 10:35 am, edited 1 time in total.
User avatar
sandahlpipe
Posts: 2106
Joined: Mon Feb 04, 2013 8:49 pm
Location: Zimmerman, MN
Contact:

Re: Pipe #2 - Billiard in progress

Post by sandahlpipe »

For a second pipe, that's not bad at all. A proper billiard has a belly on the front of the bowl. You would just need to remove a bit more from the chin to make that happen here. Then there needs to be a bit of taper towards the top of the bowl. Otherwise, symmetry isn't quite right here. The second to last picture shows how the curve around the bottom of the bowl is different on the right versus the left.
---
Fail early, fail often. Your success depends on it.

Jeremiah Sandahl
http://sandahlpipe.com
Houncer
Posts: 24
Joined: Sat Jan 05, 2013 7:11 am

Re: Pipe #2 - Billiard in progress

Post by Houncer »

Thanks Jeremiah, I will work on a chin & symmetry as you suggested and post photos again. By the way, I really enjoyed your interview on the Pipes Magazine Radio show!
User avatar
sandahlpipe
Posts: 2106
Joined: Mon Feb 04, 2013 8:49 pm
Location: Zimmerman, MN
Contact:

Re: Pipe #2 - Billiard in progress

Post by sandahlpipe »

Thanks, man! Keep up the good work!
---
Fail early, fail often. Your success depends on it.

Jeremiah Sandahl
http://sandahlpipe.com
clickklick
Posts: 177
Joined: Fri Apr 24, 2015 2:34 pm

Re: Pipe #2 - Billiard in progress

Post by clickklick »

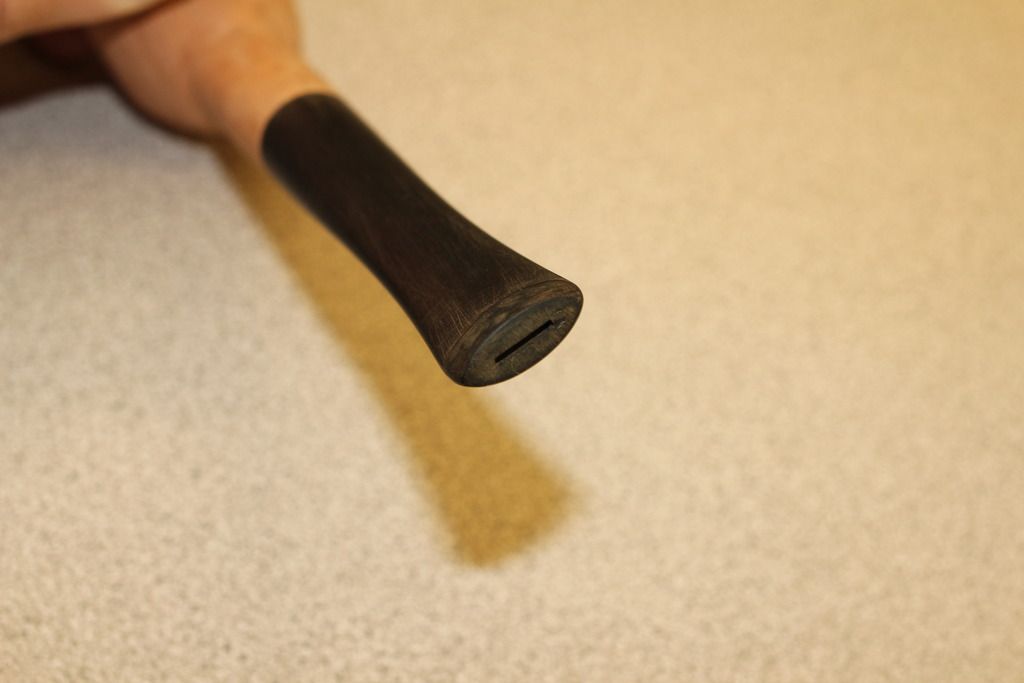
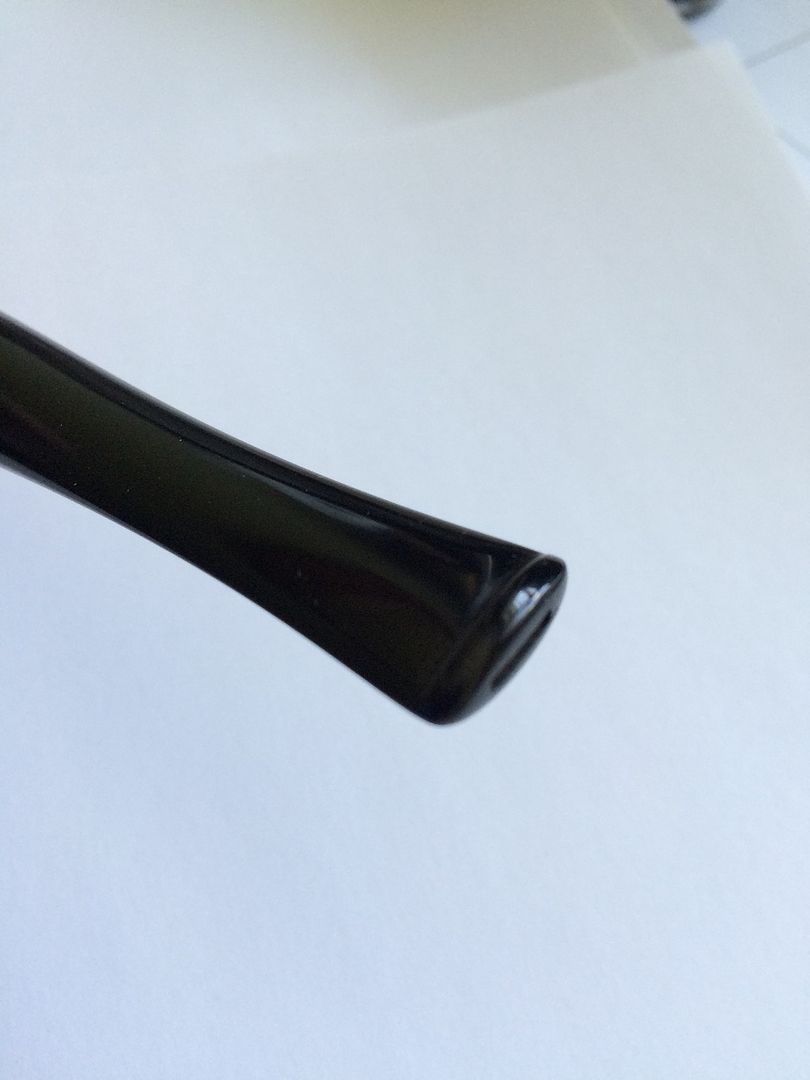
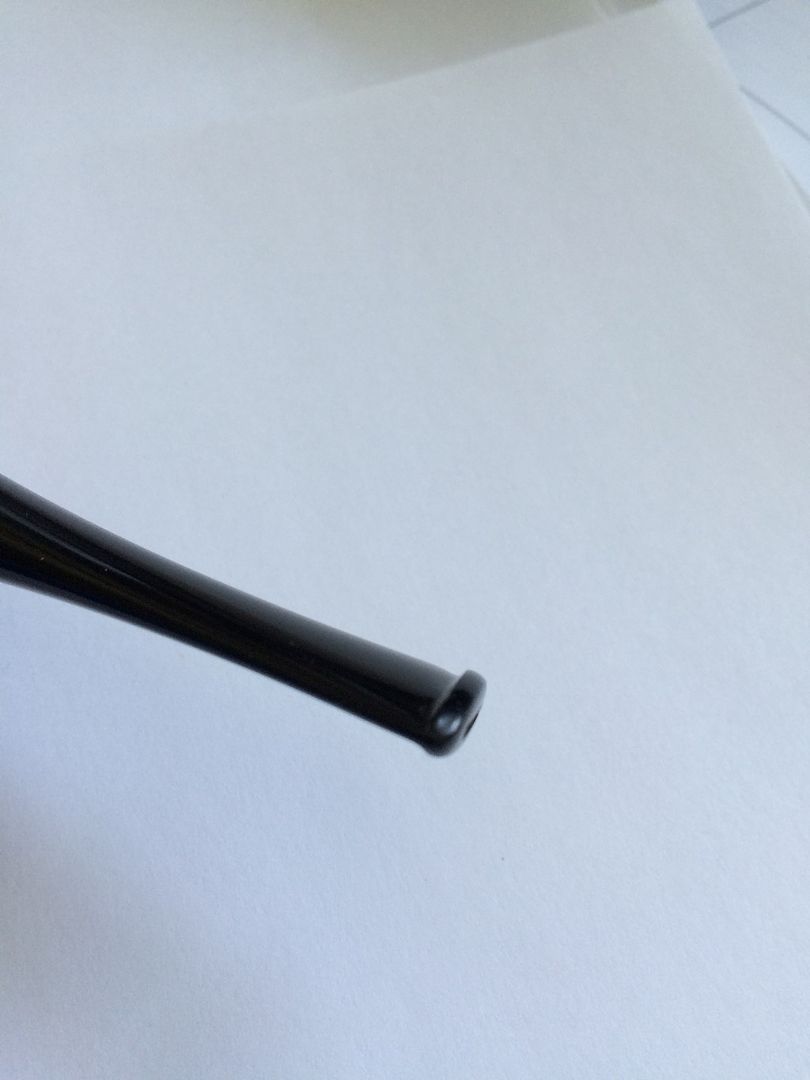
Not speaking as a pipe maker, but as a pipe smoker, your bit hurts my teeth.
Acting like a loon in the front yard, close to the road.
Houncer
Posts: 24
Joined: Sat Jan 05, 2013 7:11 am

Re: Pipe #2 - Billiard in progress

Post by Houncer »

Clickklick, how can I improve the bit? It is a premolded stem that came with the kit and, aside from sanding, didn't alter it at all. Thanks for the feedback!
Houncer
Posts: 24
Joined: Sat Jan 05, 2013 7:11 am

Re: Pipe #2 - Billiard in progress

Post by Houncer »

After looking at the stems on my other pipes it is pretty obvious! I will file this one a bit and round things over too.
Houncer
Posts: 24
Joined: Sat Jan 05, 2013 7:11 am

Re: Pipe #2 - Billiard in progress

Post by Houncer »

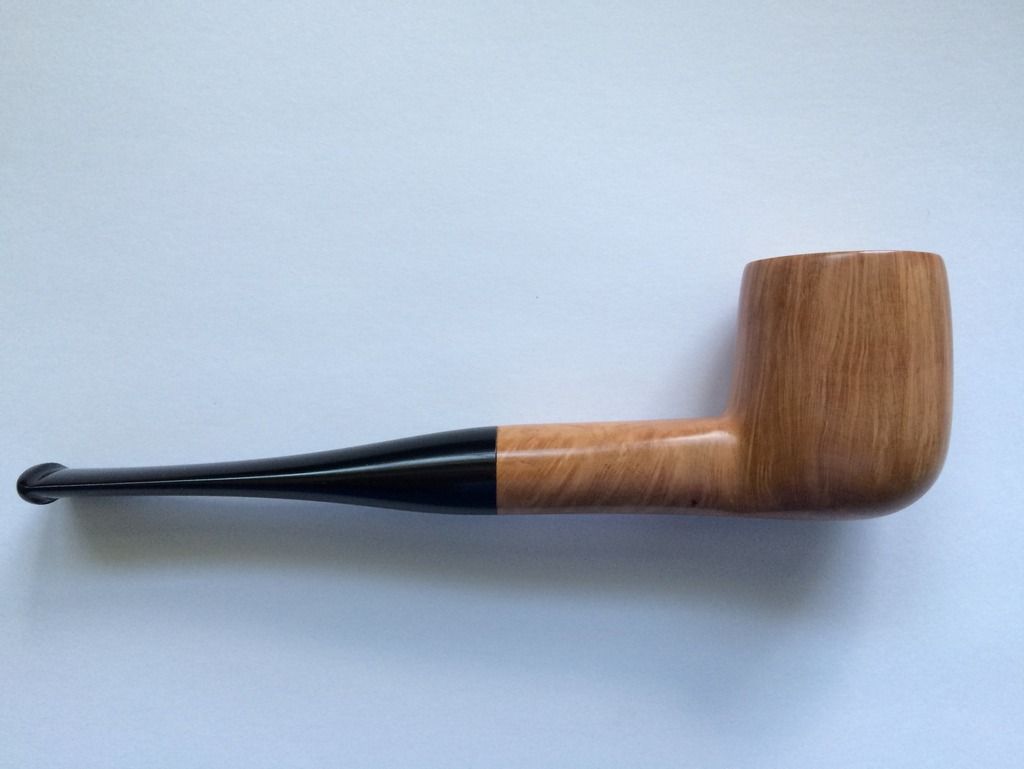
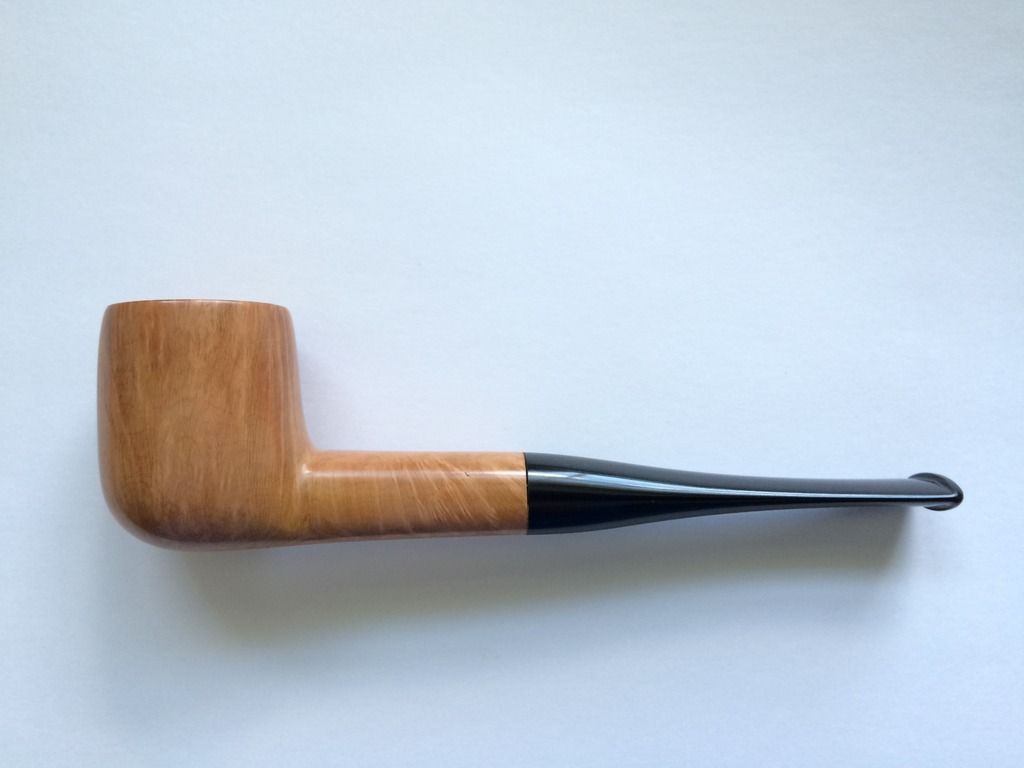
Here is how this one finished up. I tried giving the bowl more symmetry, a belly & a chin. I softened and shrunk the bit too. Thanks for the help, I really appreciate it! On to billiard 3.

Chris

Image

Image

Image

Image

Image

Image

Image
User avatar
sandahlpipe
Posts: 2106
Joined: Mon Feb 04, 2013 8:49 pm
Location: Zimmerman, MN
Contact:

Re: Pipe #2 - Billiard in progress

Post by sandahlpipe »

Now that you're finished, notice how the lines where the light reflect aren't straight. Those wobbles indicate that you have some valleys in your shaping. It takes patience and a bit of technique and practice, but keeping those lines straight makes a huge differed in the looks of the finished product.
---
Fail early, fail often. Your success depends on it.

Jeremiah Sandahl
http://sandahlpipe.com
Post Reply