Pipe #9, A Natural Tomato

Want to show you work to the world? Want a place to post photos of your work and solicit the opinions of those that have gone before you? Post your work here.
Post Reply
clickklick
Posts: 177
Joined: Fri Apr 24, 2015 2:34 pm

Pipe #9, A Natural Tomato

Post by clickklick »

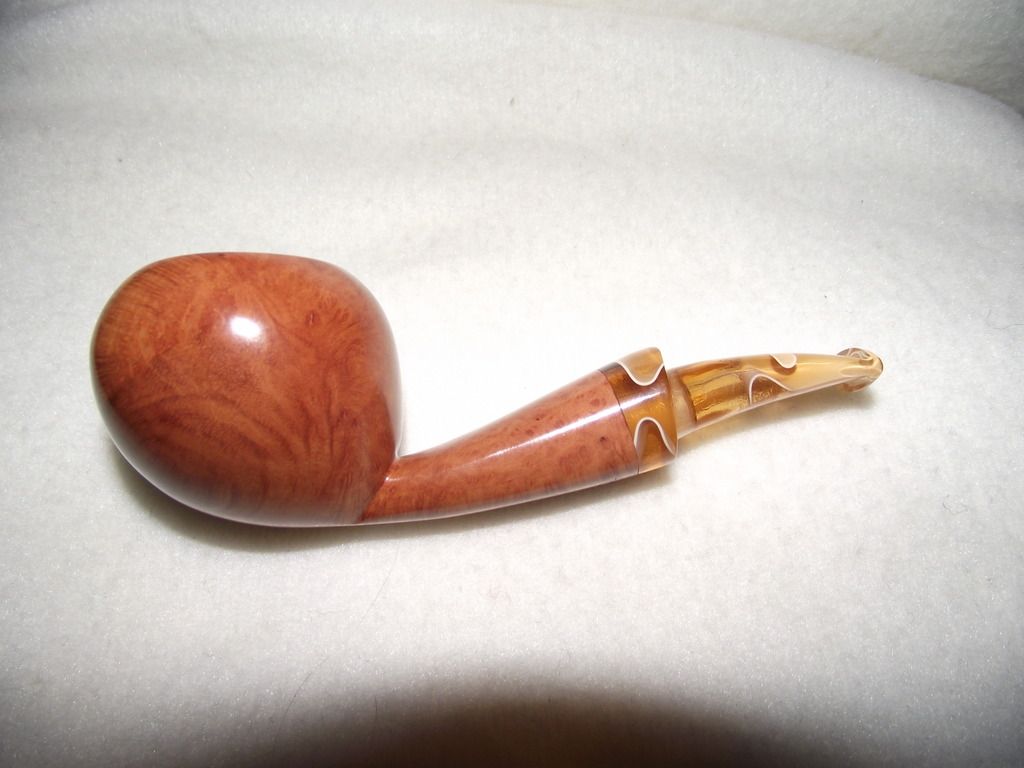
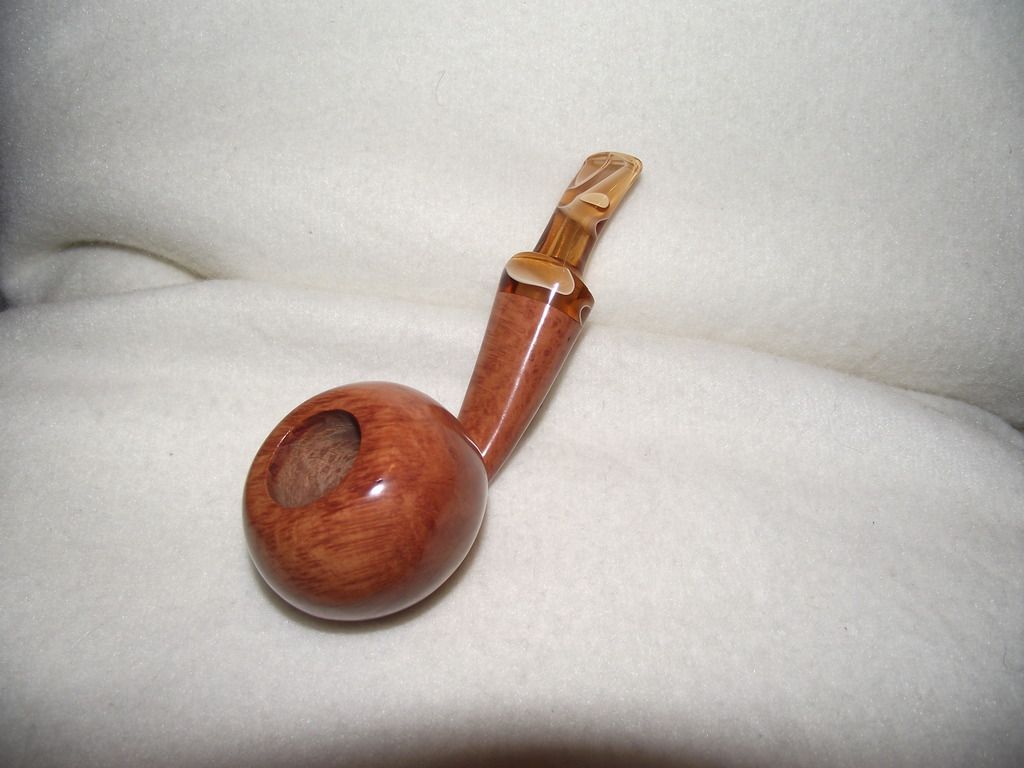
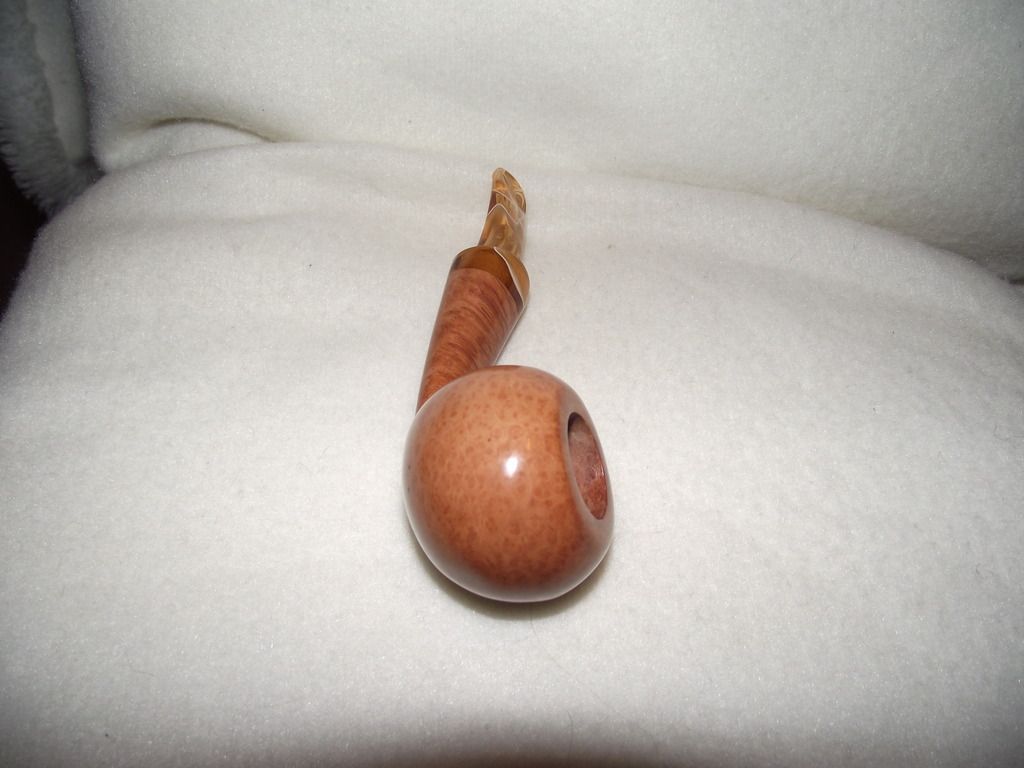
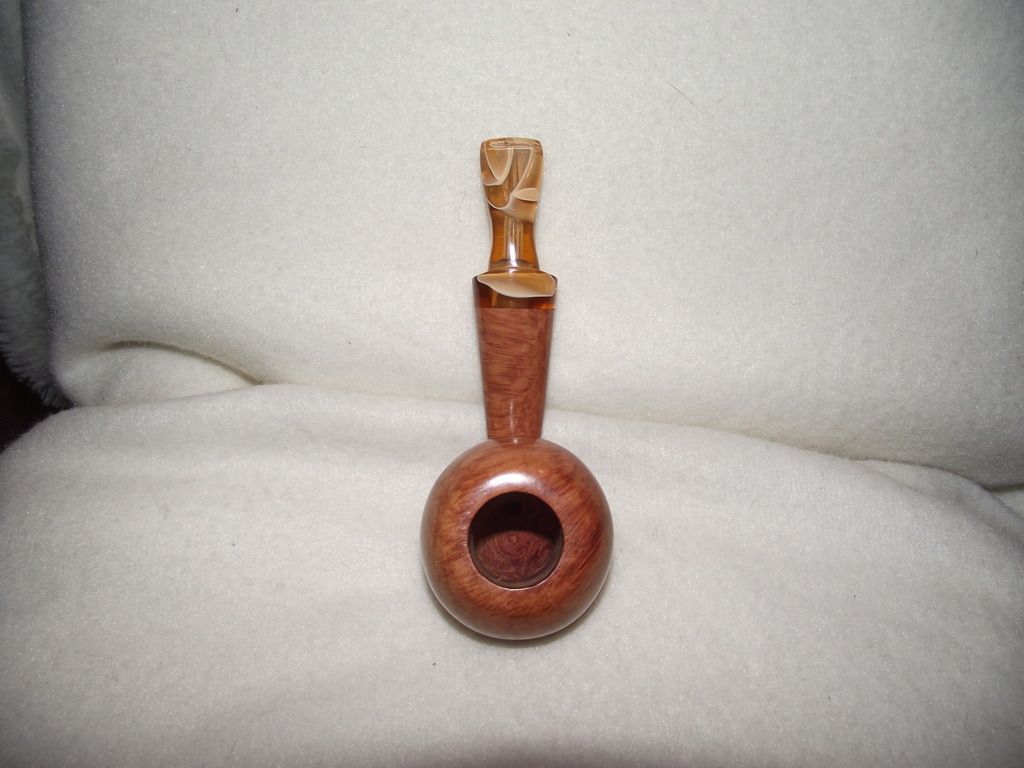
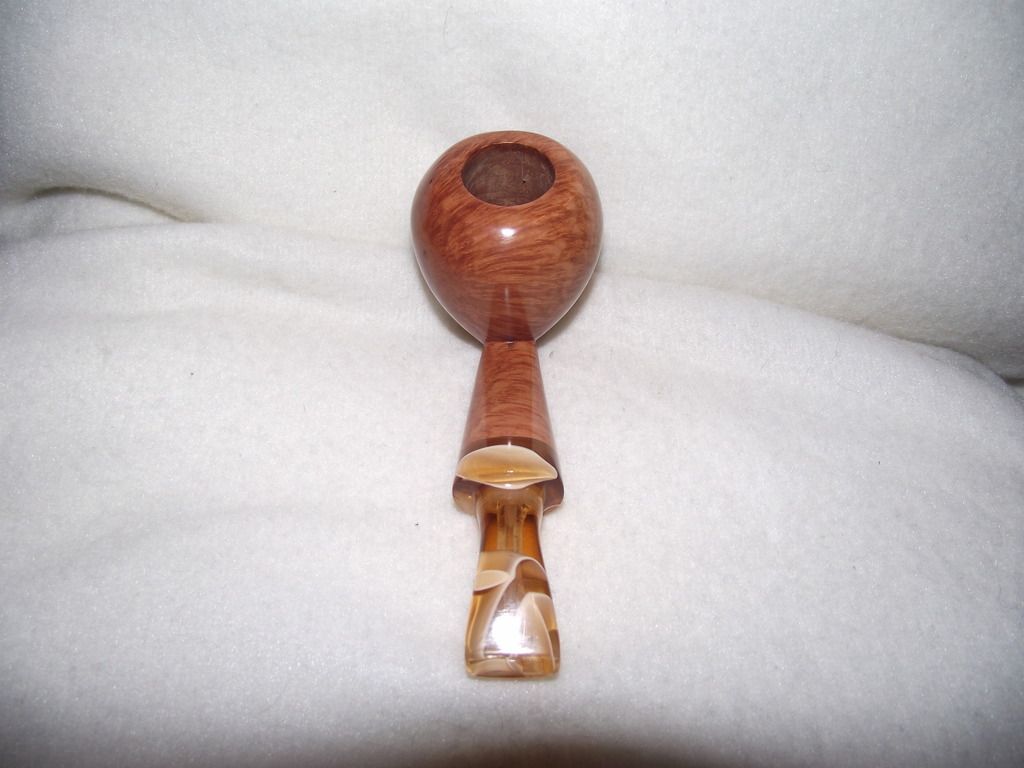
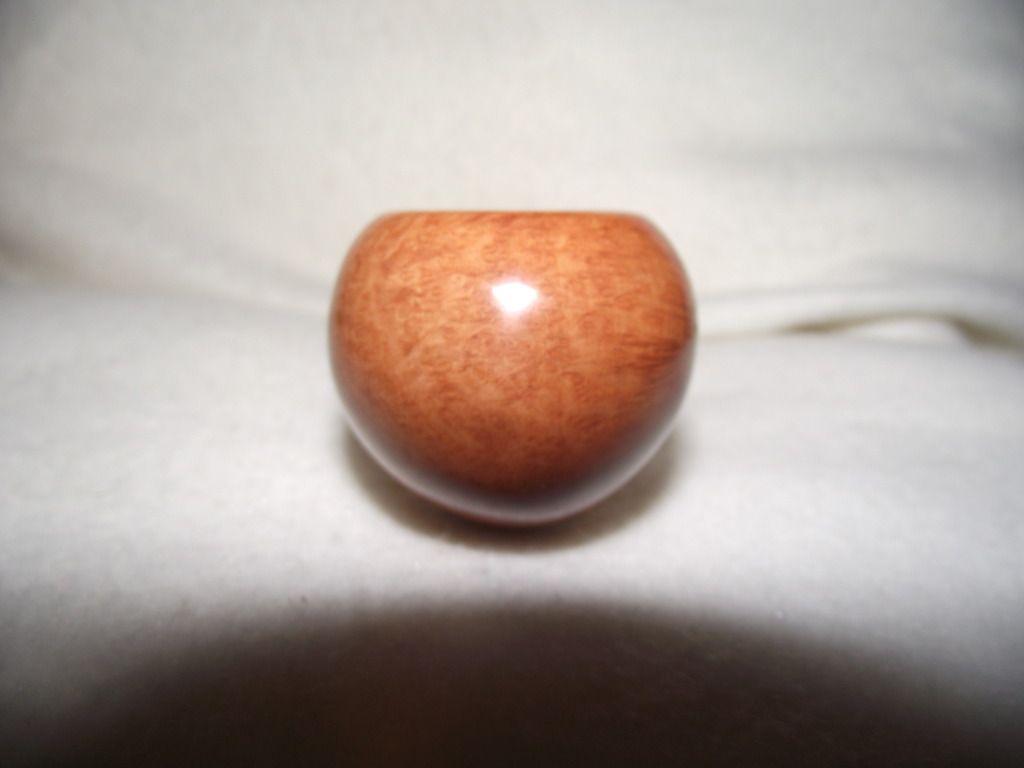
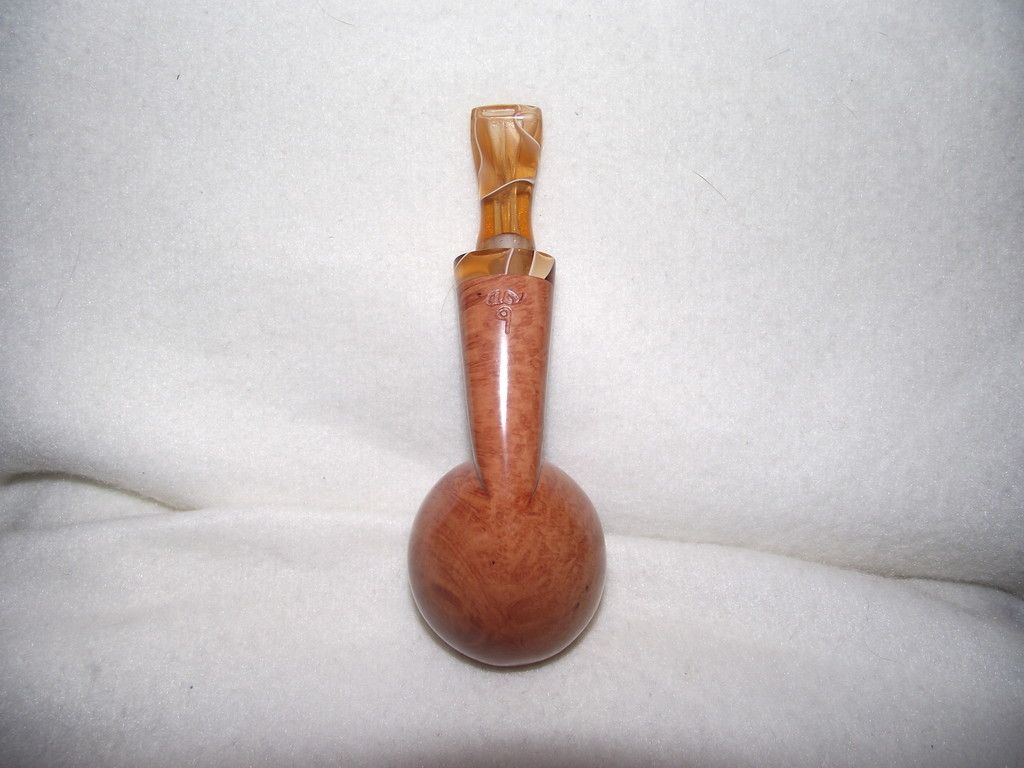
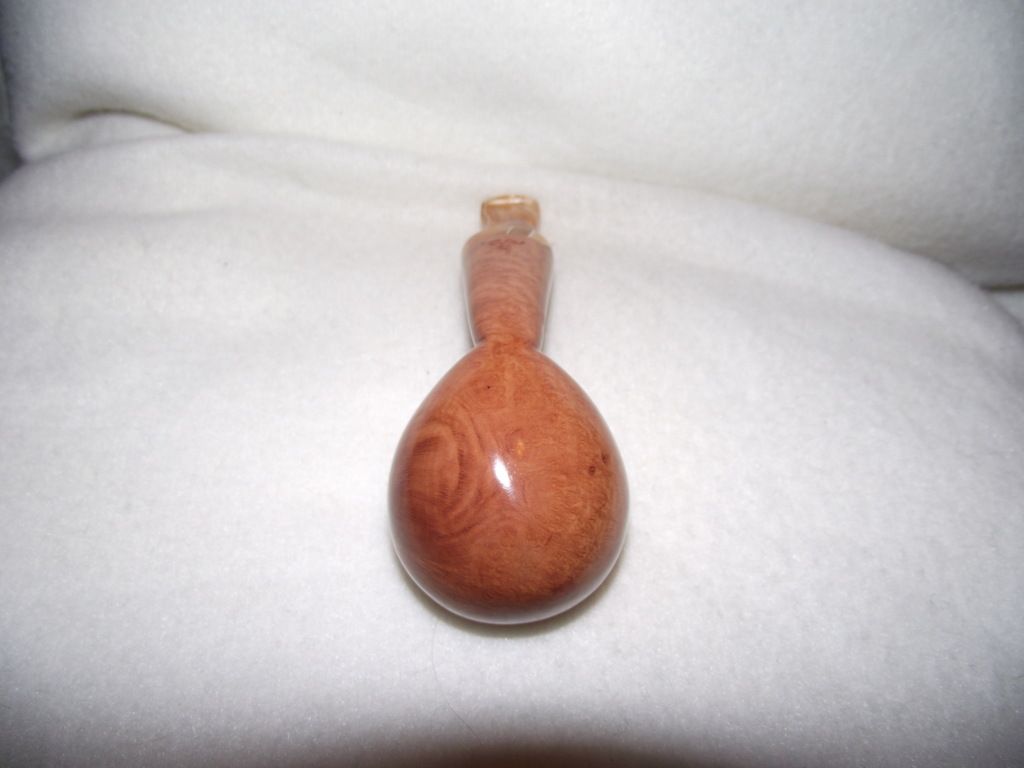
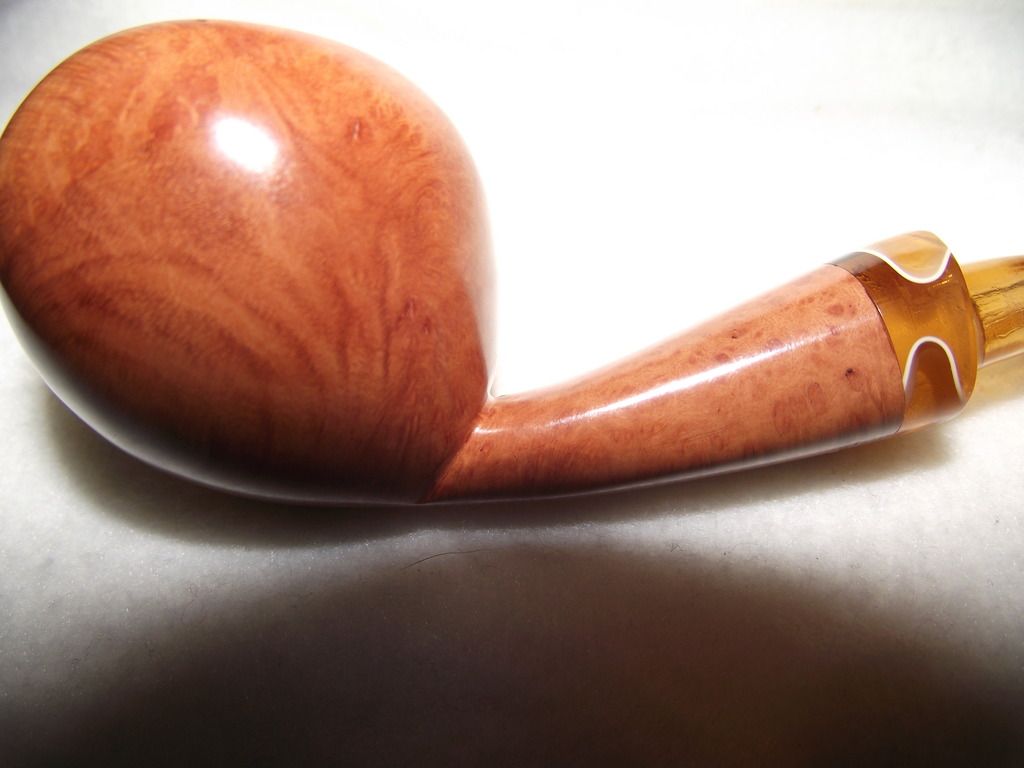
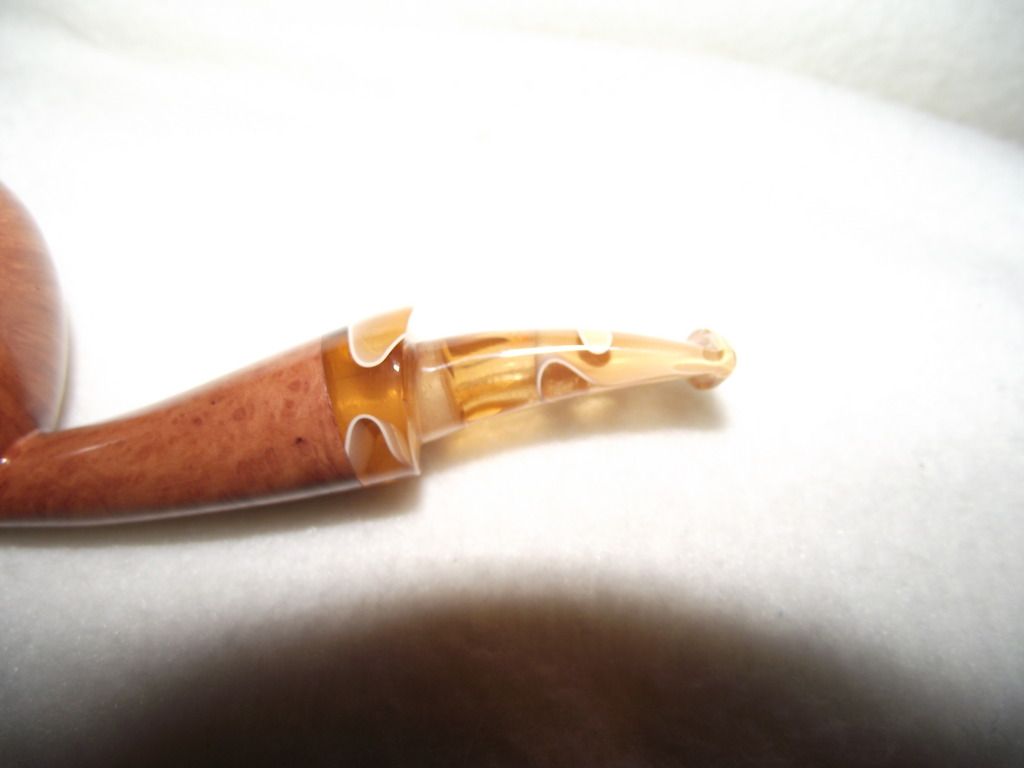
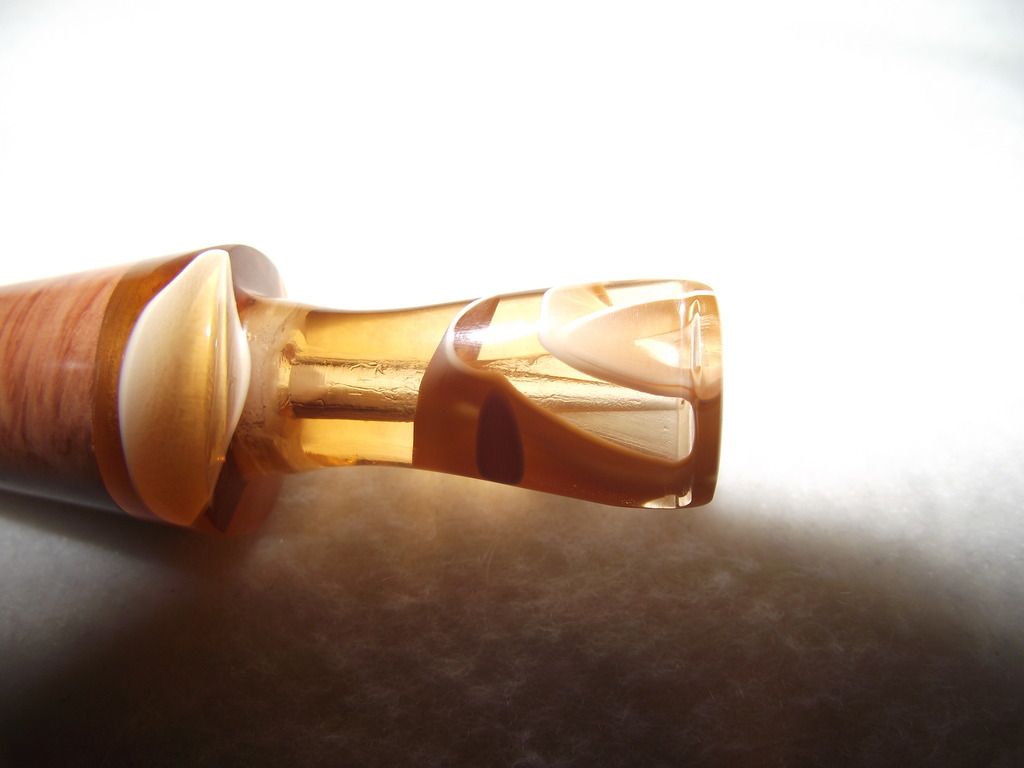
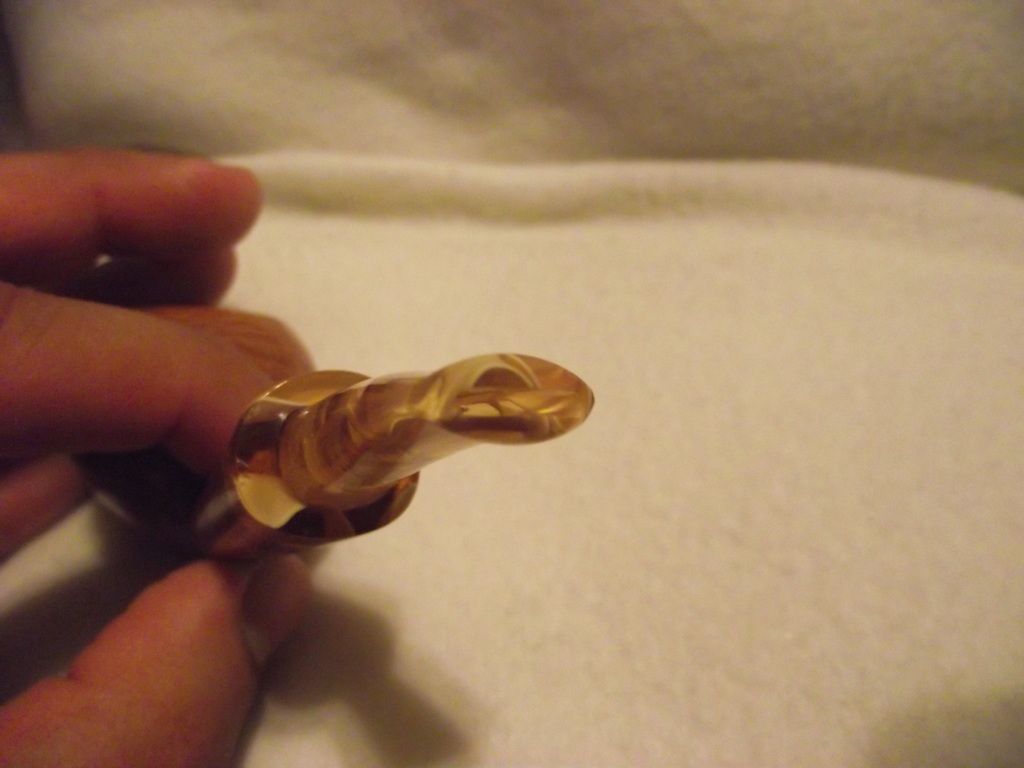
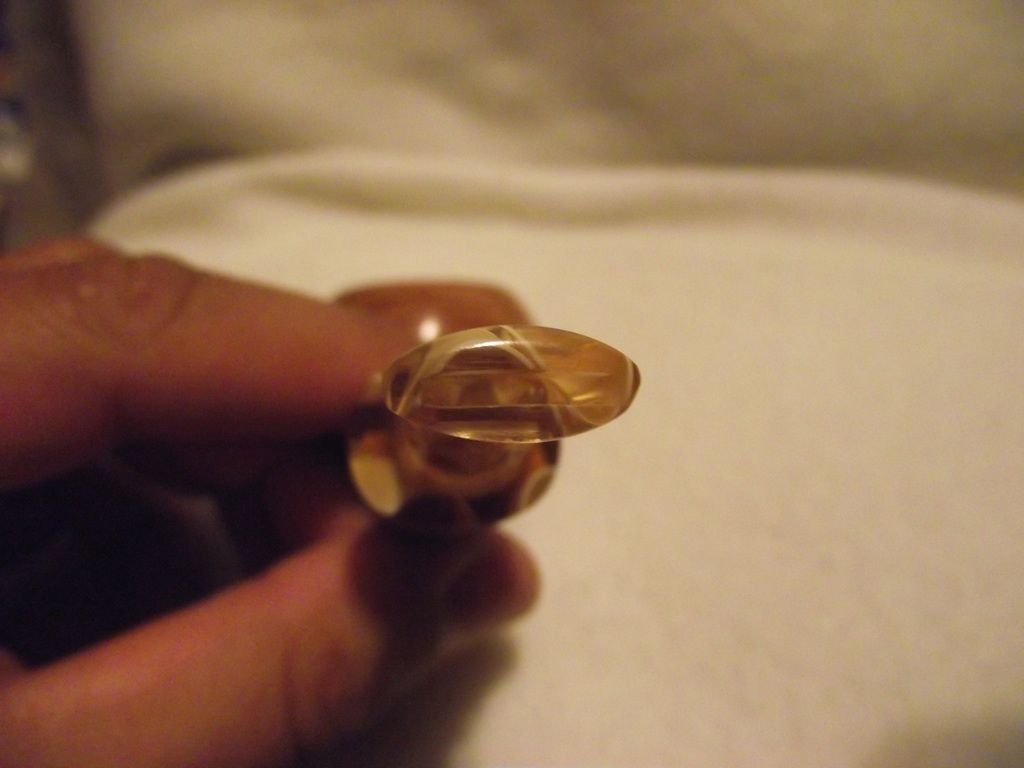
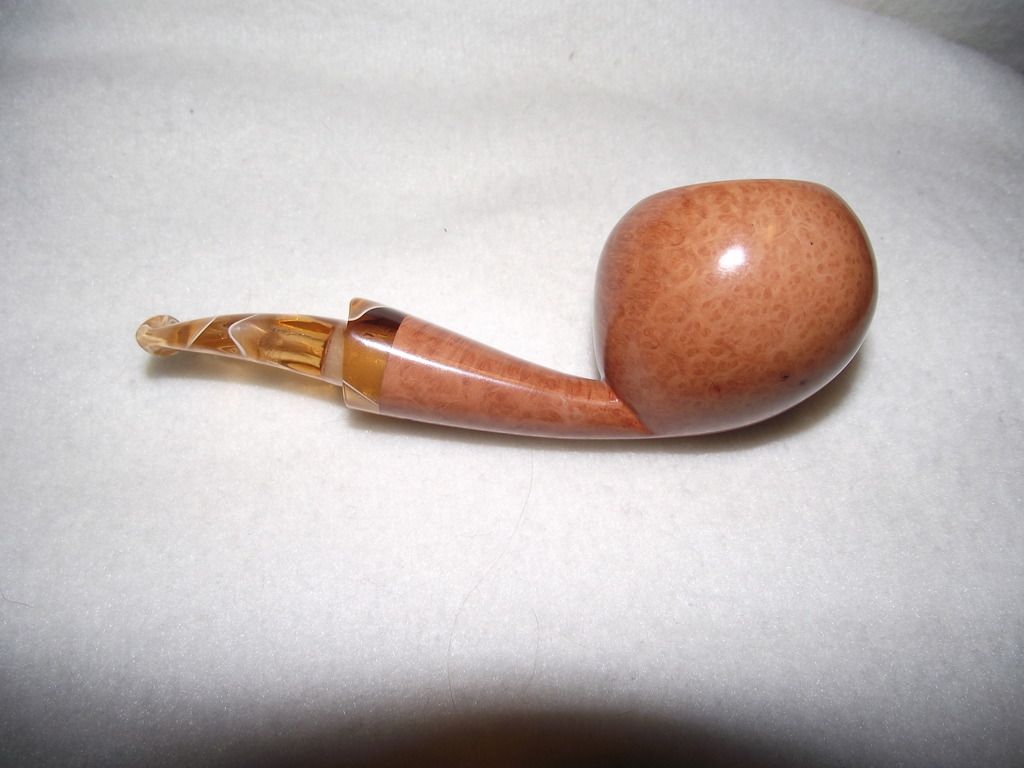
Best one yet! Really working hard on button and slot shaping as well as using needle files at the shank to bowl junction. Used White delrin for the tenon since the lucite is pretty translucent, but not sure how I feel about it. If I had a lathe I would have cut an integral tenon. I think the back of the bowl may have needed a bit more curve, but I wasn't able to perfect that part as I kept hitting the shank.

Anyway, I can't wait to try her out! Lemme know what to work on please! Thanks!

Image

Image

Image

Image

Image

Image

Image

Image

Image

Image

Image

Image

Image

Image
Acting like a loon in the front yard, close to the road.
User avatar
PremalChheda
Posts: 1213
Joined: Sat Dec 11, 2010 6:03 pm
Location: Columbus, Ohio, USA
Contact:

Re: Pipe #9, A Natural Tomato

Post by PremalChheda »

Many things you can work on, but here is the major thing.

With roundish style bowls where the girth is in the middle or bottom, like brandys, apples, billiards, etc.., most of the time a tapered shank will look better than a flared shank. This is not always the case, but it is one of those pesky rules of composition that really works.
Premal Chheda
http://www.chhedapipes.com - Just for fun
http://www.smokershaven.com - New & Estate Pipes
http://www.rawkrafted.com - Pipe Making Tools, Materials, & Supplies
User avatar
sandahlpipe
Posts: 2106
Joined: Mon Feb 04, 2013 8:49 pm
Location: Zimmerman, MN
Contact:

Re: Pipe #9, A Natural Tomato

Post by sandahlpipe »

Yes. If you look at the bottom line, it's pleasant. If you look at the top line, it's jarring to your eyes. Also, think about where the biggest part of the bowl should be. A tomato usually puts the curve that goes around the belly towards the middle of the bowl. You've got your middle closer to the top, which adds to the feeling that the bowl appears to be top-heavy.
---
Fail early, fail often. Your success depends on it.

Jeremiah Sandahl
http://sandahlpipe.com
clickklick
Posts: 177
Joined: Fri Apr 24, 2015 2:34 pm

Re: Pipe #9, A Natural Tomato

Post by clickklick »

Thank you guys. I'm not sure I'm understanding the difference between a taper and a flare, technically speaking. I'm thinking a flare has the curving outwards but just would like to be sure.
Acting like a loon in the front yard, close to the road.
User avatar
Alden
Posts: 1675
Joined: Sat Apr 16, 2011 11:39 pm
Location: Dallas Texas

Re: Pipe #9, A Natural Tomato

Post by Alden »

Taper = Opposite of Flare.
clickklick
Posts: 177
Joined: Fri Apr 24, 2015 2:34 pm

Re: Pipe #9, A Natural Tomato

Post by clickklick »

Wider at bowl and narrower at stem. Does the stem then flare back out?
Acting like a loon in the front yard, close to the road.
User avatar
Sasquatch
Posts: 5147
Joined: Tue Jan 13, 2009 1:46 am

Re: Pipe #9, A Natural Tomato

Post by Sasquatch »

PSST... I can see your delrin! :oops:

I love delrin, think it's far better than acrylic, but you gotta hide that shit man.


Symmetry pretty good, I don't mind the overall proportions.

Area between bowl and shank needs tlc, finish shows very different there. Stem too thick. Looks like you are drilling all the way to the end - don't... the point of the slot is to connect to a tapered hole 1" or so into the stem so you can make it thinner.


I think I disagree with Premal about the usage of the taper vs flare, I think the flare adds visual interest and un-heavy-fies the bowl end of the pipe, but I think it's better on longer pieces too - Florov does a great job of this if you want to look at some of his. On this pipe, I'm not sure what should have happened in that regard, I don't mind the flare so much.
ALL YOUR PIPE ARE BELONG TO US!
clickklick
Posts: 177
Joined: Fri Apr 24, 2015 2:34 pm

Re: Pipe #9, A Natural Tomato

Post by clickklick »

I drill with a tapered bit about 1/16" before breaking through the acrylic. I'm not sure what going on really. I cal'd the bit at .14" and it feels good in the mouth/teeth as I smoke her when I making pipes now. The pipe is fairly small so maybe that is why it looks too thick? I am having issues with my drilling set up and don't seem to hit dead center on the bottom end. I need to figure out a better way to reliably line the stem up vertical before drilling. Right now I use a press vice and my eyes.

First saddle I did and the delrin kicked my butt. I sanded to delrin on the first attempt so I've made a note to extend the saddle beyond the delrin, or not inset the delrin so far to try and hide it on the translucent stems.
Acting like a loon in the front yard, close to the road.
Post Reply