Seahorse and Saucer

Want to show you work to the world? Want a place to post photos of your work and solicit the opinions of those that have gone before you? Post your work here.
Post Reply
User avatar
Nick
Posts: 2171
Joined: Thu Nov 23, 2006 8:00 pm
Location: United States/Connecticut

Seahorse and Saucer

Post by Nick »

Well, here's what has been on my bench for a while. The seahorse is a reworking of my original, clunky shape. I'm really please with how this came out. Its much more organic and fluid than my first attempt. 100% better. The stem is all hand cut, and nice and comfy. A bit thick, but otherwise OK. I used white delrin for the tenon. When I did the stem, I forgot that I had accidentally overdrilled the hole for the tenon. Consequently, when I made the half saddle the white delrin came through. Ohh well. Lesson learned.

Image

Image

Image

The saucer is a recent work. The staining came out awesome. My buddy healped me out alot with this pipe and the results are excelent. This pipe will soon be winging its way to Josh Ford. Here's hoping he enjoys it.

Image

Image

Image

I'd love to hear any and all comments and critique on these pipes. Please don't feel you have to be nice either. Thanks,

Nick
User avatar
mahaffy
Posts: 196
Joined: Thu Nov 23, 2006 8:00 pm
Location: Vermont
Contact:

Post by mahaffy »

Nick, now DAT's a sea horse! I'd know it anywhere! Nice job.

I also like the dish, though it looks --- maybe just the photos (a bit underexposed?) --- as though the stem-shank joint is a little iffy? Nice concept, though.
User avatar
Nick
Posts: 2171
Joined: Thu Nov 23, 2006 8:00 pm
Location: United States/Connecticut

Post by Nick »

Thanks John,

I'm glad the shape is recognisable. I really worked hard to get a much more organic feel to it.

The pics I took of the saucer came out really dark, so I had to mess with the brightness and contrast a bunch. Hence, you see the washed out looking pictures. I see what you're talking about on the shank/stem. Its interesting, because this is a nice clean fit in person.

Thanks bud,

NJ
User avatar
RadDavis
Posts: 2693
Joined: Thu Nov 23, 2006 8:00 pm
Location: united states/Alabama
Contact:

Post by RadDavis »

Hi Nick,

The sea horse looks good!

One thing I see in the saucer that could be improved IMO is the taper on the shank and stem. It seems to be getting wider, top to bottom as it goes from bowl to stem, and then starting a new taper to the button.

I think the overall look would be much more graceful if the shank and stem were tapered from the bowl all the way to the button.

Rad
User avatar
ckr
Posts: 386
Joined: Thu Nov 23, 2006 8:00 pm
Location: Newport, Rhode Island USA

Post by ckr »

Is it the one from this past summer finally finished? You did a beautiful
job on it. Grain positioning is great and the shape is just way too cool.

Sorry to hear about the white delrin comming through. Could it pass as a
Dunhill? :)

Hard to tell but the saucer looks like it has got some great birdseye on it.
Fumo in pace :pipe:
User avatar
Nick
Posts: 2171
Joined: Thu Nov 23, 2006 8:00 pm
Location: United States/Connecticut

Post by Nick »

Thaks guys.

I definately know what you mean about the shank Rad. It does fatten up near the stem. Unfortunately, i didn't quite get that right.

hehehee, not I think the white on the stem is a bit too pronounced to pass as a dunhill. The rectangle is nearly 1/4 inch wide and about 1/2 an inch long. Perhaps as an over logo'ed Castello, but not a Dunhill

The birdseye on the saucer is awesome. I really got a nice piece of briar with that one. I tried to make it visable in the photos, but in the process made the pic look way too washed out. Where was that phot thread again? Hehe.
User avatar
marks
Posts: 735
Joined: Thu Nov 23, 2006 8:00 pm
Location: United States/North Carolina

Post by marks »

Nick, the adjustments you made on the seahorse really improved the pipe. Nice job.

To my eye, the saucer's profile view would look better with one continuous taper from the shank/bowl junction to the button (without the hitch/flair on the bottom of the the stem). I do think you did a heck of a job shaping the bowl, though. Very nice, and it looks light as a feather. Great job taking advantage of the grain and showing off the birdseye on the top!
alexanderfrese
Posts: 317
Joined: Thu Nov 23, 2006 8:00 pm
Location: Bochum, Germany
Contact:

Post by alexanderfrese »

I am still not that sure about the sea horse. To my eyes a sea horse prime visual impression is that of fine lines, very filigree style. So at least the shank is (It would be the sea horse's tail, or do I see it upside down or something?) too thick to resemble a sea horse. It has something sea horsish about it, but too little. I fear pushing it towards the point when everyone says "Ah, a sea horse, right!" will make it a too skinny pipe to smoke. But it might help not to call it a sea horse, since it opens the door for everyone not seing the shape to criticize that fact and not to take it's other qualities into consideration. With another name it still is a very individual design, that will not be loved by every one, but that is not what is intended by an individual design, anyway.

The saucer looks much more interesting to me. You'r right about the stem. The flush is fine. It's only a reflection line from the background (first pic) that seems to show that irritatig step. Maybe you can do some better picsand show us? I might suggest some detail criticism, but I am not sure if it's only the pics at the moment.
Alexander Frese
www.quarum.de
User avatar
souljer
Posts: 168
Joined: Thu Nov 23, 2006 8:00 pm
Location: Los Angeles, Ca USA
Contact:

Post by souljer »

Hello,

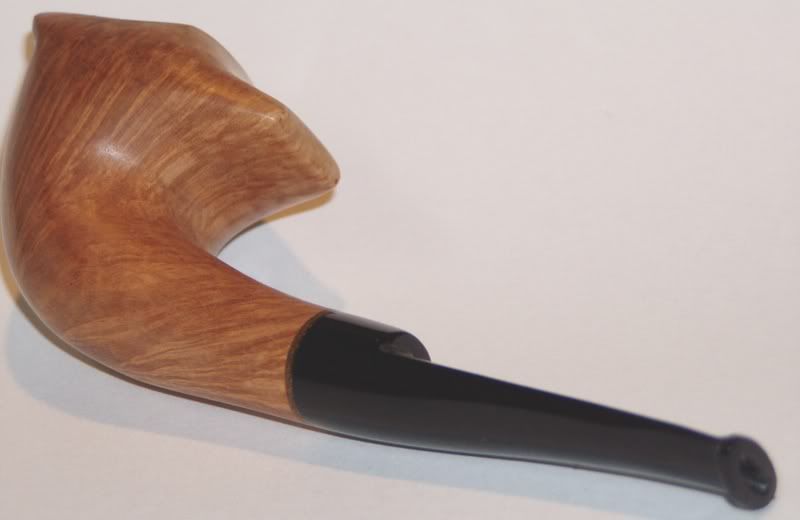
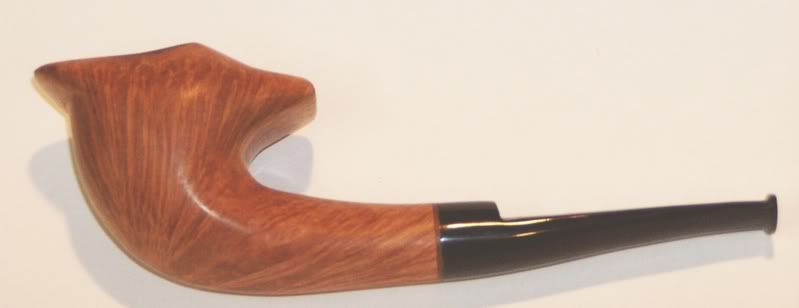
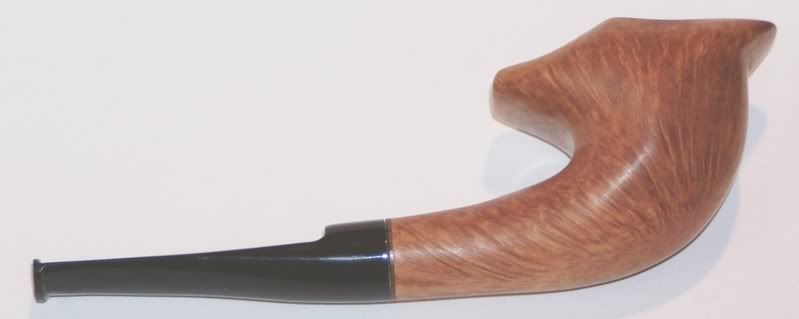
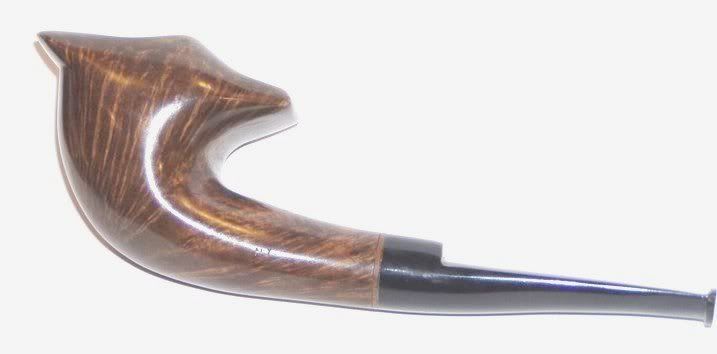
Great pipe-work. I think the sea-horse is coming along. The next one will be even better. Nicely centered grain. I wonder what the top looks like.

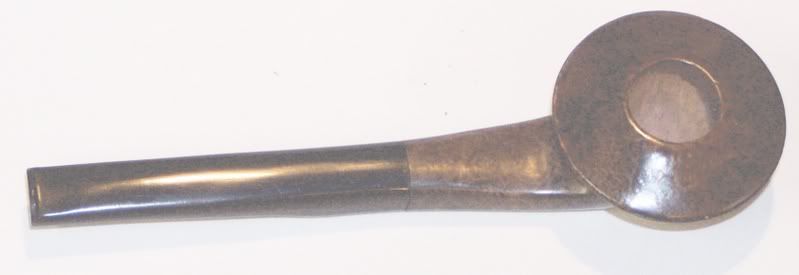
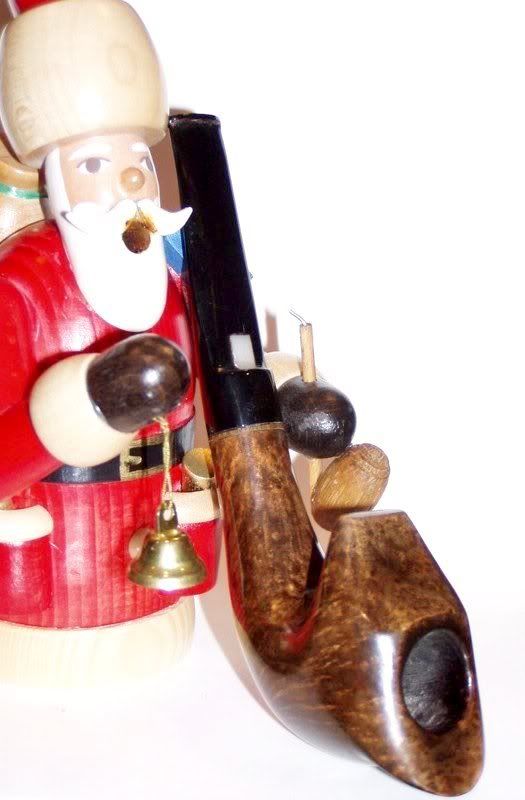
The saucer looks good and seems to have a nice grain. From what I can see it seems like the shank has a definite step in the taper. I think from bowl to button should be one long graceful line, for this pipe, but the photography is not helping. Next time just describe it in words... :) JK. A picture of the bottom might be nice too.

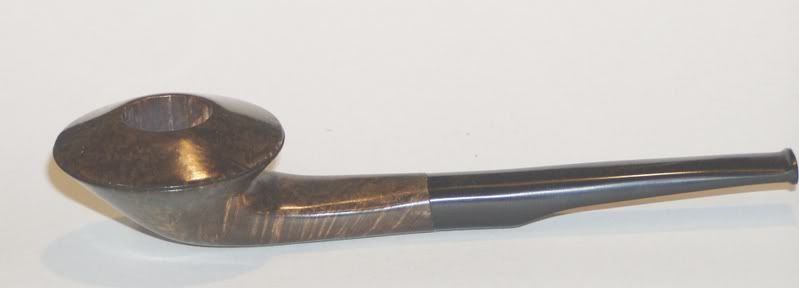
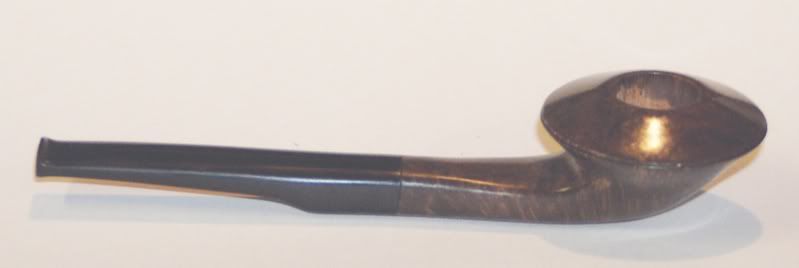
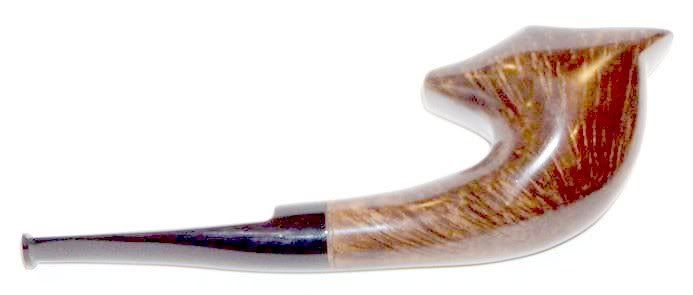
As for the photography, the main problem is what so many people do; taking a picture of a dark subject on a big light background. With auto-everything cameras, the computer tries to expose for the dominating white and the small, dark pipe gets underexposed, and a little lost in the brightness. That's why the lighter pipe came out better or at least was easier to fix in Photoshop. The pipe and background are a lot closer together in tone. This is what happened. The evidence is in the photographs. Look at them. The background is exposed correctly, which means the darker pipes are not. What evidence? The pipes have shadows. If the pipes were exposed correctly the background and the shadows would be slightly hotter and blown-out; the shadows would not be there, the way these pix where taken. Using two light sources is a good idea, by the way. Another good reason for a darker background; to control all that light bouncing around.

If you can't get your camera to expose only for the pipe, simply put it on a darker background -grey colored paper for example- and the over all exposure will be a lot friendlier to the dark stained pipe. Don't worry about the background being too dark; it will lighten up in the camera and with your lamp and the flash. Better still try setting up near a window and get some daylight on it. Experiment with two or three setups and background colors and you'll quickly find something that works a lot better.

This is not an easy thing to do right. Many photographers actually specialize in this kind of tiny work: Small product photography. So don't be discouraged, it's coming along.

Hope that helps.

Looking forward to pictures of yours and everyones next work, as I finish up a few of my own.
www.TotemStar.com - Some of my pipe related art
User avatar
Nick
Posts: 2171
Joined: Thu Nov 23, 2006 8:00 pm
Location: United States/Connecticut

Updated pics

Post by Nick »

Thaks guys. I got the staining done this weekend and it came out great. At least I think so. Unfortunately, when I just smoked it at lunch, I saw the stem had cracked! That's what I get for using cheap lucite. This'll be stem number three. Man, what a pain! Good practice I suppose. here are some updated pics:

Image

Image

Image
User avatar
flix
Posts: 522
Joined: Thu Nov 23, 2006 8:00 pm

Post by flix »

It definately looks better stained. I'm sure your "baby" smokes allright!

Stems, the bane of my existence too! My sympathies,

--Michael
Post Reply