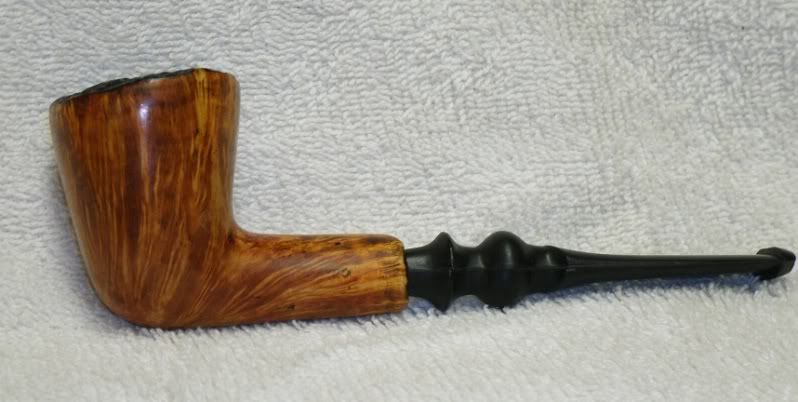
Pipe #3

Want to show you work to the world? Want a place to post photos of your work and solicit the opinions of those that have gone before you? Post your work here.
Post Reply
User avatar
mathias65
Posts: 153
Joined: Wed Feb 24, 2010 2:27 am
Location: Michigan

Pipe #3

Post by mathias65 »

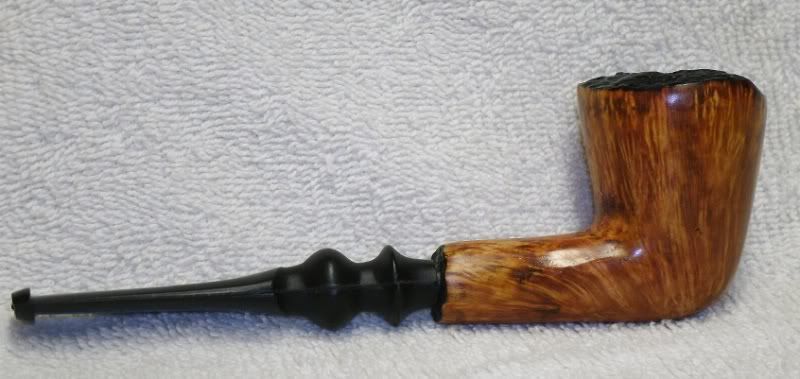
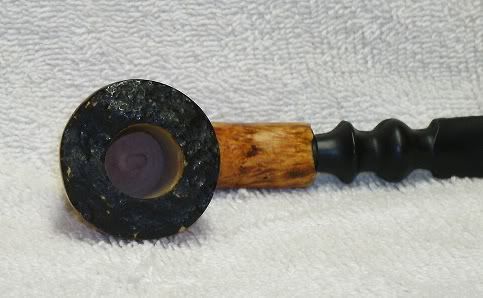
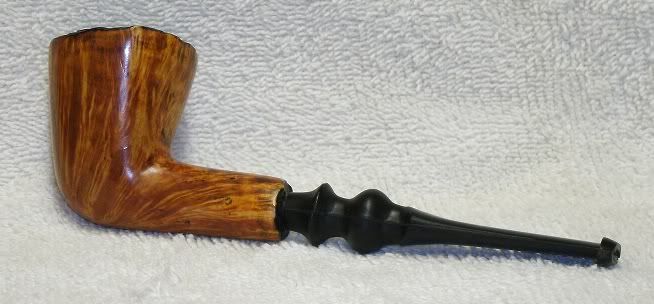
Here is #3.

Image

Image

Image

Image

Image

Image
User avatar
stummel bum
Posts: 87
Joined: Tue Dec 29, 2009 12:40 am
Location: South Carolina/USA
Contact:

Re: Pipe #3

Post by stummel bum »

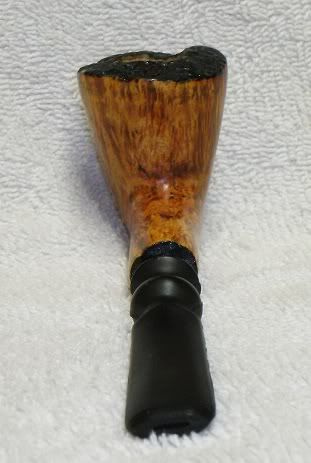
The stummel looks pretty good overall, but the stem could use a lot of work. The problem with premold stems is you can still see the line where the two halves of the mold came together. This needs to be sanded down so that that line becomes invisible. Also the face of the button has a couple of jagged points sticking out. These should be sanded down as well. It's tricky getting into all the grooves, but I've found that small dowels with sand paper wrapped around work great. You should sand a stem just like you do the stummel, going up in grits until there are no more scratches. It should also be buffed and waxed to give it a glossy black finish.

Hope this helps out some.
Cheers,
Rob
User avatar
Abi Natur
Posts: 401
Joined: Sat Feb 20, 2010 7:45 am
Location: Montenegro- Bar
Contact:

Re: Pipe #3

Post by Abi Natur »

I agree with summel bum in the points he mentioned ,but the corpus of the pipe has already a very good line.
You are advancing ,keep on the work!
" Keep it simple until it gets complicated "

http://www.canaanpipes.com/
Anvil
Posts: 49
Joined: Fri Jun 27, 2008 10:05 pm
Location: USA / Nebraska

Re: Pipe #3

Post by Anvil »

I think the stem is slightly long for the pipe but when using a pre-mold, I understand that you don't always have as much choice.

Very nice otherwise.
The opinions expressed above do not necessarily reflect those of the management or of the little green men who have been following me all day.
User avatar
flix
Posts: 522
Joined: Thu Nov 23, 2006 8:00 pm

Re: Pipe #3

Post by flix »

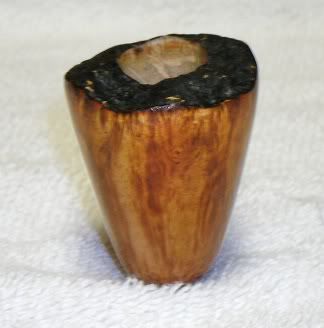
Fine job! I think the symmetry of the bowl around the top and sides is excellent. Front and back need some work, but, overall, nice 3rd try, IMO...
User avatar
mathias65
Posts: 153
Joined: Wed Feb 24, 2010 2:27 am
Location: Michigan

Re: Pipe #3

Post by mathias65 »

thanks for the input folks, i really appreciate it!

you're right, i did very very little with the stem. merely took off the rough edges and that's pretty much it. i will work on that more, get it looking better, and will also take the advice for future use as well.

i was fairly happy with the briar i got this time around. this was my first time playing with the leather dyes and first time with shellac too. i was pretty pleased with this color combo. it was one heavy coat of black, and then two heavy coats of orange. with sanding between and after each coat of course. followed by two coats of shellac, and more sanding, and then wax.

i also noticed that i didn't get comments on my photography. *grins* it must be getting a bit better. :lol:
User avatar
stummel bum
Posts: 87
Joined: Tue Dec 29, 2009 12:40 am
Location: South Carolina/USA
Contact:

Re: Pipe #3

Post by stummel bum »

I actually meant to mention something about the improvement in your photos when I commented, but forgot. Definitely much sharper. The dangerous thing about good photos however, is that you can see every little thing that's wrong with a pipe :mrgreen: But that's kind of the point. If you don't tell the doctor everything that's wrong with you they can't give you the cure. Now if only there was a pill that could make me a better pipemaker :lol:
Cheers,
Rob
wdteipen
Posts: 2817
Joined: Sat Mar 29, 2008 1:05 pm

Re: Pipe #3

Post by wdteipen »

Anvil wrote:I think the stem is slightly long for the pipe but when using a pre-mold, I understand that you don't always have as much choice.

Very nice otherwise.
+1

And I agree that premolds still need a good deal of work. Otherwise nice work.
Wayne Teipen
Teipen Handmade Briar Pipes
http://www.teipenpipes.com
Post Reply