My first pipe. I would appreciate some constructive criticism here.
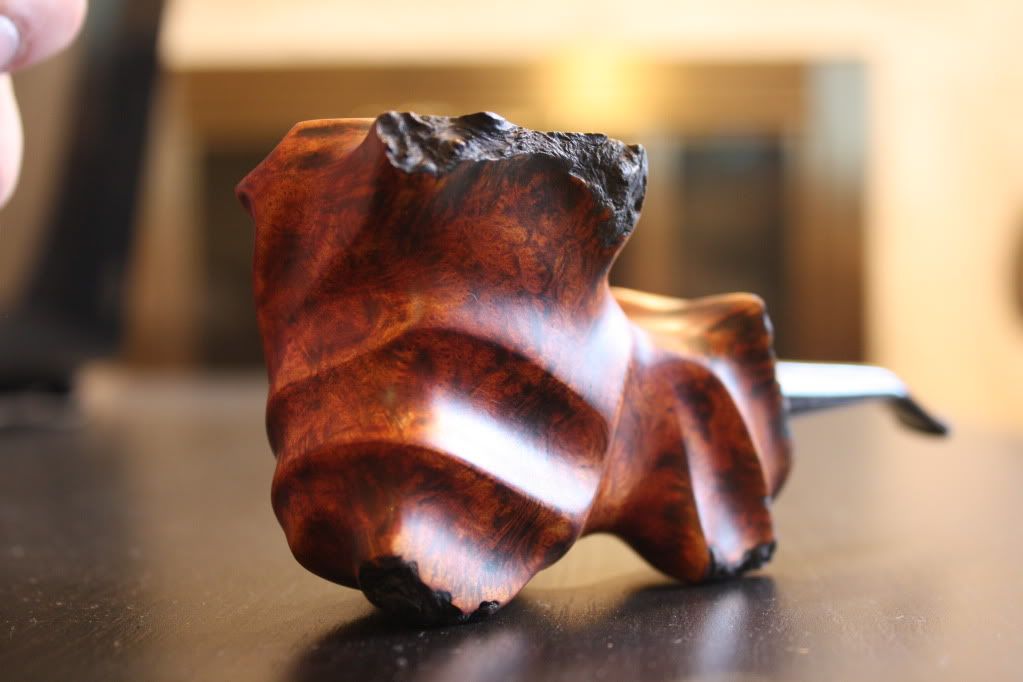
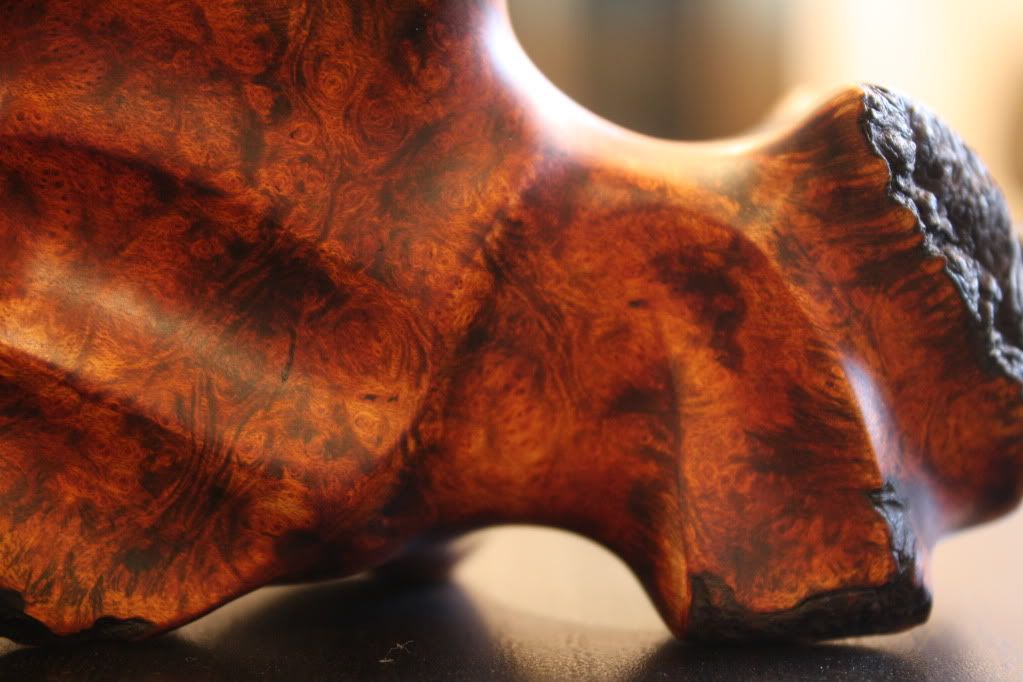
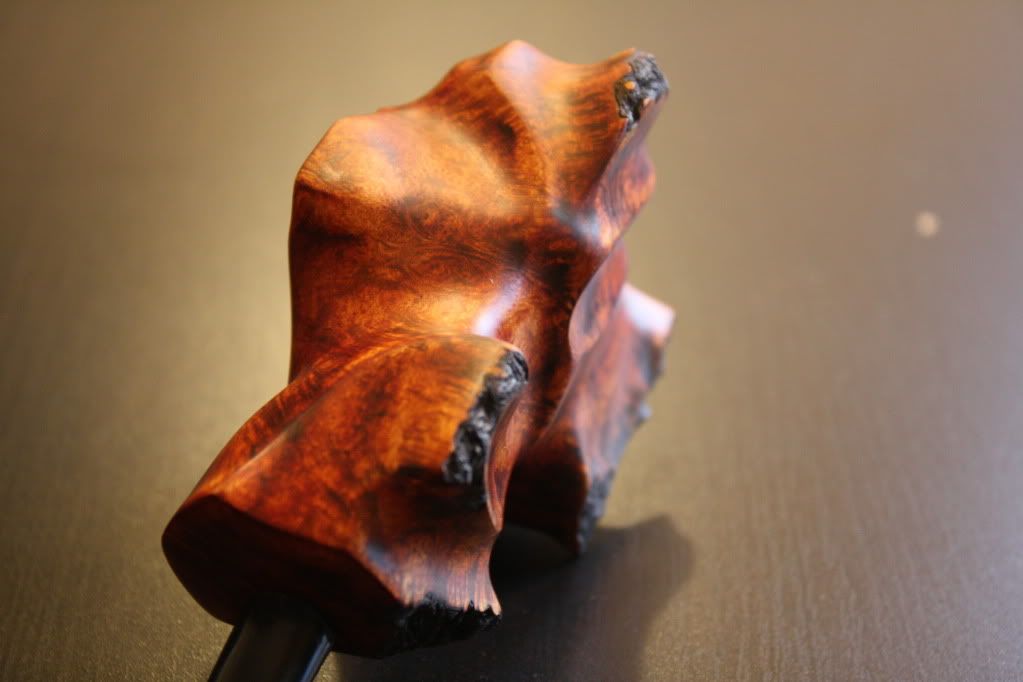
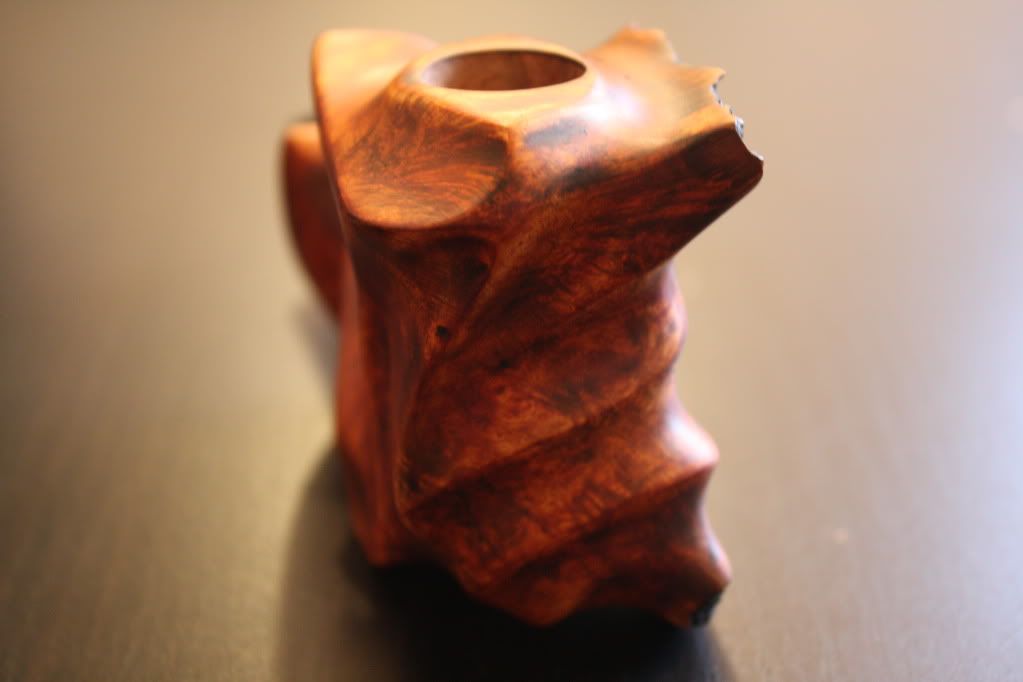
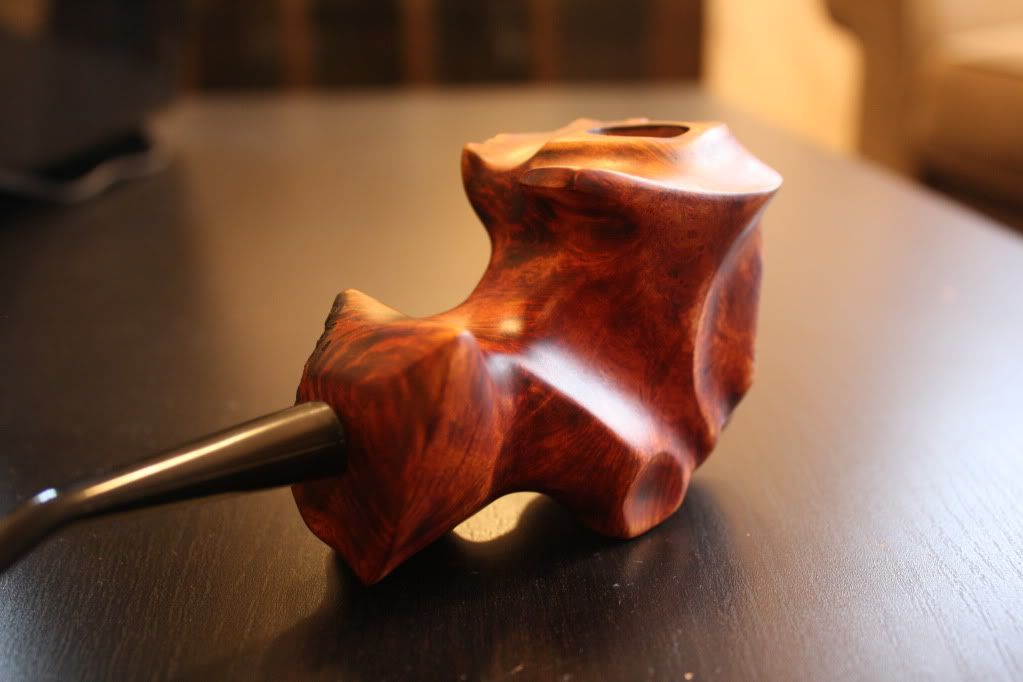
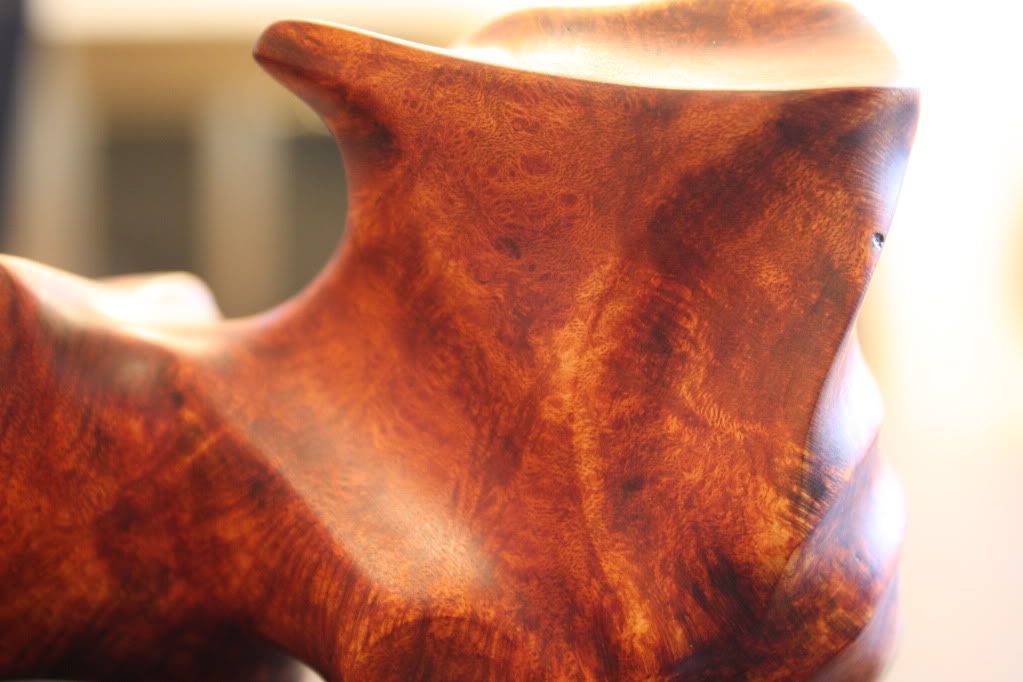
I did get a better contrast on one side of the pipe as opposed to the other; I think it was due to the fact that I did the carving over a longer period of time and the less-contrasting side (last picture) had more natural hand oils and light/oxygen exposure. The darker side also had all the natural outside of the briar. I'd like to know how some of you would have handled that - rustication on the other side to balance it out? take it out altogether?.....?
-Kjell.
My First Pipe
Re: My First Pipe
Where is Walle? He's the proper person to comment on this one
Got thoughts? http://grandiflorum.net
Re: My First Pipe
It's a bit hard to get an overall feel for it. I'd say on the negative side, the stem bend looks pretty abrupt, and the stem itself should probably be heavier on a pipe of this style/magnitude. Even though it's a big craggy beast, a little more material could probably come off of the shank, just to emphasize the shape a little more.
I like the carving and shaping, and the color, quite a bit. Coloration differences occur for all kinds of reasons, but the most obvious in my experience is that the wood on one side got treated differently during the process - perhaps a rasp was used "uphill" on on side and "downhill" on the other, so stains didn't penetrate the same, etc.
Anyway, it's a good looking pipe, and the plateaux top adds some flair.
ALL YOUR PIPE ARE BELONG TO US!
Re: My First Pipe
I'd say proper sanding would improve the finish and stain problems. You can adjust most saturation differences with multiple stain coats and by varying sanding touch, pressure, or attention to lighten up the darker areas as you move through the higher grits. And you have to remove the deep tooling marks before staining or you should notice them on the first stain and remove them with the first rough grit, evening out the stain saturation over the whole stummel, before proceeding to another stain coat, a higher grit, and more strict scratch QC. Rinse and repeat.
Note: the more complicated the shape, the more tedious the sanding... nooks and crannies are the worst.
Re: My First Pipe
I totally agree! The stem that originally came with this pipe (as it was a pre-drilled kit) broke as I was trying to bend it after boiling; I was planning on trying the heat-gun or flame next time. The one in the picture is actually from a $4 corn-cob pipe that I quickly bought, and sanded to fit as a temporary because I really wanted to smoke it. How much material is necessary to make my own stems?Sasquatch wrote:the stem bend looks pretty abrupt, and the stem itself should probably be heavier on a pipe of this style/magnitude.
Thanks for the thoughts fellas.
Re: My First Pipe
Making stems does not require any special tooling, really. There are ways to do it without a lathe, or with. It's time consuming but the results are worthwhile.
ALL YOUR PIPE ARE BELONG TO US!
Re: My First Pipe
Holy call Talbert in here to critique this one. Wow. This guy could do some goblins.