tNd wrote:do not worry about me... they are kind of cute and the finish is really good...
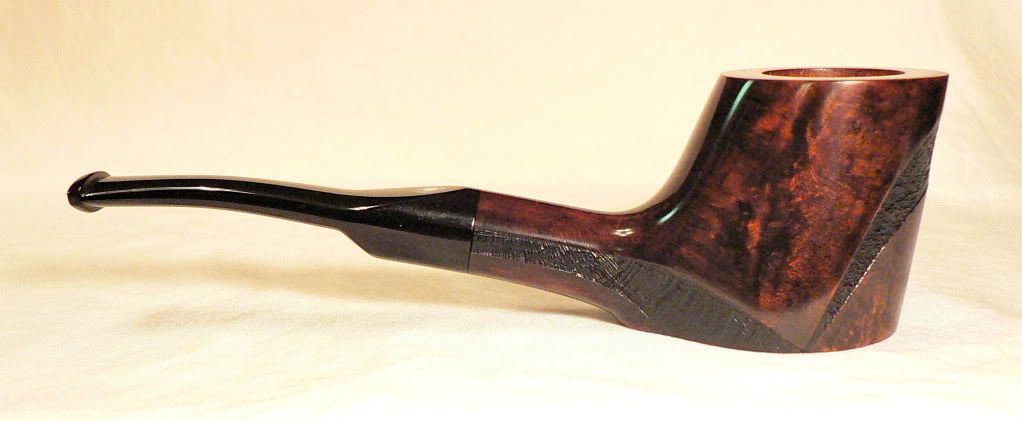
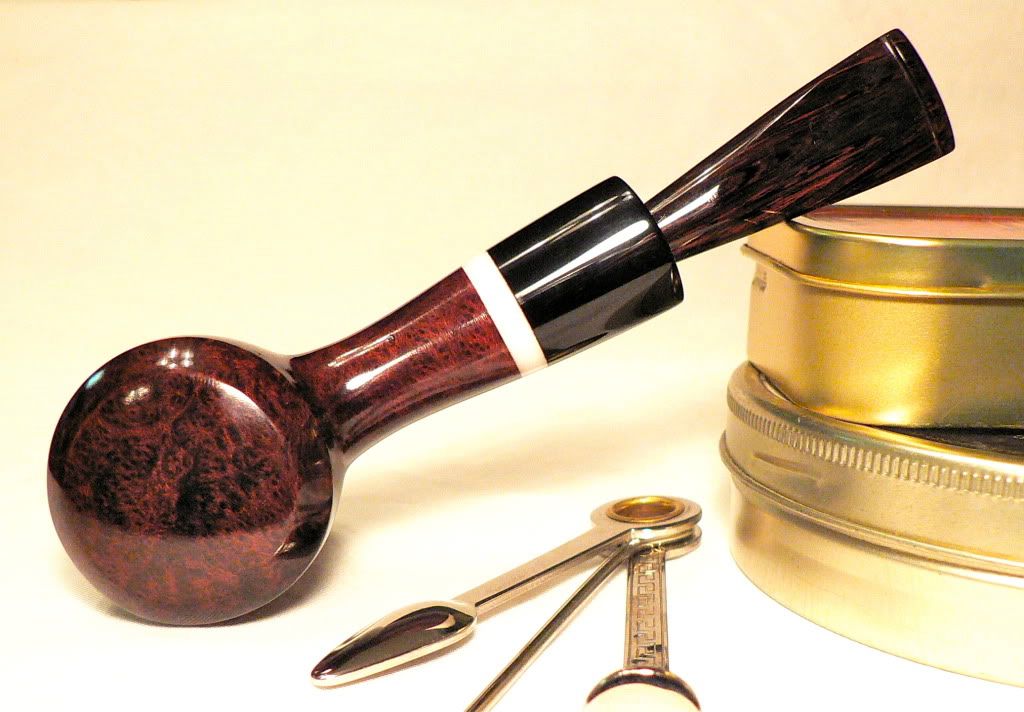
for the brandy - i would be happier to have it thinner on the shank near the bowl... also, i would be happier with another type of the stem... maybe a rounded saddle or something like that... remember, i am not an expert, i am just telling what i feel about them and it is only my opinion that is not so important...
Expert or not, I really appreciate your input! I am looking to refine, and as I have heard from many artisans, 'the end result is the consumer must like it, no matter how much you do'. I see everyone on here not only as makers, but also consumers of sorts. I'm sure most, if not all smoke a pipe. And if you feel it is off, that matters. Of course it is my obligation to make sure it is engineered correctly, but as far as aesthetics I am trying to open my mind to creativity and also what looks pleasing. The brandy was supposed to be a traditionally shaped brandy with a high set shank. Because of this, the draught hole was drilled on an angle to get it in correct relation to the bottom of the chamber. Unfortunately I have made the shank as small as i could due to the drilling vs. strength. So I was stuck on that point.

Would you have kept the extension the same with the white band for a rounded saddle or done something different there?
tNd wrote:i am courious - how did you made those inlays on stems....
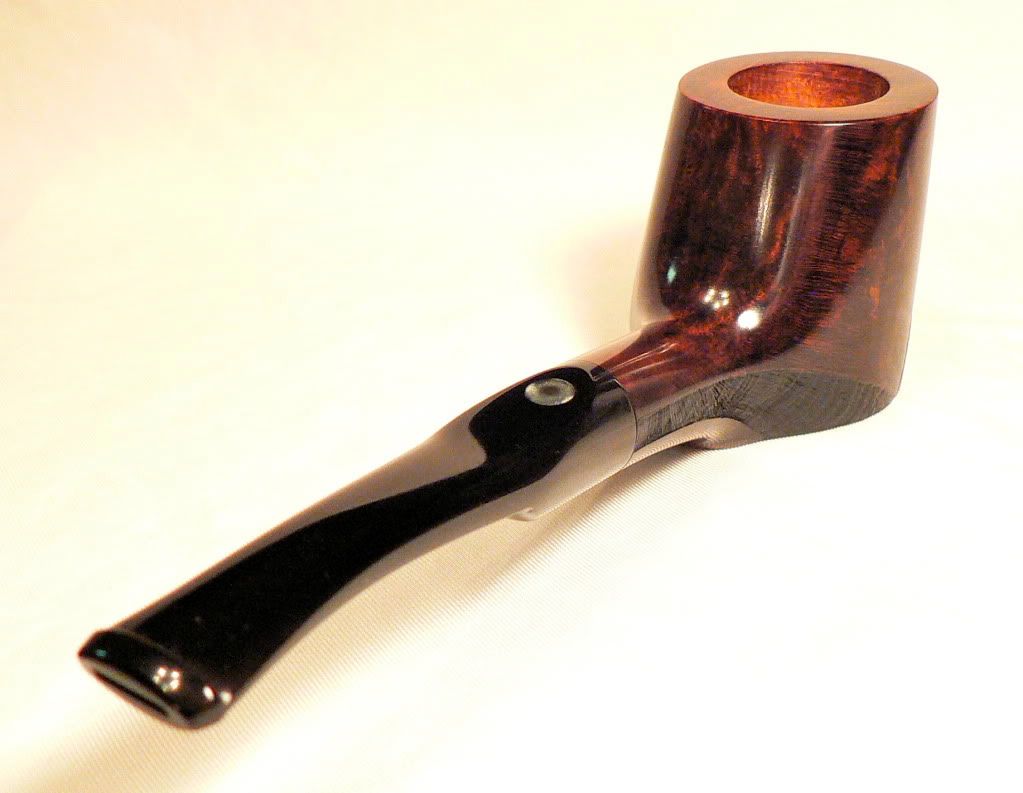
For the poker I drilled a very shallow hole, starting with a 1/16" bit in a pin vise and moving larger by hand up to a 1/4" bit. Approximately 1/16" in depth. The insert is acrylic from stock shaped to fit out side of aluminum tubing, brass tubing and finally brass rod. Assembled the grouping and glued into the stem and shaped to fit. For the acrylic, as it starts white and turns clear as it is polished, I put a thin piece of white plastic below it so it wouldn't disappear into the stem.
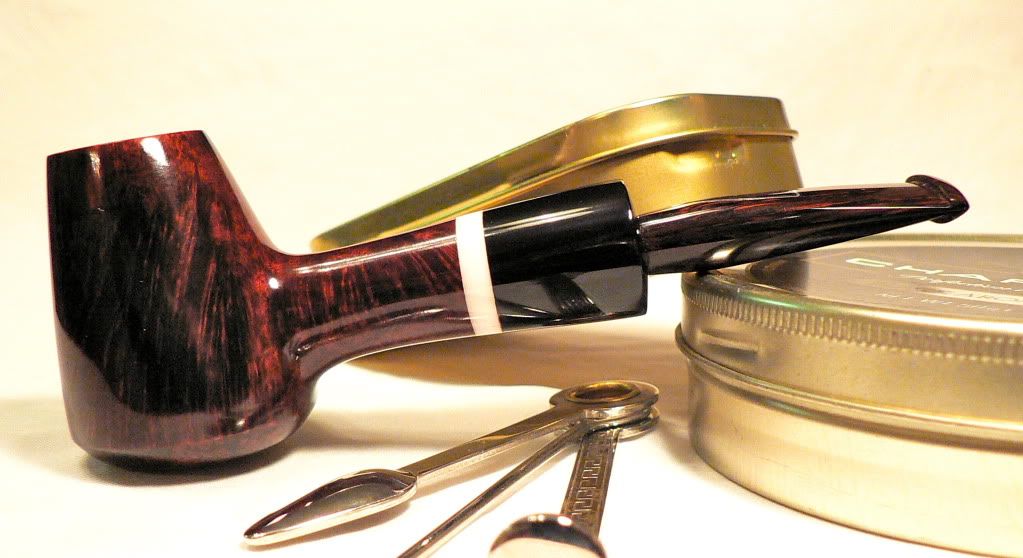
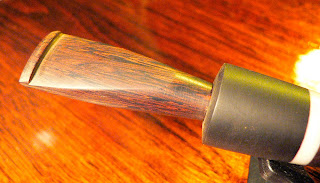
On the brandy, I had a piece of aluminum airfoil and flattened the front and sides to match the shape of the stem and mirror the theme throughout the pipe. I tried heating the aluminum stock to melt it into the stem with no results, didn't even leave a mark. So I marked out the shape and used a very thin cutoff wheel on my Dremel. Worked decently, although the groove was on the larger side. Like the poker stem, I went about 1/16" deep here too. THis time I used CA glue to try it, as it had been recommended by another maker. Worked quite well! Much faster than epoxy too. I left excess on the insert and filed/sanded to fit. I used the CA as a bit of a filler for the gaps I had around the insert, and even though I brushed and cleaned with denatured alcohol, I still got stem and aluminum dust in there. Not sure how to solve that issue, any suggestions? I would have also made that insert smaller, a bit large for a smaller stem.
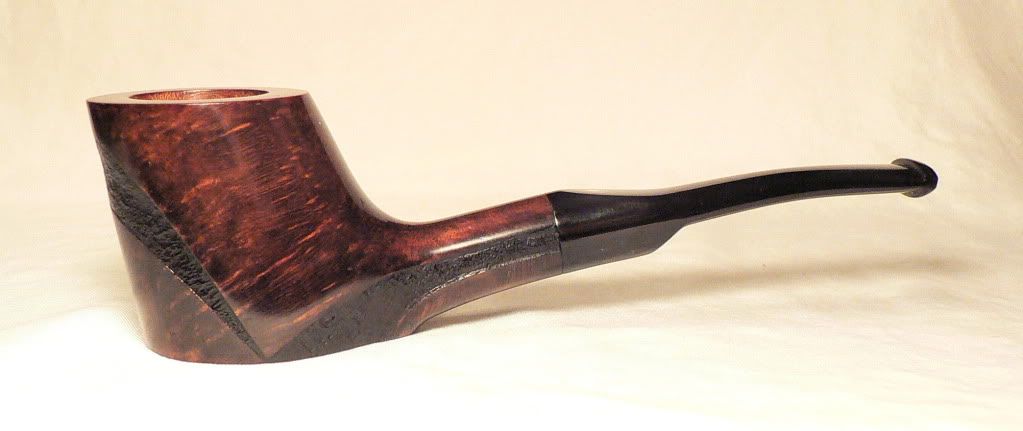
tNd wrote:...rustification is nice.. i would like to know how you did it.. it is kind of soft rusticated.. not to much... the stem is a bit strange looking to me but i can't figure out what to do with it, to be honnest... maybe it bothers me because it is not symetric... not sure... as i told you, i like them .. they have details that i like a lot... but, i would need some time to adjust

The effect was done by light blast with fine glass bead. I only wanted to bring some depth and dimension to the pipe, not go crazy with an intense blast. I was also trying to accent the lines of the pipe. And as you noted, I was stuck with the block's drilling and shank placement.

I had one person comment they would have liked to have seen the blast continued into the stem, of course by manually carving, but what do you think about that?
tNd wrote:all in all.... do not worry to much... they are kind of cute... really..
strong lines...
....
i am happy you made the finish that good
the shape is a bit strange but the finish is very clean... very clean job...
...
Again, thank you! I have had some instruction and help from another maker on most practices, so that is why I have had such a good result on both of my pipes. I really tried to pay attention to the details on finish and I think that shows. I tell you tNd, I am hooked on pipe making! I really enjoy it!