First Pipe ( That Looks Like a Pipe)

Want to show you work to the world? Want a place to post photos of your work and solicit the opinions of those that have gone before you? Post your work here.
Post Reply
Mark Beattie
Posts: 67
Joined: Wed Apr 27, 2011 12:53 pm

First Pipe ( That Looks Like a Pipe)

Post by Mark Beattie »

Good day,

I am hoping some will take the time to offer a critique ( long or short ) on this pipe. I was going for a billiard. The block had a pit that I noticed on the belt sander that I believe travels almost straight through to the chamber so I ended up rusticating it. The stem is acrylic with an ebony band. As I was turning the rod, it began to pit and chip a bit which is why it's tapered so dramatically. I am getting better at forming the button but still have a hard time filing the inside. Admittedly, the stem is not sanded well on this one. I was hoping for some pointers on the stem work in general.

Is it possible to create more a lustrous finish with rusticated finishes? Do I really need to 'dig in' to the buffing wheel? Or perhaps my rustication is a bit too deep. And lastly, how might I avoid creating the tooling marks on the face of my stems. Can't seem to avoid this.

Anywho, thanks for looking.

Image

I had stained the bowl using an water based stain but it looked poor in contrast to the band so I used a leather dye to cover it up. Some still shows through.

Image

Image

Image

Image

Image

Image

Image

Mark
The Smoking Yeti
Posts: 1346
Joined: Tue Jan 10, 2012 4:55 pm
Contact:

Re: First Pipe ( That Looks Like a Pipe)

Post by The Smoking Yeti »

To get a good finish on a rustication you really ought' to thin out shellac a TON then apply a thin even coat. I have to say I really like this pipe though, great job on the rustication!
My pipemaking stream of conscience/ website:

http://yetipipe.tumblr.com/
User avatar
Sasquatch
Posts: 5147
Joined: Tue Jan 13, 2009 1:46 am

Re: First Pipe ( That Looks Like a Pipe)

Post by Sasquatch »

That looks pretty good in lots of important ways, Mark.

The worst offence in terms of shaping is that you have a flat barrel section on the stem where the ebony is, and after that the taper starts, and the result is a visual bump at the ebony. You want the shank to be straight (or tapering very slightly) and then the stem to taper pretty evenly, and that taper begins immediately.

Looks like you need to get a smaller file for the slot work, have a look for a jeweller's files called Warding files or Crossing files (flat and sort of rounded relatively speaking). You can get really tiny ones. How are you cutting the slot?

Acrlyic is tough to work - if it's chattering and pitting, possibly your tool needs sharpening or you are cutting too aggressively. You should be able to generate long thin ribbons of plastic. What are you cutting with?

Your basic proportions are pretty good, possibly the bowl is a bit tall for the shank size, it seems a bit overwhelming.

But you are doing all kinds of things right, and now you just gotta do 'em 50 more times.
ALL YOUR PIPE ARE BELONG TO US!
User avatar
Alden
Posts: 1675
Joined: Sat Apr 16, 2011 11:39 pm
Location: Dallas Texas

Re: First Pipe ( That Looks Like a Pipe)

Post by Alden »

I'm glad Sas chimed in. All I see is a pretty damn good billiard. Nice work !
e Markle
Posts: 1081
Joined: Sun Oct 18, 2009 5:39 pm
Location: Phoenix AZ

Re: First Pipe ( That Looks Like a Pipe)

Post by e Markle »

Sas is right: you're doing all the right things, you just need more experience.
Mark Beattie wrote: I was hoping for some pointers on the stem work in general.

Is it possible to create more a lustrous finish with rusticated finishes? Do I really need to 'dig in' to the buffing wheel? Or perhaps my rustication is a bit too deep. And lastly, how might I avoid creating the tooling marks on the face of my stems. Can't seem to avoid this.

Anywho, thanks for looking.
Stem work is tough. You just need to carefully study stems by the greats, and then closely duplicate what you see. You'll develop your own touches over time. Go SLOWLY on each stem. As far as the tooling marks - are you cutting your own stems? To ensure that you won't see any tooling marks, *before* you take your stock down to final width:
1. Face your stock.
2. Make a final slow pass with your cutting tool, and only take a couple of thousandths off.
3. Sand up to 400 grit on the lathe.
4. Remove the ebonite from the lathe, and buff it.
5. Return to the lathe and bring your stem down to the final width.

Then you will have a nicely polished face, but you do need to do it in this order. Buffing at the end will just round off your edges. It's also important to note that you don't want to make the face glassy; one good turn of the stem will put marks on a highly polished face, so don't go crazy on the wheel.

I never buff blasted pipes (I don't rusticate, but it's the same thing), you can put on more shellac if you want it more shiny.
Mark Beattie
Posts: 67
Joined: Wed Apr 27, 2011 12:53 pm

Re: First Pipe ( That Looks Like a Pipe)

Post by Mark Beattie »

Sasquatch wrote:That looks pretty good in lots of important ways, Mark.

The worst offence in terms of shaping is that you have a flat barrel section on the stem where the ebony is, and after that the taper starts, and the result is a visual bump at the ebony. You want the shank to be straight (or tapering very slightly) and then the stem to taper pretty evenly, and that taper begins immediately.

Looks like you need to get a smaller file for the slot work, have a look for a jeweller's files called Warding files or Crossing files (flat and sort of rounded relatively speaking). You can get really tiny ones. How are you cutting the slot?

Acrlyic is tough to work - if it's chattering and pitting, possibly your tool needs sharpening or you are cutting too aggressively. You should be able to generate long thin ribbons of plastic. What are you cutting with?

Thanks for the comments. I'll apllythem to my next piece.

Sas, as far as jeweler's files go, are they a special order item or can I drive somewhere around here to pick up a set? I wasn't aware that there were smaller files than the ones I was using. :0) I've been turning my acrylic rod using a tiny gauge (maybe an 1/8"). Seems good for little detail but harder to accomplish a slight taper from end to end. I have recently sharpened it and it seems to work a bit better (ie. Long, slender ribbons, less tooling marks).

Cheers,

Mark

Your basic proportions are pretty good, possibly the bowl is a bit tall for the shank size, it seems a bit overwhelming.

But you are doing all kinds of things right, and now you just gotta do 'em 50 more times.
The Smoking Yeti
Posts: 1346
Joined: Tue Jan 10, 2012 4:55 pm
Contact:

Re: First Pipe ( That Looks Like a Pipe)

Post by The Smoking Yeti »

Man.. Sas's little comment about the taper on billiards was something I totally missed... this man knows his classic shapes I guess.
My pipemaking stream of conscience/ website:

http://yetipipe.tumblr.com/
Kenny
Posts: 81
Joined: Mon Apr 30, 2012 1:58 am

Re: First Pipe ( That Looks Like a Pipe)

Post by Kenny »

I'll reply with my thoughts on turning acrylic, as I have a fair bit of experience turning acrylic, acrylester, polyester, poly-resin, M3, Corian and just about any other type of plastic material you can think of, as I've turned a few hundred acrylic pens over the past year alone.

In my experience, if you are turning just a straight or tapered cylinder without any beads or coves or other distinct detail, a really sharp skew chisel with a light touch is the best tool going. But if you're not good with a skew, as they are one of the more time-consuming tools to master, they can get you in trouble or make a mess of your work in a hurry!

This is a great video on how to use and sharpen your skew: http://www.youtube.com/watch?v=JjnTt_3AXtA&feature=plcp
CapnEddie also has another good video on honing the skew as well. (If the video isn't allowed, I'm sorry! Just let me know. New to this and still figuring stuff out)

Now if you're not good with a skew or don't have one, a good fingernail grind spindle gouge will do, and even a fingernail grind bowl gouge works well for basic tapers and straight cylinders.
The trick is to use the wing of the gouge, not the tip, and use it almost like you would a skew to take fine little ribbons off. If you need me to show you what I'm saying in more detail, let me know and I'll take some pictures or make a video so you can see exactly what I mean.
I'd recommend a 1/4" or larger gouge over the 1/8" gouge myself.

One other option, is a carbide insert tool. (like Easy-Wood Tools) I have used square, round and radiused-square insert tools, all of which I make myself, and they will all work. Though I like the round and radiused-square insert tools best for acrylics myself, as they seem to cut faster and smoother.

If you have issues with acrylic and don't want to fuss with other tools, the carbide insert tools are the way to go. The cutters last forever and cut very well, as long as you don't get in a hurry and try to hog-off a ton of material.

And lastly, there is my "Fool-Proof-Tool". It's something I came up with myself, though I have seen others similar since.
The tool uses a 1/4" square X 3" long HSS cutting bit with a radius ground on one end. That bit is set straight into the end of a 5/8" steel round bar and held in place with 2 set-screws. This bar is used in an aluminum handle that I had custom machined. I had originally made the tool for deep-hollowing, but I have since found it works well for other things. In truth, it works very well for most everything! Though I would like to have a smaller version for really small work.


You do need to make sure you keep your tools VERY sharp while cutting acrylic, as it will start to chatter and break-out if your tools dull. Acrylic is not one of those materials where you can put off sharpening your tools, at least not without having a significantly negative effect on cut quality. I always stop to sharpen if I see cut quality start to degrade or if I notice the tool wanting to chatter. And I put an extra nice edge on the tool for the last few cuts just to try to leave myself with the best possible finish before sanding.

So that's what I can say about turning acrylic. The right tool (or tools) with a sharp edge, taking light cuts with high RPM's and a slow tool-feed rate, and you can get a glass-like finish right off the tool. It does take practice, and patience, but it will pay off with less sanding and less wasted material.

Just remember, with acrylics, you need to let the tool do the cutting! You can't force it to cut faster than it wants to or you will start taking chunks out. And once you get some practice, you'll hear when you're cutting too fast, as it has a sort of "tearing" sound. It's just as distinct as the rough surface it leaves behind.

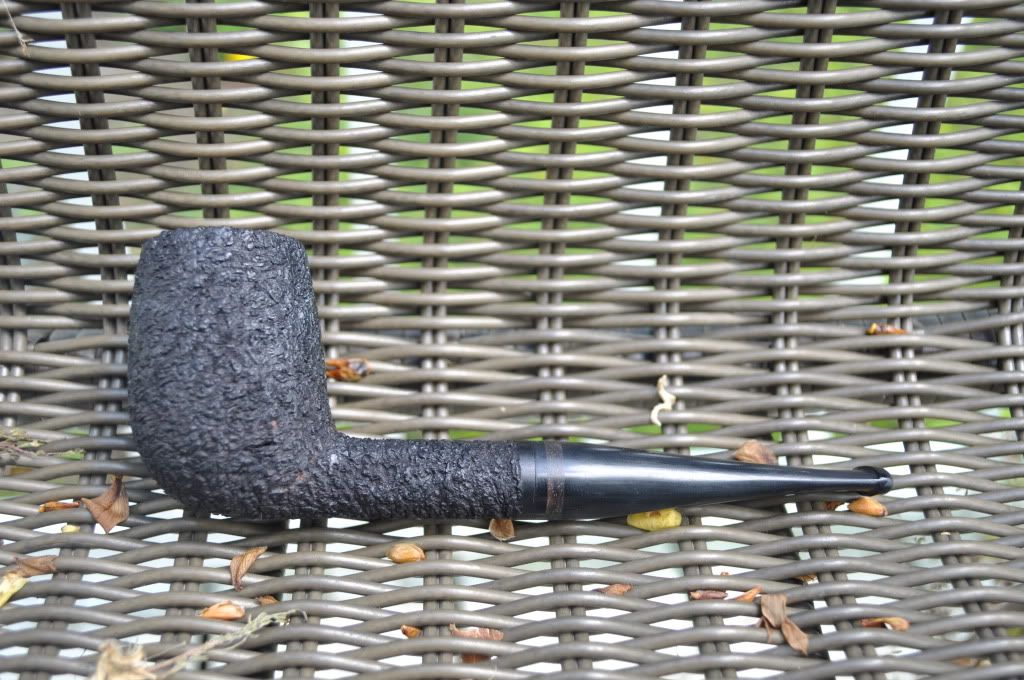
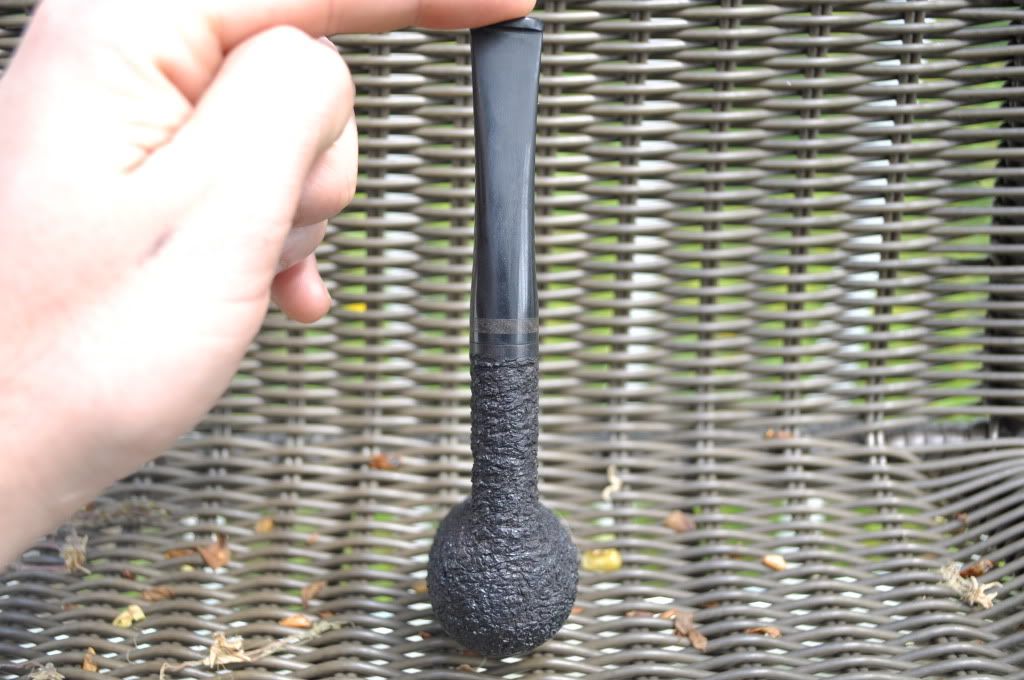
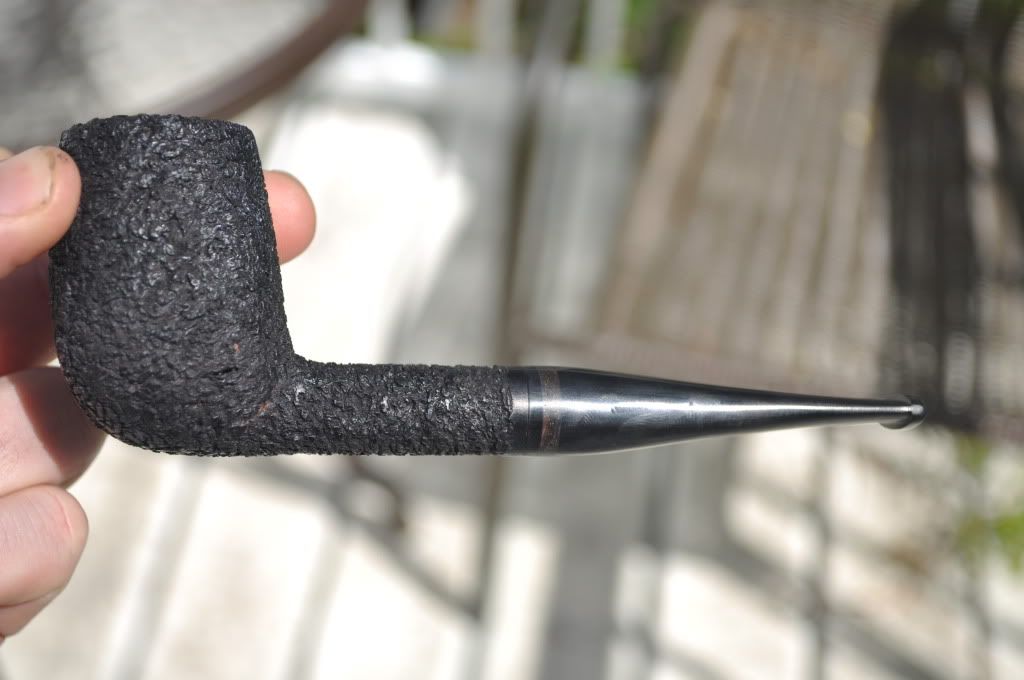
Good luck, and nice job on the pipe. Regardless of any imperfections, I'm sure you'll enjoy smoking it.
Just keep on trying. Nobody gets it perfect on their first pipe. And probably not on their first 50! But it's all part of learning, and as long as you're happy and you enjoy smoking them, than it's all worth it!

Kenny
Post Reply