
Any comments?
You and I are close in our development, Tano. I've recently finished #22, and been at it just over a year. I'm completely obsessed with it at this point, and having a wonderful time (well, mostly). I used ebauchons for the first 11, then started using Plateaux for some. Judging from this one, I'd say your ready, but I still ruin stuff now and again, and it seems like I've run into a lot of bad Plateaux too. I wrecked an ebauchon this weekend, as well as some ebonite! I think it was advice to Rad that the best way to get better is to practice. I've got lots of distroyed material to show that I've taken that to heartTano wrote:Hi Scott,
Thank you for your comments.
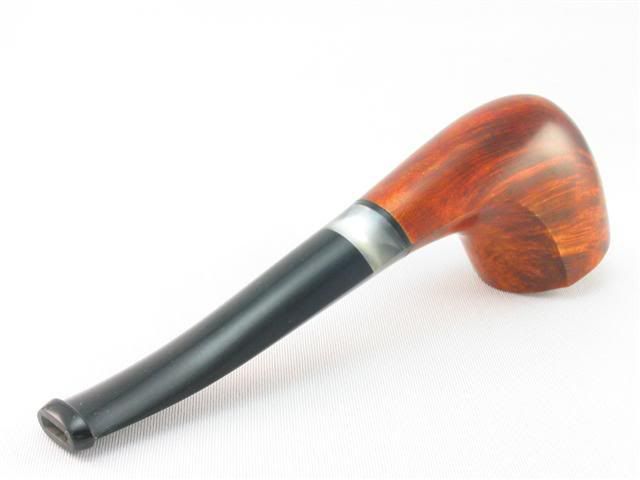
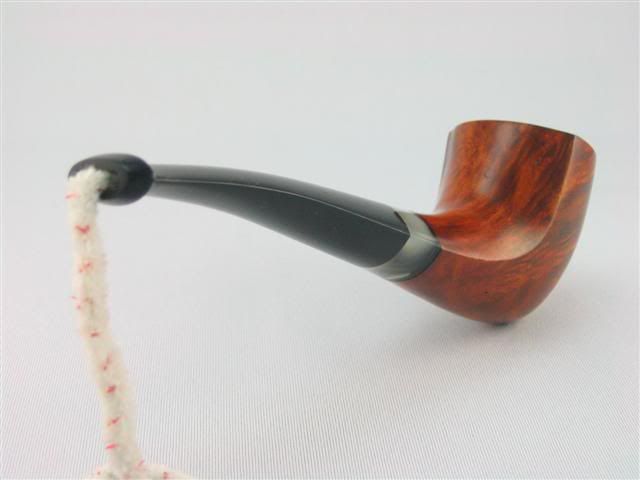
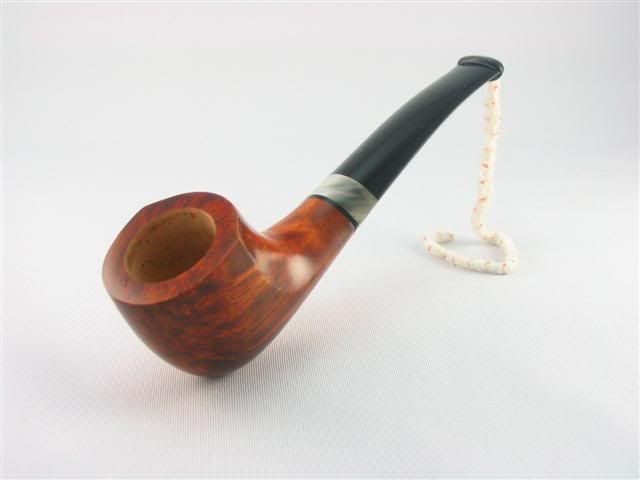
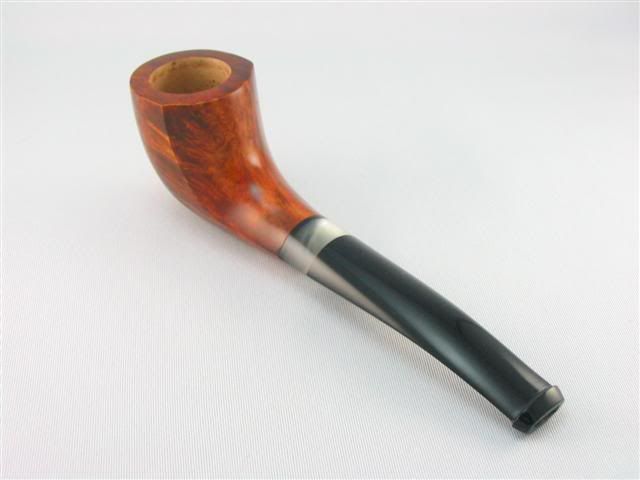
This is probably my seventeenth pipe. The stem is hand cut, and now that you mentioned it, the button does seem a litle thick, probably because on the previous pipe I made it too thin, go figure.
Started in late 2005, spent lots of money on tools and materials and loving every minute of it.

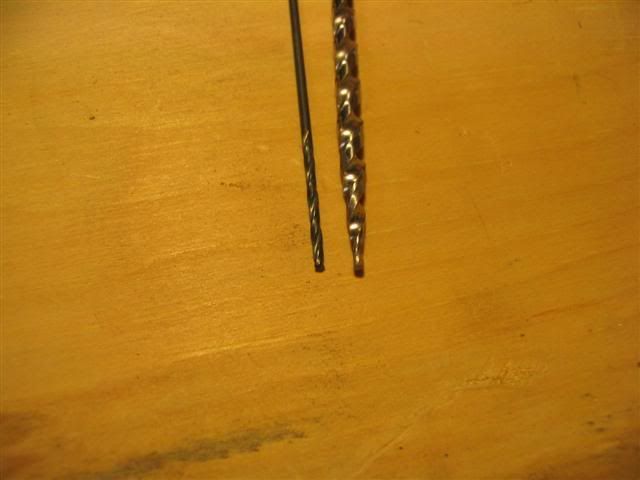
Thanks, Tano! I'm using a very similar process (also trying it in the mouth and even testing the draw). I use the T199 freehand, and that is where I think I have my issues. I drill the rod with a 5/32" taper drill, stopping about 5/8" from the bit end of the rod, and then follow that up with 1/16" drill through the bit end. If I went all the way with the tappered drill I think I would have to leave the stem too thick behind the bit. What size tappered bit are you using? After I use the 1/16" bit to finsih out the air hole, I then use the T199 tool in a dremel freehand to start the slot opening. Then I funnel that down into the airhole with the 1/16" bit chucked into the drill press and hand holding and feeding the stem into it, and then cleaning that up with lots of handwork with small needle files and sandpaper. Mine just don't end up being very neat and are not consistant enough either.Tano wrote:...When I'm working on the button thikness, I test it by putting it in my mouth. this is the only way I can tell how comfortable it feels. I'm afraid that, if I used measurment alone, I would probably sand through.
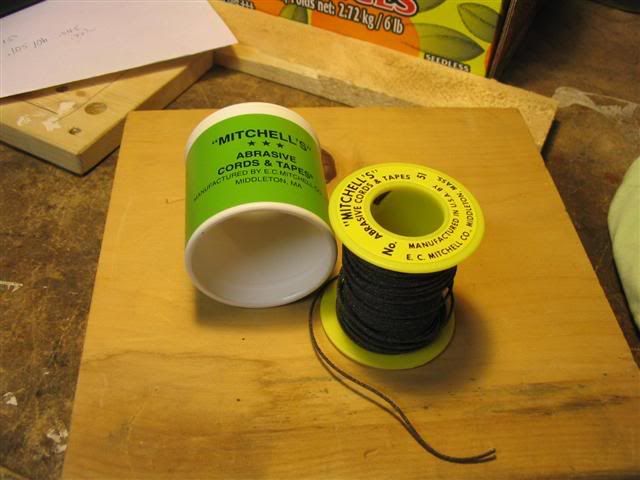
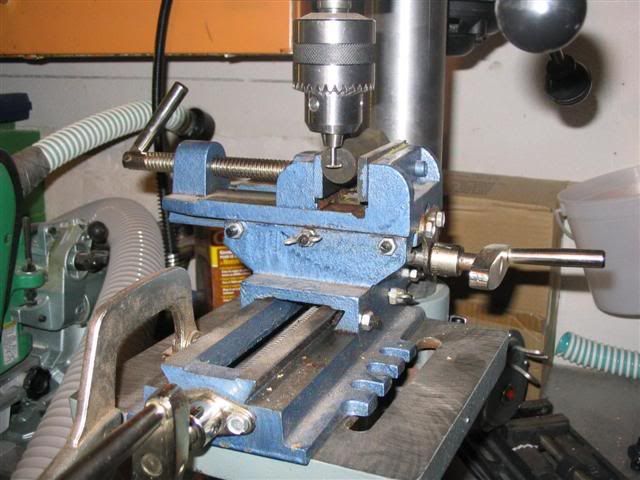
I make the slot, first by drilling with a tapered bit and allowing the bit to pertrude 1/16" to 1/8" to the other end. Then I mount the rod, horizontaly, in a centering vice. Chuck a T199 dremel bit and use the tiny hole as a guide. The vise allows for a controlled feed of the rod into the bit. Unless you trust your nerves don't do it free hand. The finishing touches are done with a combination of needle nose flat files, 1/16 drill bit, and also sand paper string.

RadDavis wrote:I have to disagree, Kurt. I cut my slit pretty much the same way you do and open the slit side to side with a 1/16 bit in the dremel. All of my bits are between .140 and .150, and I've never had a problem.A 1/16" bit to open up the slot is freakin' huge.
Don't get me wrong, it's totally doable. But for the untrained eye?
I guess this is where personal preference comes in. I prefer a 1mm slot. However, I won't talk smack about a 1.5mm slot. Both can be made into a perfectly thin stem.
A .5mm slot will make an even thinner stem.But a 1mm slot still makes a thinner stem.


