Page 1 of 1
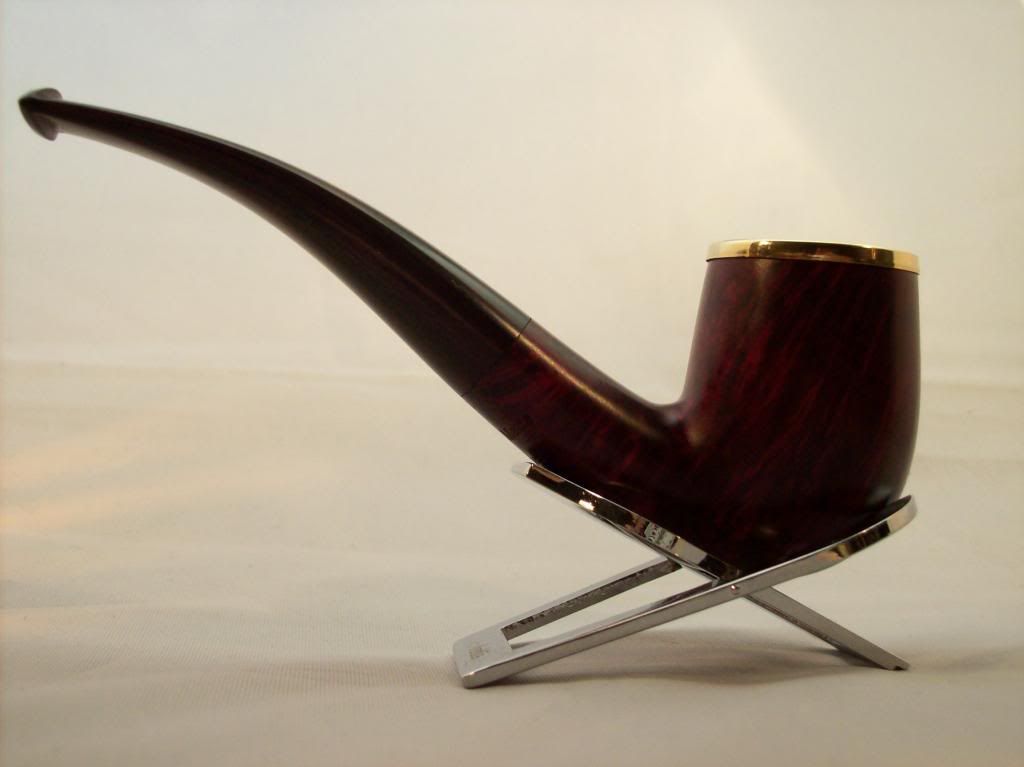
5-13 Capped Bent Billiard
Posted: Fri Feb 22, 2013 9:21 am
by Ocelot55
Re: 5-13 Capped Bent Billiard
Posted: Fri Feb 22, 2013 9:29 am
by wdteipen
Cool. Shaping looks good. It may be the photo angle but the stem looks like it could be a bit more slim towards the bit end. I struggle with the same thing on my stems. Finding the sweet spot is tough.
Re: 5-13 Capped Bent Billiard
Posted: Fri Feb 22, 2013 10:29 am
by d.huber
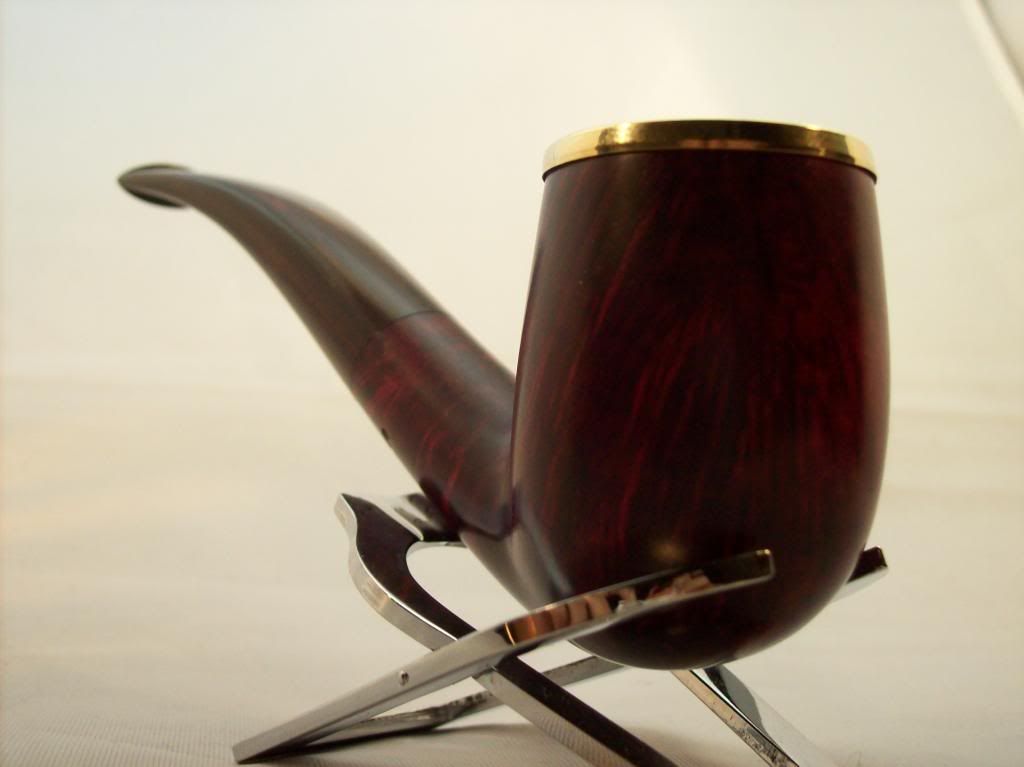
Looks great! Based on the photos, I agree with Wayne. I also think that the photo angles could be throwing us off. Is it possible to take any direct profile shots? The profile shots above look like they were taken from a low angle.
Oh, and there's a little bit of compound behind your button on the top of the stem.

Re: 5-13 Capped Bent Billiard
Posted: Fri Feb 22, 2013 12:53 pm
by Alan L
Not bad at all!
A few hints on attaching metal to wood without dinging either:
1. Use the smallest hammer you can find. One of those "jewelers" hammer from Harbor freight with a polyurethane face is good for this.
2. For real brass pins, look for brass escutcheon pins. They are 1/16" rod with a head on one end. trim to length if too long.
3. Make a heading block for the pins by drilling a 1/16" hole in a small block of polished 1/4" thick steel and countersink one side just a bit. The brass pins have a bit of flash under the heads, and the heads are sometimes off-center. Stick one in the hole and use gentle but firm blows to sink the head into the countersink.
4. Countersink the holes in the brass rim to the exact diameter of the headed pin. That will let you get a gap-free fit. Use a hand-powered drill or just twist the countersink by hand, power tools are way too fast to do this well. Subtip 4.: if you use a bigger countersink on the heading block you can make a flat-headed pin that will sit in a correspondingly deep countersink in the brass. Counersink just a little less than the head diameter and file flush for a hidden pin.
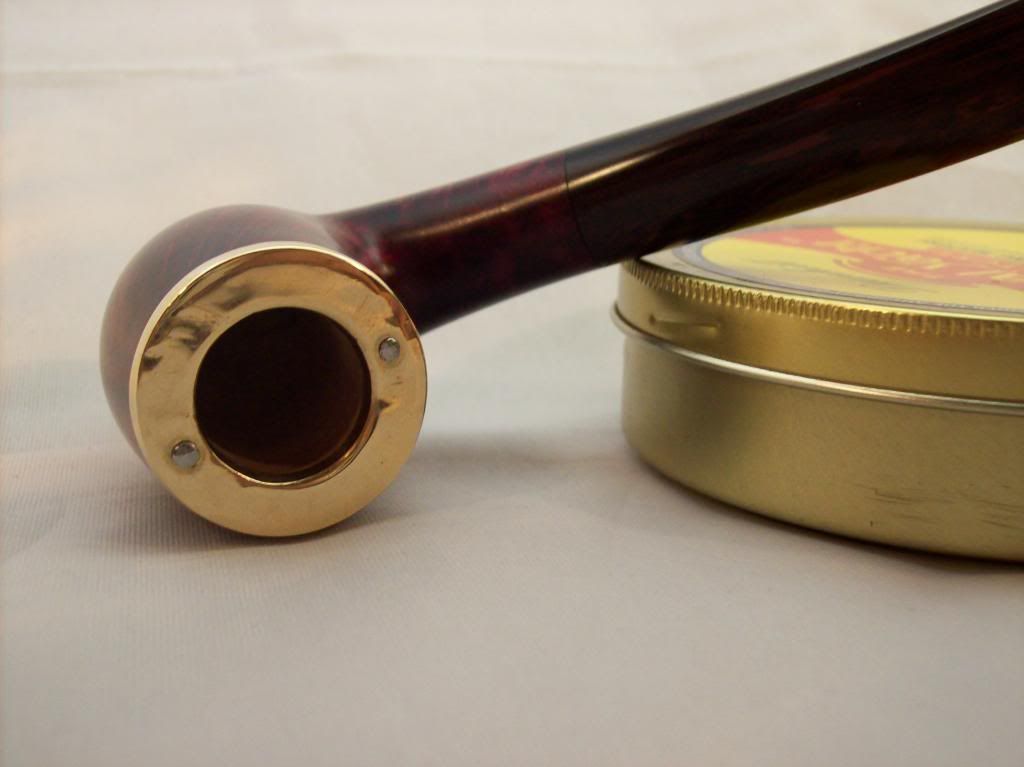
Raised brass pin:

Countersunk "hidden" brass and silver pins:

A cluster of raised pins for decorative effect. Ignore the haze around the pins, I had not polished the silver after staining the wood.


Re: 5-13 Capped Bent Billiard
Posted: Fri Feb 22, 2013 2:16 pm
by Ocelot55
Alan, where were you a few days ago!
That's exactly the info I need!
I've got 11 more of these caps so I'm excited to hear how to make it look more professional.
Re: 5-13 Capped Bent Billiard
Posted: Fri Feb 22, 2013 3:16 pm
by cmueller
This may be a stupid question, but could you also put some apoxy in the holes where the pins go into to help hold them or is it not needed?
Re: 5-13 Capped Bent Billiard
Posted: Fri Feb 22, 2013 3:32 pm
by Ocelot55
From my very limited understanding, a lot of adhesives break down when exposed to heat. I don't know if there would be enough heat there to keep adhesives from working, but I didn't want to risk it. I suppose as an ancillary fastener I might work.
Re: 5-13 Capped Bent Billiard
Posted: Fri Feb 22, 2013 3:40 pm
by Alan L
Sorry dude, I had a lot of work stuff going on and no time to post. I'mjust glad I can finally help! I am the tenth worst pipemaker in the world, but I'm not bad at pipe tomahawks.

Epoxy will break loose at 200 degrees F, but good CA glues will hold to nearly 400. Phenolic resin is the stuff to use around heat, but good luck finding it in less than industrial amounts and prices to match...
Re: 5-13 Capped Bent Billiard
Posted: Sun Feb 24, 2013 3:40 pm
by AlfaDog
Gorgeous pipe. I may be wrong, but I think JB Weld holds up pretty well under heat.