

Robin
Thanks, Jessie!Ocelot55 wrote:David, how the heck did you get so good so fast! Those are my favorites of yours so far!
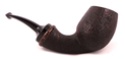
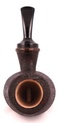
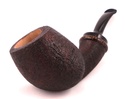
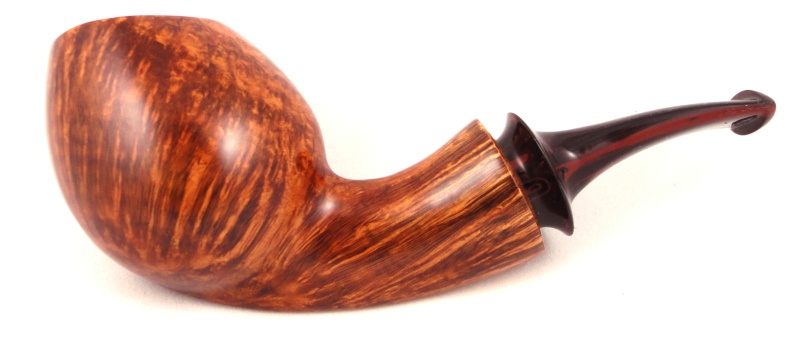
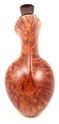
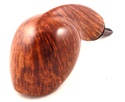
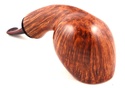
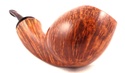
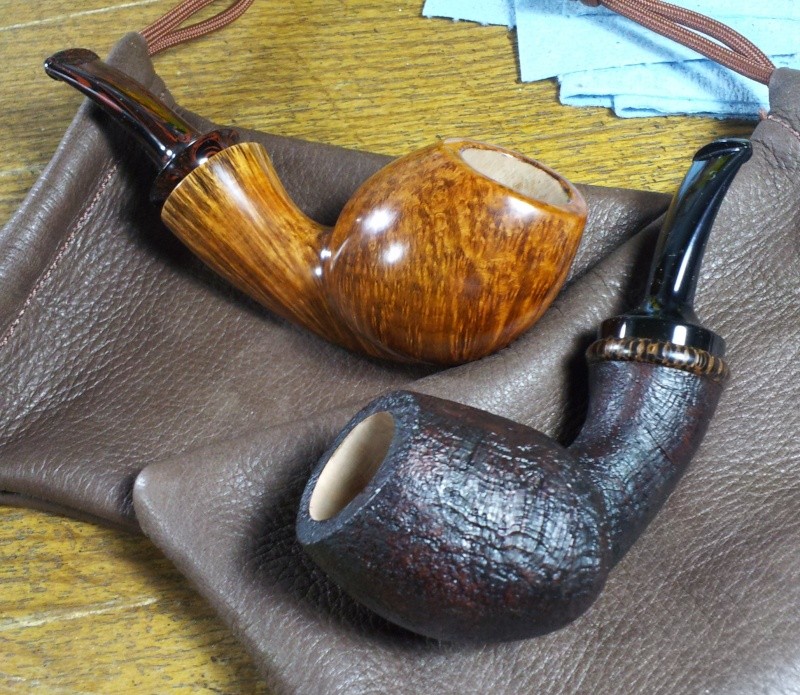
So... here's the problem. The photos in the OP were taken with a lightbox with my camera mounted on a tripod with a toilet paper roll around the lens to reduce flare. I then drop the photos into gimp to increase the exposure and then make adjustments to get the color as close to accurate as possible.futodugouts wrote:phones can take good pictures up close in bright light. if you can't take them outside try right beside a window. if you want to setup for taking them inside without glare make a light box or at least put the camera on a tripod then if you want a brighter photo slow the shutter speed down.

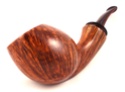
closer = narrower depth of field, try backing up the tripod and zooming inThe thing that I'm having serious trouble with, as you can see from the OP pics, is blurring at the edge and portions of the pipe are out of focus while other portions are sharp(er). The latter issue must have something to do with depth of field, but I've got no idea how to fix it.
Right now, my best idea is to use the smaller of the two light boxes that came with the set to get more light on the pipes and either go freehand or use a gorilla pod (small amorphous tripod) to get the camera closer.
Thanks for the help and for the compliment!oklahoma red wrote:Much better! You're on the right path.
If your software has the feature, apply some "un-sharp mask". Opposite of what it sounds like but it will add some snap to the pics. Be advised tho that a little of it goes a long way. Again, experiment. That's the beauty of digital photography. Instant gratification which fits right into today's life style. No darkroom, no chemicals, no muss and no fuss.
Chas.
BTW, nice work!
Second this. Walt has a good thread on this very subject. Too close can throw off proportions and make stems look crooked when they're not and other goofy stuff. Back up as far as the zoom will allow.futodugouts wrote:closer = narrower depth of field, try backing up the tripod and zooming inThe thing that I'm having serious trouble with, as you can see from the OP pics, is blurring at the edge and portions of the pipe are out of focus while other portions are sharp(er). The latter issue must have something to do with depth of field, but I've got no idea how to fix it.
Right now, my best idea is to use the smaller of the two light boxes that came with the set to get more light on the pipes and either go freehand or use a gorilla pod (small amorphous tripod) to get the camera closer.

