Page 1 of 1
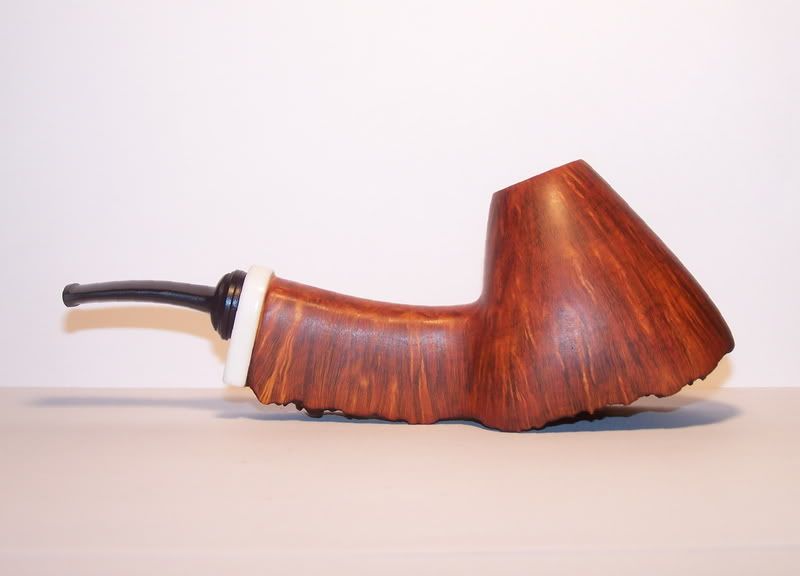
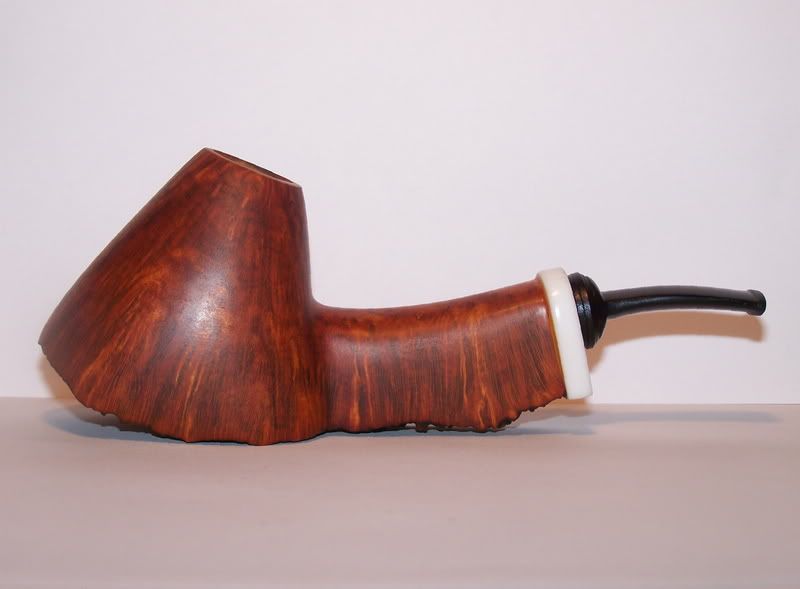
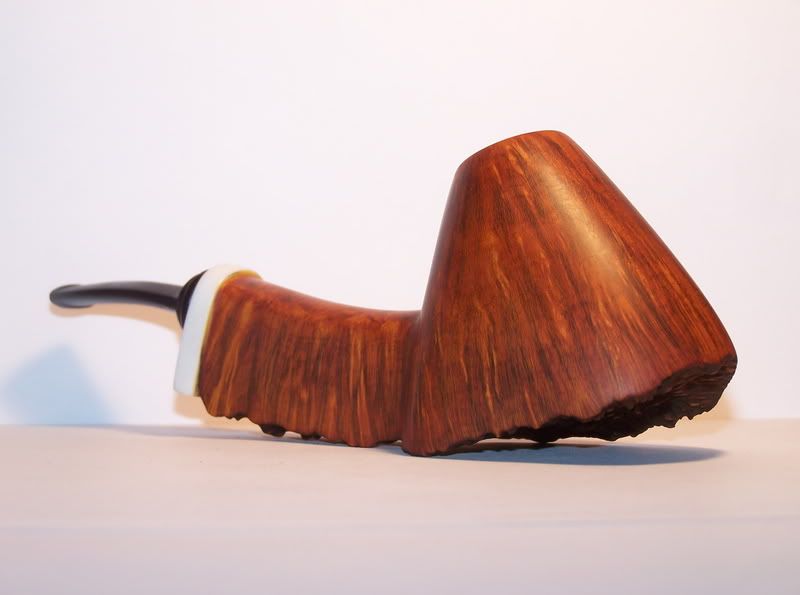
Almost done with my latest ...
Posted: Thu Apr 10, 2008 5:57 pm
by hollywood
Posted: Thu Apr 10, 2008 8:38 pm
by KurtHuhn
I like. So far looking good, just be sure to get all that epoxy off before buffing and waxing. Truth be told, I usually put on shank adornments like that after the final buff.
That's really the only thing I can see. I like the stem, but I almost think it could be even simpler - just skip the first two square beads. But that isn't a major beef at all.
Posted: Thu Apr 10, 2008 9:20 pm
by hollywood
Thanks, Kurt. Really having fun with this one.
I'll have that epoxy residual all off for the finish.
I'm having trouble with making a simple rounded or straight angled finish that you're referring to. I'm kind of stumped on how that is turned and sanded just right. I like that look a lot, but can't get one to come out that way yet. I need more cutting bits and I'm waiting on more tool holders for the lathe. Maybe that will help.
This is the first stem I've made with Ebonite. I love it. ABS is good, but this is THE stuff. Guess it's time to pony up some more $!?
Posted: Thu Apr 10, 2008 10:09 pm
by hollywood
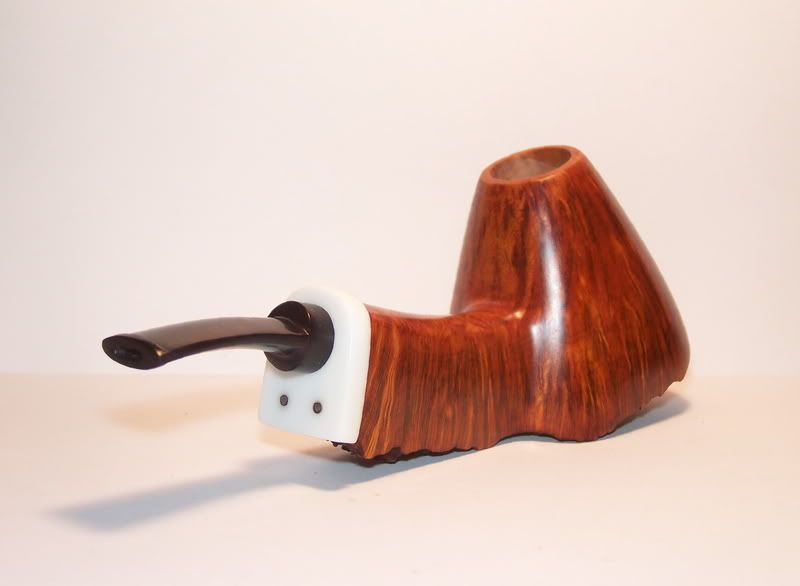
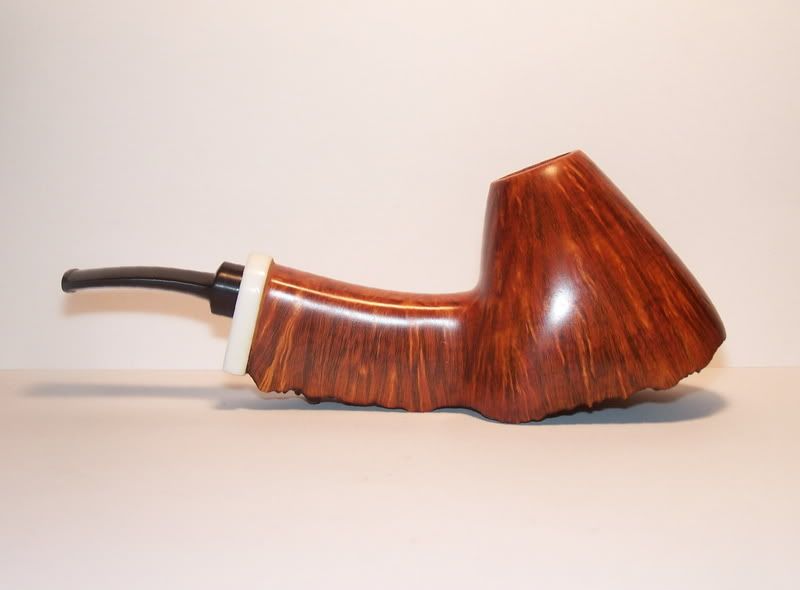
Is this stem a little better?
Posted: Fri Apr 11, 2008 8:52 am
by KurtHuhn
Actually, I prefer the first stem - believe it or not. It's got a nice short round part before it goes to a saddle, and that really seems to work best on this pipe. Honestly, I almost didn't even mention the stem.
Posted: Sat Apr 12, 2008 8:39 am
by hollywood
KurtHuhn wrote:Actually, I prefer the first stem - believe it or not. It's got a nice short round part before it goes to a saddle, and that really seems to work best on this pipe. Honestly, I almost didn't even mention the stem.
ROFL! Of course you do! As soon as I cut down the 1st one!!! ROFL!!
I kind of like it better the other way, too. I'm going to make a 2nd stem for it and also recess it more into the extension. May have time to work on it today.
Any other thoughts or suggestions on it folks?
Posted: Sat Apr 12, 2008 11:26 am
by bscofield
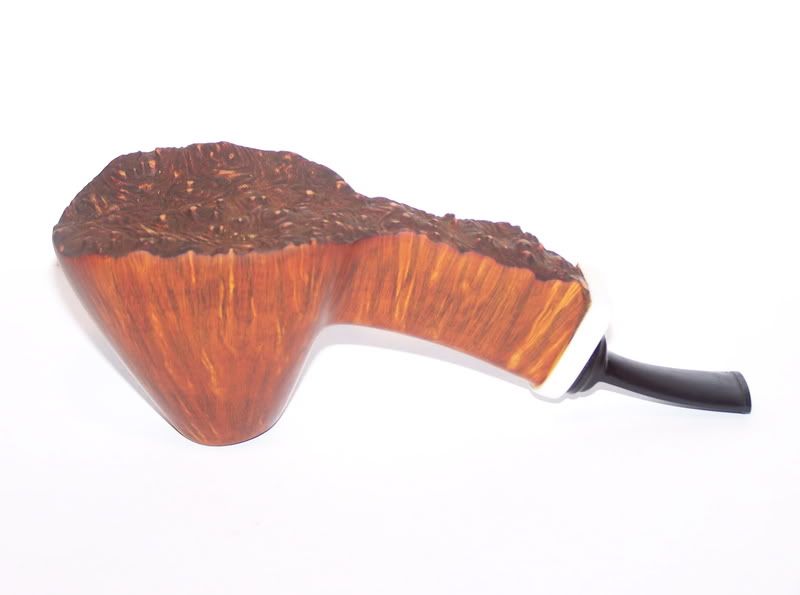
Personally, I'd like to see you rough up the bottom side of the extension...
I agree with Kurt in that the stem looked better when it was shorter (I could leave or take the rounded part, but definitely like it shorter before the saddle).
Another thing that catches my eye is the proportions of the pipe. I think you nailed it on the beefy shank... BUT I think that the bowl narrows down a bit too much and that throws off the proportions just a bit. I think if you had left just a bit more meat on the top and not tapered it so bad that it would have flowed a bit better.
Nice looking pipe tho!! Stem material is ABS?
Posted: Sun Apr 13, 2008 4:31 pm
by souljer
Hi,
Looks cool.
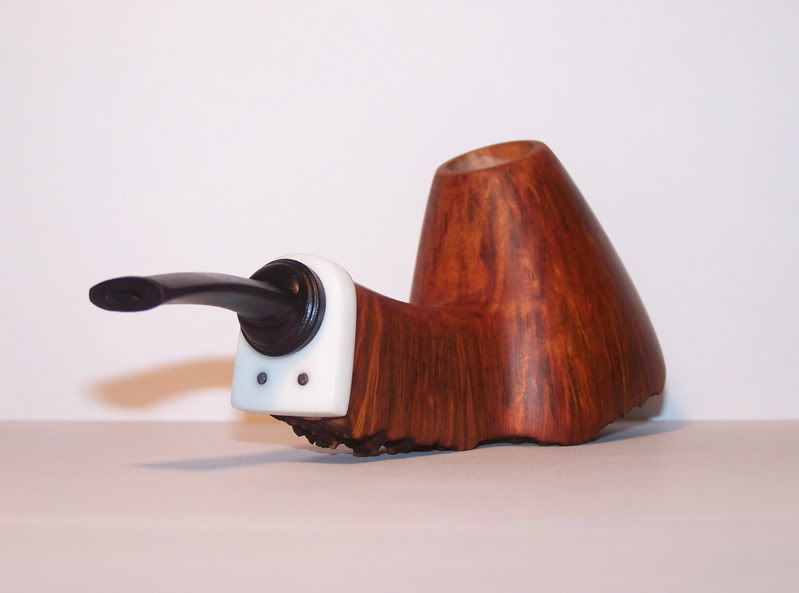
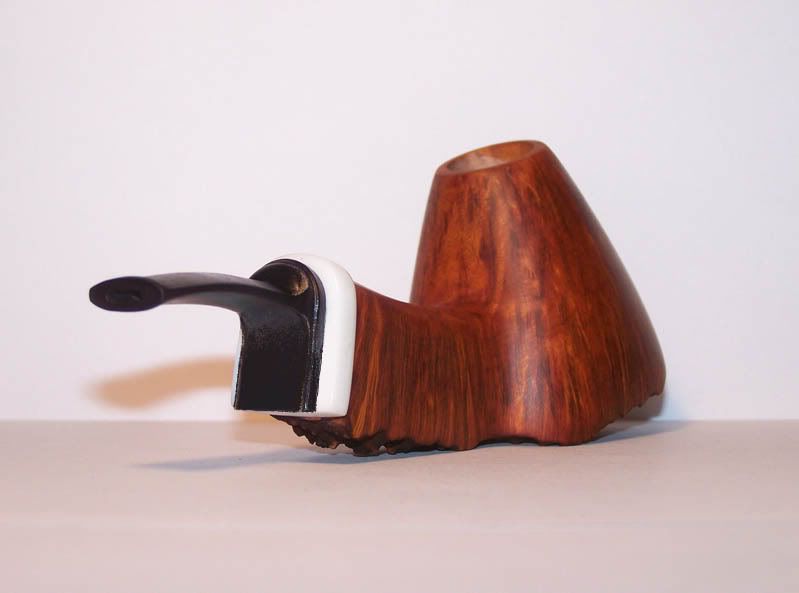
The first saddle was bigger and that suited the massiveness of the shape better than the smaller saddle of bit #2. Notice how the wider saddle comes a lot closer to the edge of the extension at the top and much lower to the screws (or whatever those dots are) at the bottom. The second saddle is also the same depth/thickness (or very close) as the shank extension. This is an error. Make it thicker or about 1/3 the thickness of the extension.
I would make a bit with the wideness of the first saddle but about 1/3 as thick as the extension. I would also make the saddle the same horseshoe shape as the extension and shank. So that there would be a thin line of extension showing all the way around and down the sides. You could cut it short of the bottom (it stays within the extension shape) or let it fall off all the way down which would sort of match the rest of the pipe.
When you carve the saddle don't carve it so sharply. Let it curve gently from the back of the shank to the stem. Your shank is a soft curving "U" shape. Now imagine half the "U" shape and those half shapes could be the top and bottom contours of the saddle to stem transition. Does that make sense?
If you understand that, then at the top you could justify one little extra step where the stem does not melt into the saddle part as it comes up to meet it. Let it come up and at the upper part just be a parallel bevel at the top. The sides of the stem would run straight into the saddle. The bottom would mirror the top, so there might be a little extra bevel or bead as it heads towards the bottom but it's just going to drop off and would look like a step from the side. LOL how's that for a hell of a lot of writing to describe some thing that should look simple and easy!
Okay, I admit that even I have a hard time following that and I wrote it. So I took some time and made this cartoon for you to hopefully see what I am trying to say. Just an idea, not saying this is necessarily the finished version you may want.
Roughing up the bottoms might look good and match the plateaux. Or you could leave the bottom of the bit and extension flat and even and also smooth out a patch near the stem on the wood, where you would put your stamp anyway. Knocking down some of the plateaux might also look nice to keep the rough look, but also show a little of the birds-eye that's no doubt just below the surface. You're not making it flat, just follow the contour of the block but bring it in about an 1/8.
That's all I can think of now. I like the overall shape and idea.
Good job.
Posted: Tue Apr 29, 2008 11:48 pm
by Gig
Great work Hollywood as usual, another lovely pipe :O)
Posted: Mon May 05, 2008 3:45 am
by James Sunderland
it looks even better in person

it was great to meet you dave. i hope that you had a great time. Your a great guy to check out pipes with in 3 in the morning. hit me up sometime...
the_apjames@yahoo.com
Posted: Mon May 05, 2008 11:36 pm
by hollywood
James Sunderland wrote:it looks even better in person

it was great to meet you dave. i hope that you had a great time. Your a great guy to check out pipes with in 3 in the morning. hit me up sometime...
the_apjames@yahoo.com
thanks man! i had a blast! we stayed up WAY too late!! i was wiped out.
i'll certainly be talking to you soon!
hollywoodbriar@gmail.com
Posted: Tue May 06, 2008 6:22 am
by smokepiper
i like that stem work great design, it´s very hard to find proper stems for shapes like that. You made it, gratz!
Posted: Thu May 08, 2008 2:42 pm
by souljer
You had the pipe in Chicago?
Damn. I would have liked to see that in person. You should have brought it to the seminar Wednesday or Thursday.

Got a pic at least?
Posted: Thu May 08, 2008 3:29 pm
by hollywood
Souljer wrote:You had the pipe in Chicago?
Damn. I would have liked to see that in person. You should have brought it to the seminar Wednesday or Thursday.

Got a pic at least?
LOL!! Gunnar, I had the pipe in the seminar BOTH days! Even had it sitting out on the table almost all day Thursday! LOL! See what happens when you get all wrapped up in your work!? I was just thinking that I never got to see your finished pieces. Where's the pics!?!?
BTW - the tamper is the shiznit!!
Posted: Sun May 11, 2008 12:18 am
by souljer
I don't believe it!
Why didn't you say something? I don't even know what you look like, how can I find you to go and see anything?
So what stem did you decide on? Did you make a new stem?
Since you asked about them, I'll post the four I finished there in a separate thread in the Gallery section.
Thanx re: the tamper. I don't know what happened but suddenly everyone was interested. Not complaining though.

