Hi,
Looks cool.
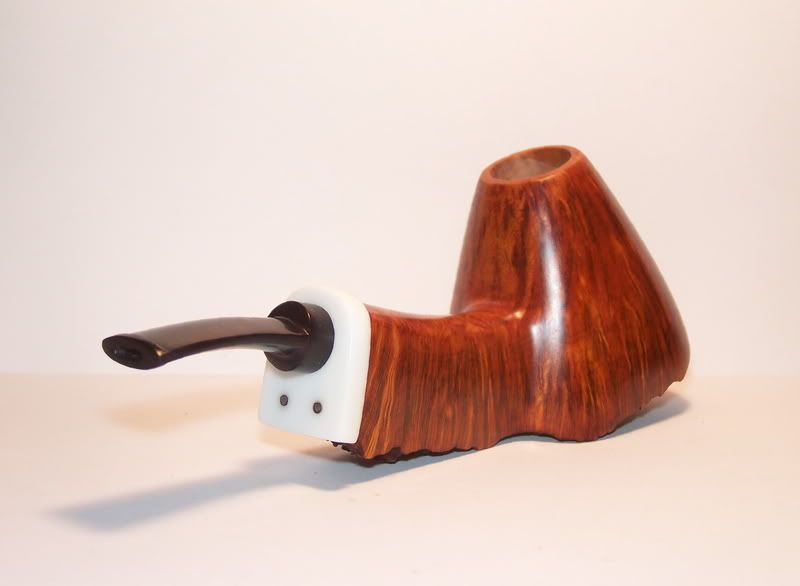
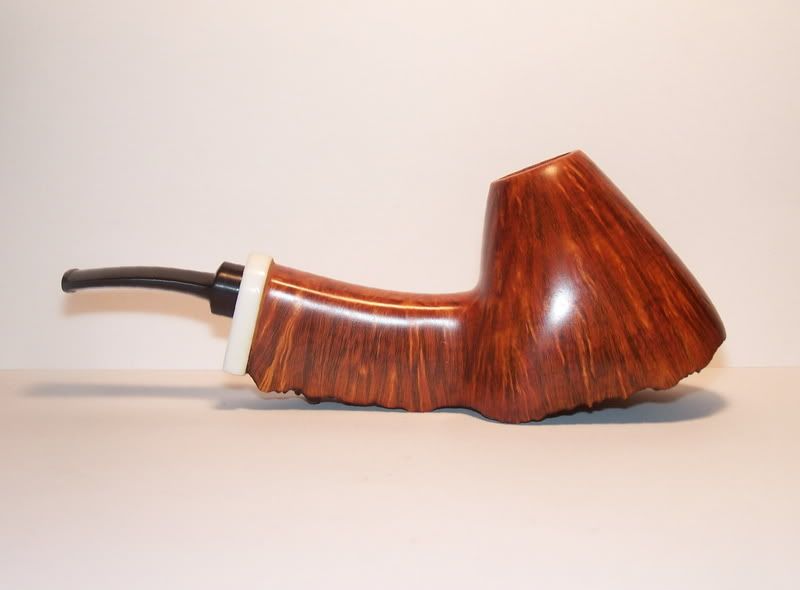
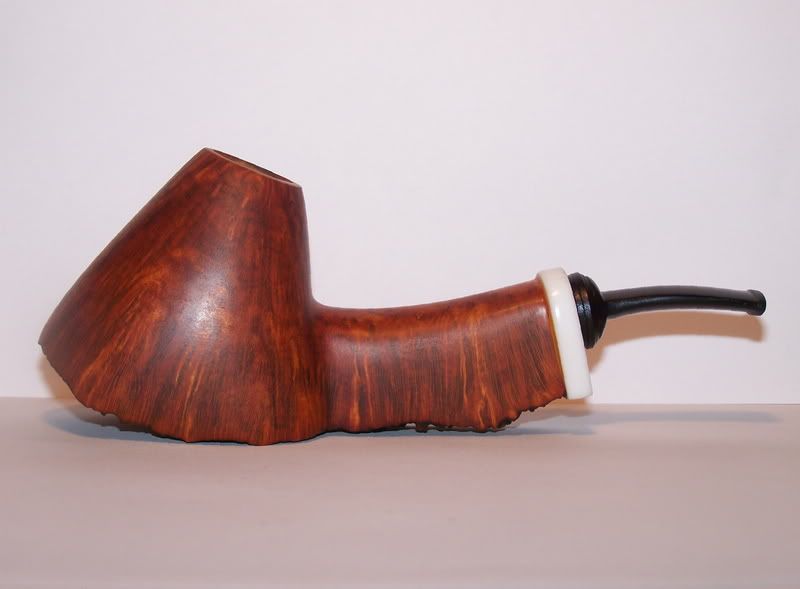
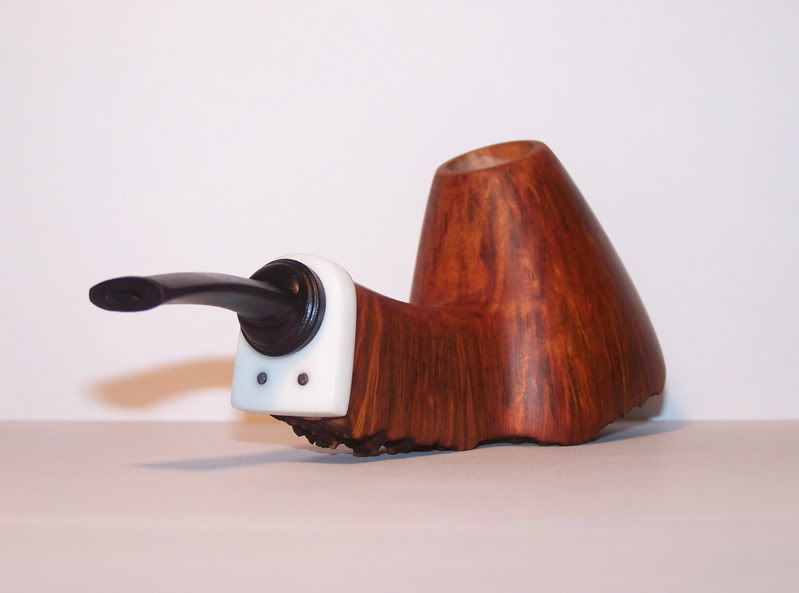
The first saddle was bigger and that suited the massiveness of the shape better than the smaller saddle of bit #2. Notice how the wider saddle comes a lot closer to the edge of the extension at the top and much lower to the screws (or whatever those dots are) at the bottom. The second saddle is also the same depth/thickness (or very close) as the shank extension. This is an error. Make it thicker or about 1/3 the thickness of the extension.
I would make a bit with the wideness of the first saddle but about 1/3 as thick as the extension. I would also make the saddle the same horseshoe shape as the extension and shank. So that there would be a thin line of extension showing all the way around and down the sides. You could cut it short of the bottom (it stays within the extension shape) or let it fall off all the way down which would sort of match the rest of the pipe.
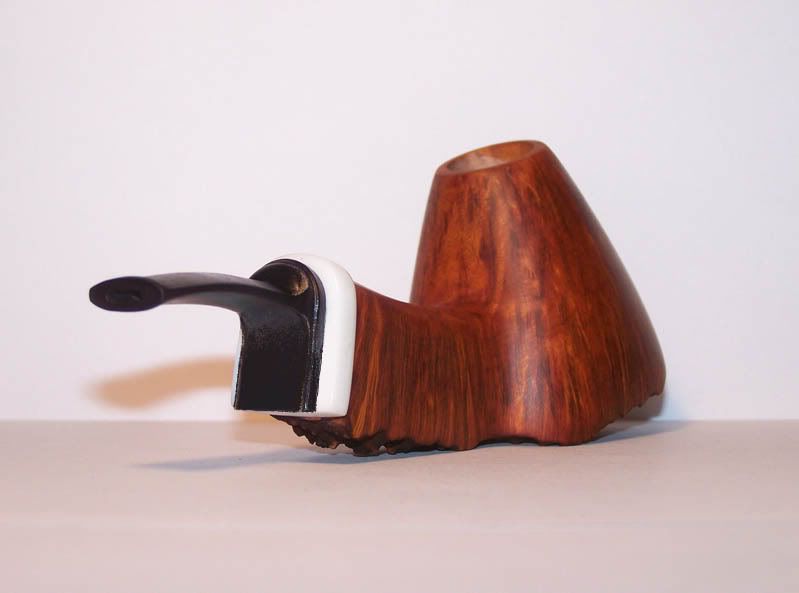
When you carve the saddle don't carve it so sharply. Let it curve gently from the back of the shank to the stem. Your shank is a soft curving "U" shape. Now imagine half the "U" shape and those half shapes could be the top and bottom contours of the saddle to stem transition. Does that make sense?
If you understand that, then at the top you could justify one little extra step where the stem does not melt into the saddle part as it comes up to meet it. Let it come up and at the upper part just be a parallel bevel at the top. The sides of the stem would run straight into the saddle. The bottom would mirror the top, so there might be a little extra bevel or bead as it heads towards the bottom but it's just going to drop off and would look like a step from the side. LOL how's that for a hell of a lot of writing to describe some thing that should look simple and easy!
Okay, I admit that even I have a hard time following that and I wrote it. So I took some time and made this cartoon for you to hopefully see what I am trying to say. Just an idea, not saying this is necessarily the finished version you may want.
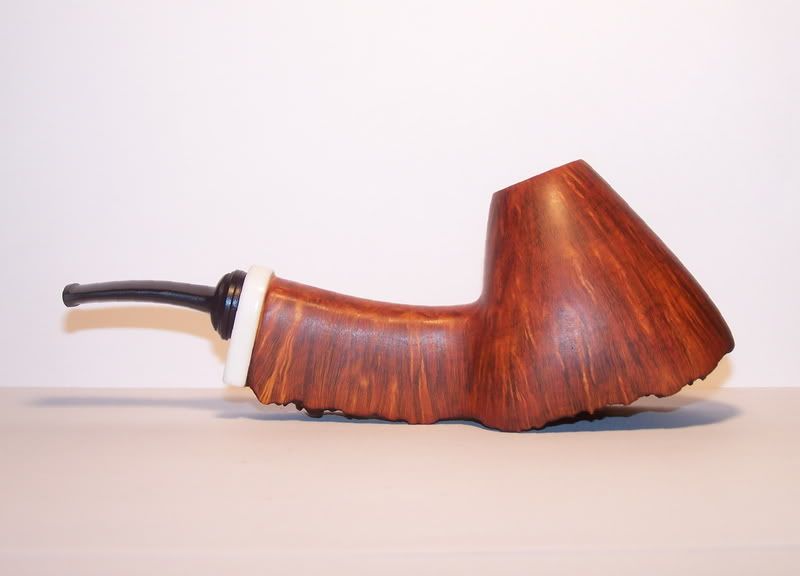
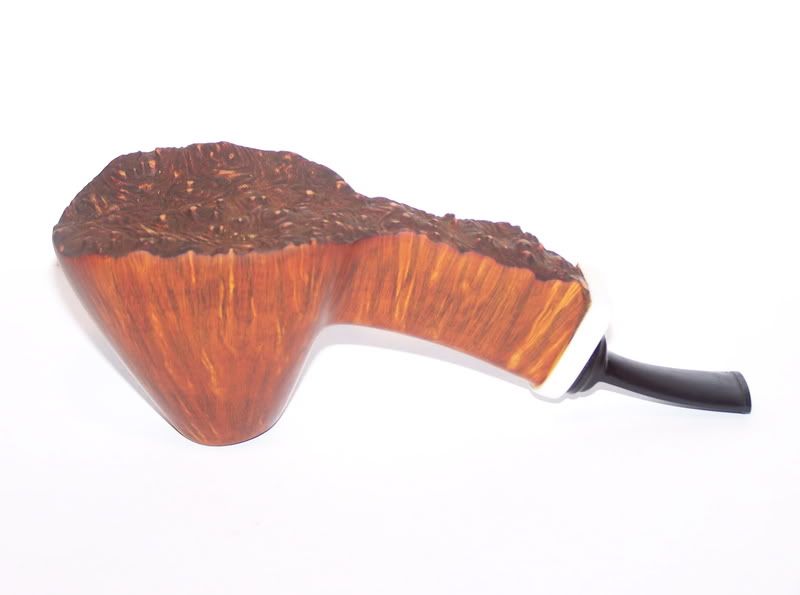
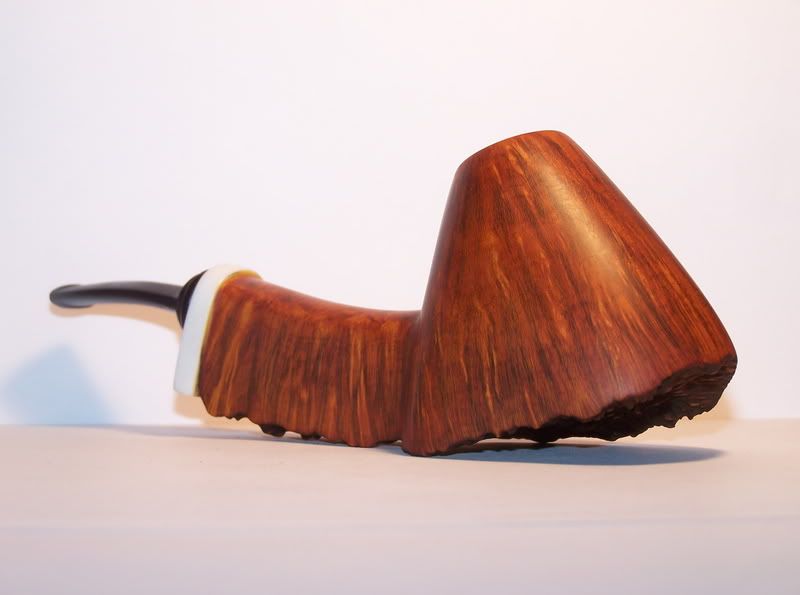
Roughing up the bottoms might look good and match the plateaux. Or you could leave the bottom of the bit and extension flat and even and also smooth out a patch near the stem on the wood, where you would put your stamp anyway. Knocking down some of the plateaux might also look nice to keep the rough look, but also show a little of the birds-eye that's no doubt just below the surface. You're not making it flat, just follow the contour of the block but bring it in about an 1/8.
That's all I can think of now. I like the overall shape and idea.
Good job.

it was great to meet you dave. i hope that you had a great time. Your a great guy to check out pipes with in 3 in the morning. hit me up sometime... the_apjames@yahoo.com