2 more

Want to show you work to the world? Want a place to post photos of your work and solicit the opinions of those that have gone before you? Post your work here.
Post Reply
User avatar
mathias65
Posts: 153
Joined: Wed Feb 24, 2010 2:27 am
Location: Michigan

2 more

Post by mathias65 »

These two pipes are going to be payment to my Uncle in Wisconsin for sending me a box of cherrywood blocks for free.

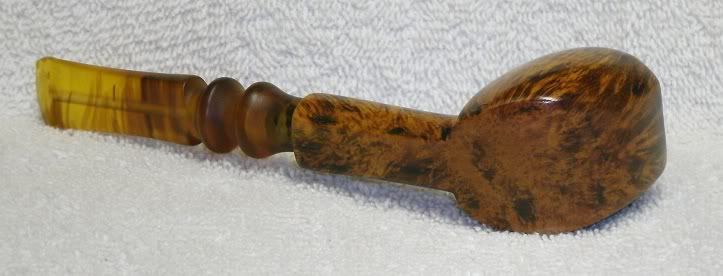
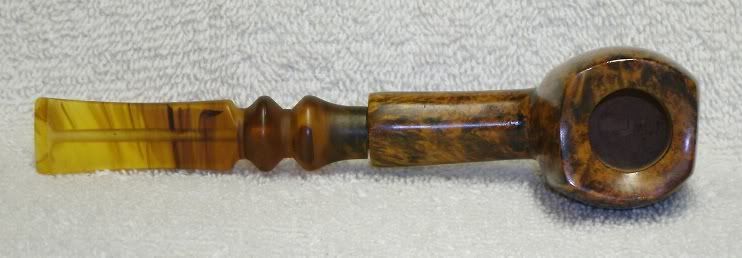
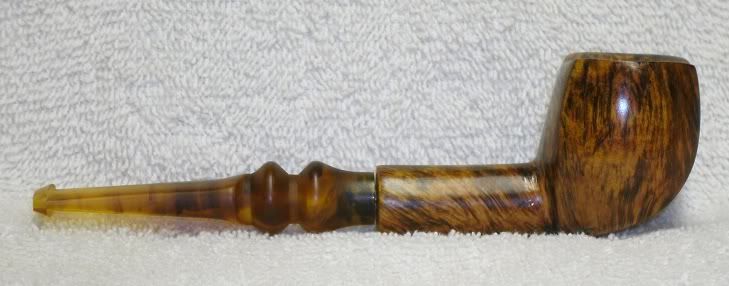
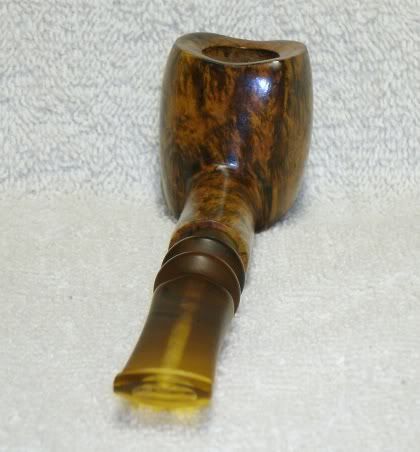
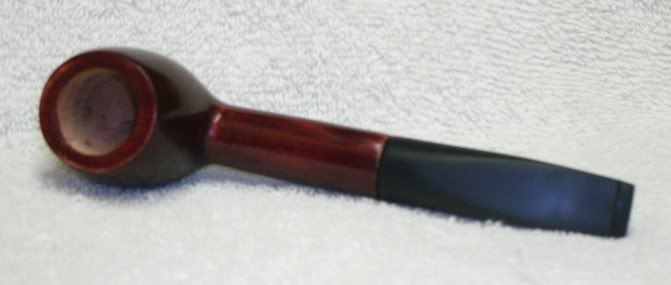
The first is my last kit. Although I'm taking some of the credit for the work as the stem is a repair job (albeit probably not a very good one) of a broken stem from an earlier kit. Because of the delrin tenon I used I also had to redrill the mortise. This one is briar, stained black, and then orange, and then yellow in attempt to somewhat match the stem color.

Image

Image

Image

Image

Image

Image

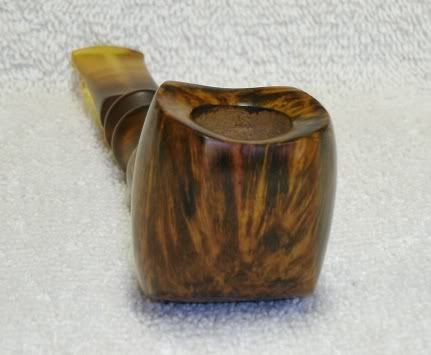
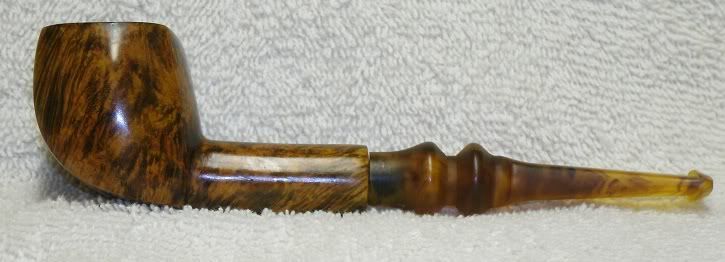
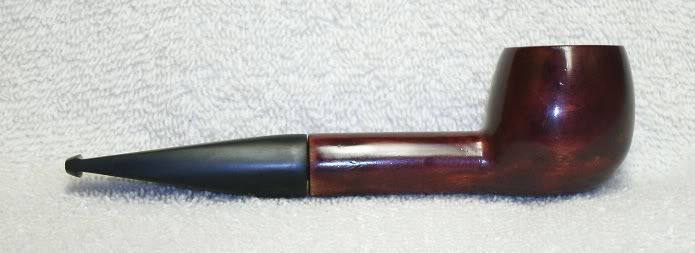
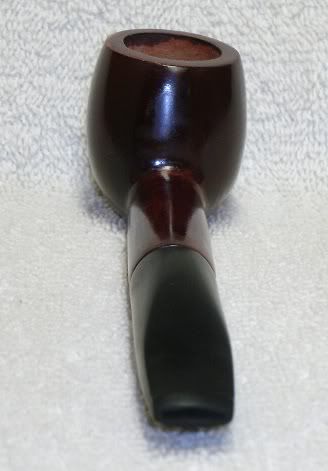
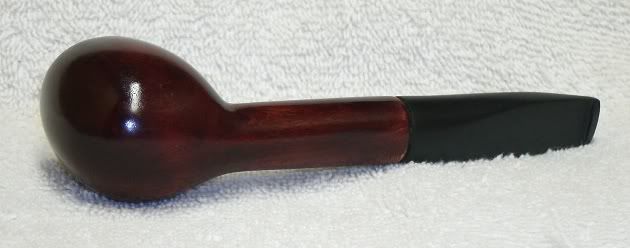
The second pipe is my very first attempt at drilling, and stem making. In other words, my first "real" attempt at pipe making. It is also my first time working with Michigan Cherry Wood. I have enough of it left to make about 24 more, with a huge supply still available in Wisconsin too, so, I suspect there will be alot more of them in the future. I tried for an apple shape, I think I found it. For the record I know there is a gap between the stummel and stem :( I hope to avoid that in the future. As usual, and comments are, of course, welcome and encouraged.

Image

Image

Image

Image

Image

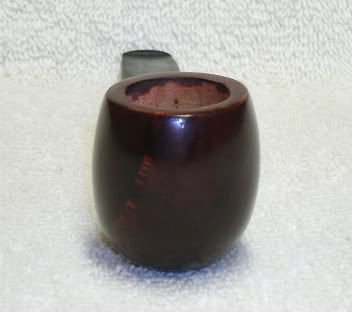
Oh yeah, I still need to sand the excess stain out of the bowl before I send them too. I suppose I should have done that prior to taking the photos. Ah well, live and learn. :)
User avatar
T3pipes
Posts: 252
Joined: Thu Oct 01, 2009 3:57 am
Location: Western Ky

Re: 2 more

Post by T3pipes »

I like the staining on the first pipe. it fits the coloring of the stem very well.
Shaping on the 2nd pipe isn't bad, needs some fine tuning on the symmetry, but it's headed the right direction.

both need more time under the sandpaper however. those stems should glow. most of the sanding, and all of the buffing, should be done with the stem attached.

did you use shellac on these?
User avatar
mathias65
Posts: 153
Joined: Wed Feb 24, 2010 2:27 am
Location: Michigan

Re: 2 more

Post by mathias65 »

T3pipes wrote:both need more time under the sandpaper however. those stems should glow. most of the sanding, and all of the buffing, should be done with the stem attached.

did you use shellac on these?

you're absolutely right about the stem. i still plan on working more with the tripoli, and it hasn't been waxed yet either. honestly, i was so happy about finally having gotten both stummels finished that i took the pics, and then realized i hadn't finished the stem .. doah!

and yes, 2 coats of shellac on the first, 3 coats on the second.
User avatar
Abi Natur
Posts: 401
Joined: Sat Feb 20, 2010 7:45 am
Location: Montenegro- Bar
Contact:

Re: 2 more

Post by Abi Natur »

Nice progress you make and i am shure your uncle will be happy with this payment :D . I have to agree with T3pipes remarks,keep it on and practise your hands.
" Keep it simple until it gets complicated "

http://www.canaanpipes.com/
Post Reply