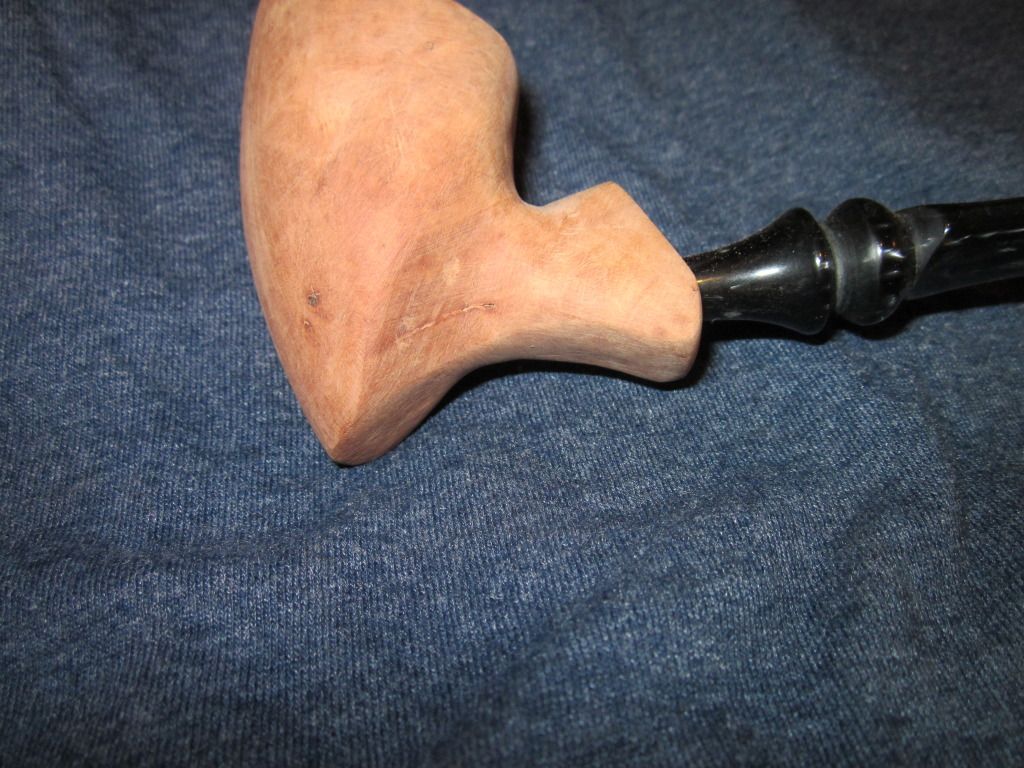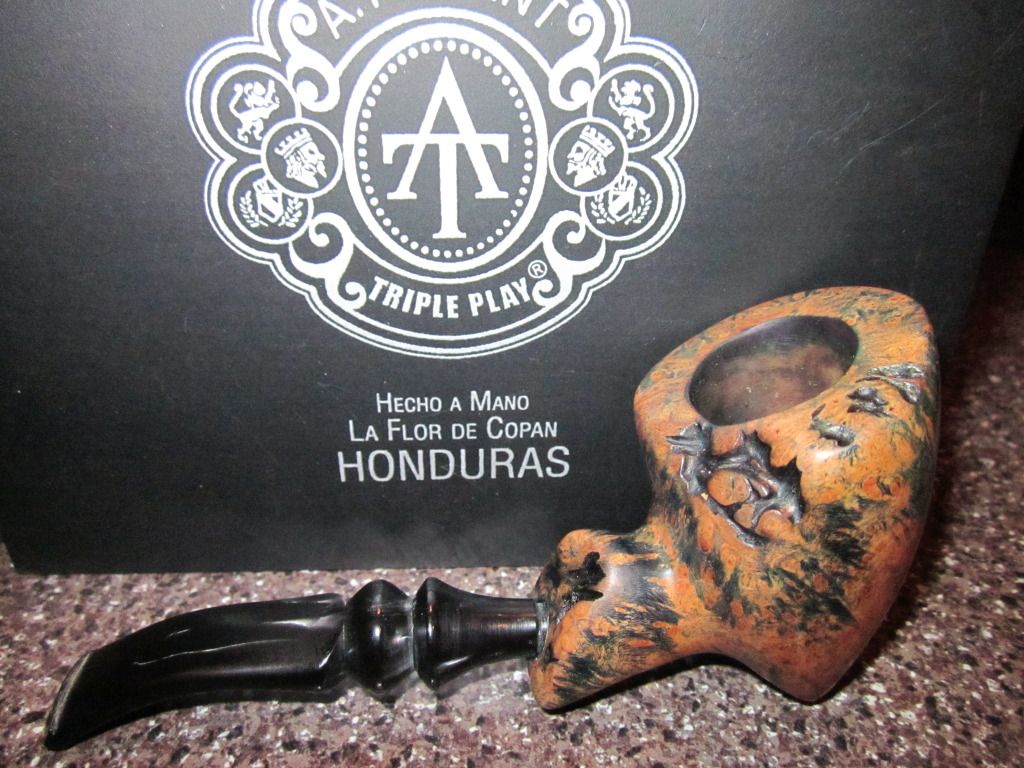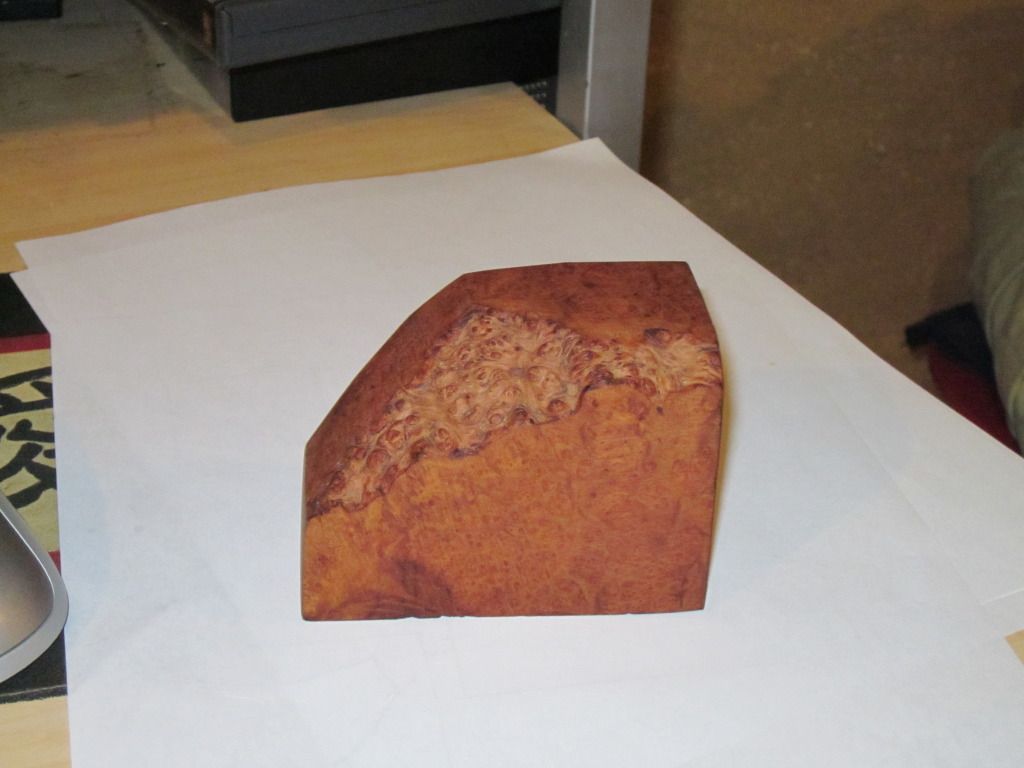
Picked up this beautiful block last week, and spent a couple days figuring out what I wanted to make with it. I knew I wanted to incorporate as much of the edge (sorry, don't know the term, plateau maybe?) when I made the pipe.
Also, this was my first time drilling out the block, first pipe was made from a Pimo pre-drilled kit. So, Drew out my shape, and got to drilling and sawing!
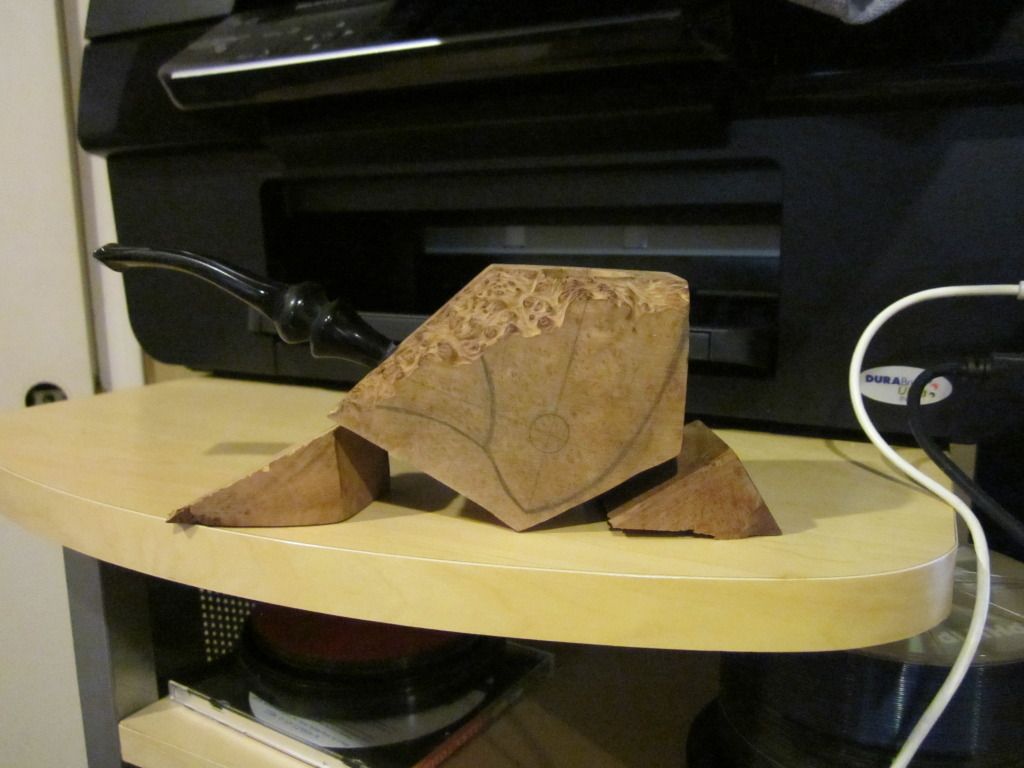
Tonight when I got home I was jazzed! Beautiful weather, kids are outside playing with their friends, daddy gets some pipe time! Put a new belt on the sander... mental note, don't use a 36 grit belt EVER AGAIN! Oh, it's AMAZING at chewing through the wood at record pace to get to your lines, but it GOUGES the wood something fierce. Stepped it up to a 60, and to a 100 grit belt and I'm still hand sanding 2 hours later with 100 grit chasing scratches... lesson learned, belt thrown away.
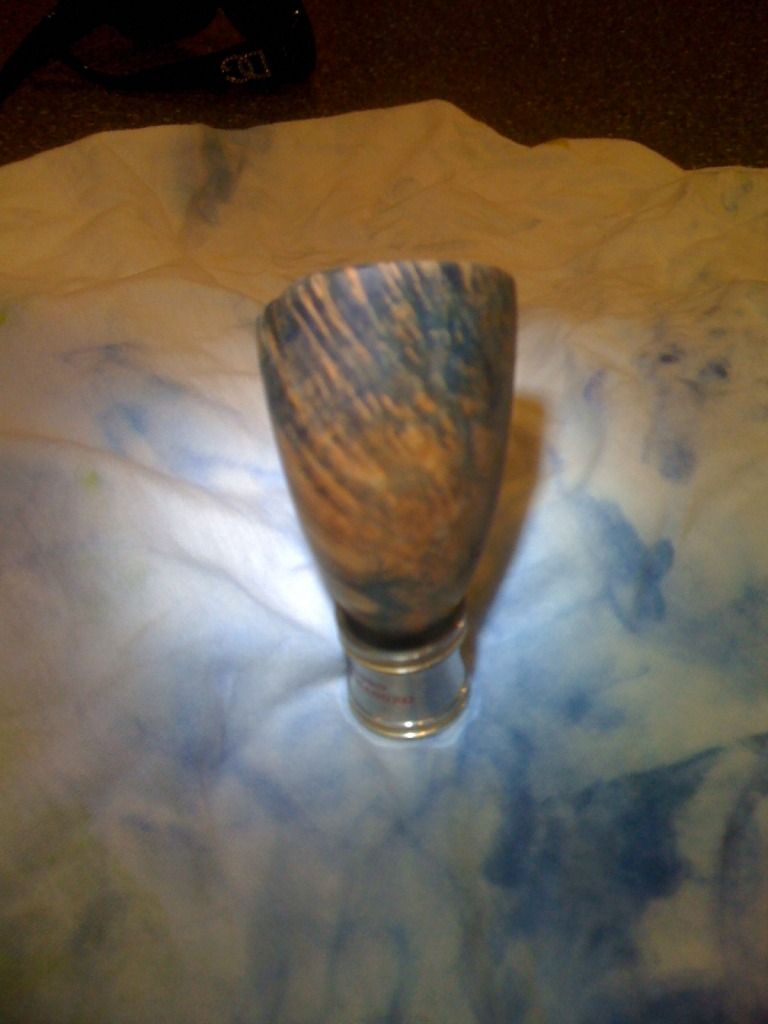
While shaping with the dremel and 100 grit belt sander:
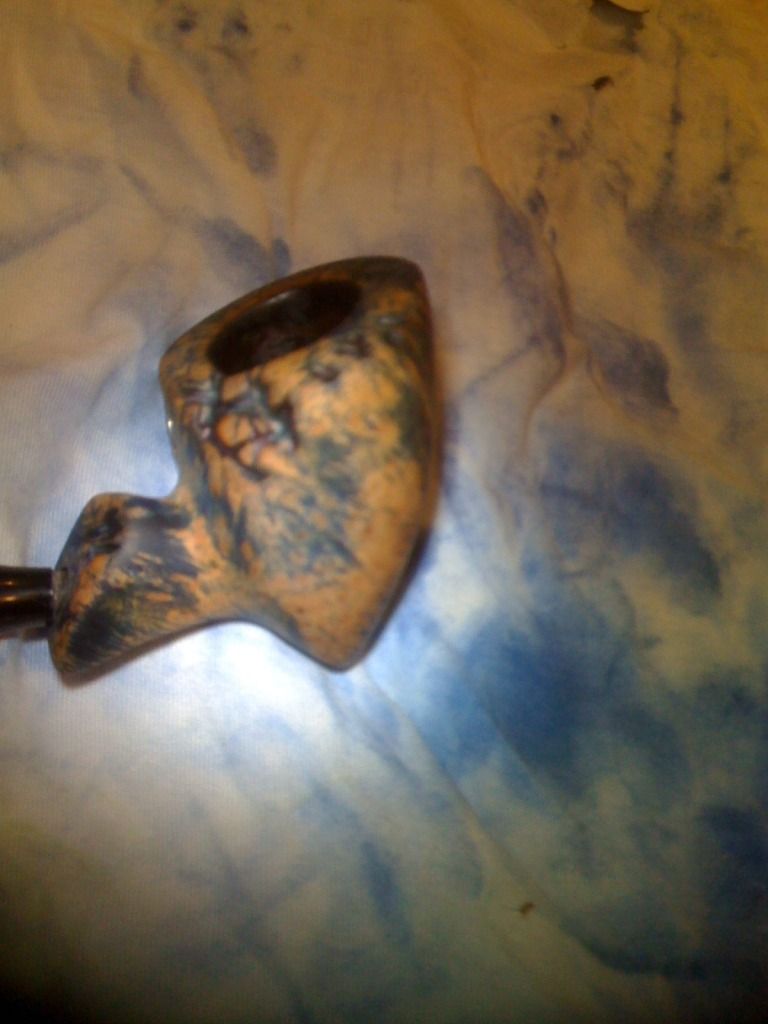
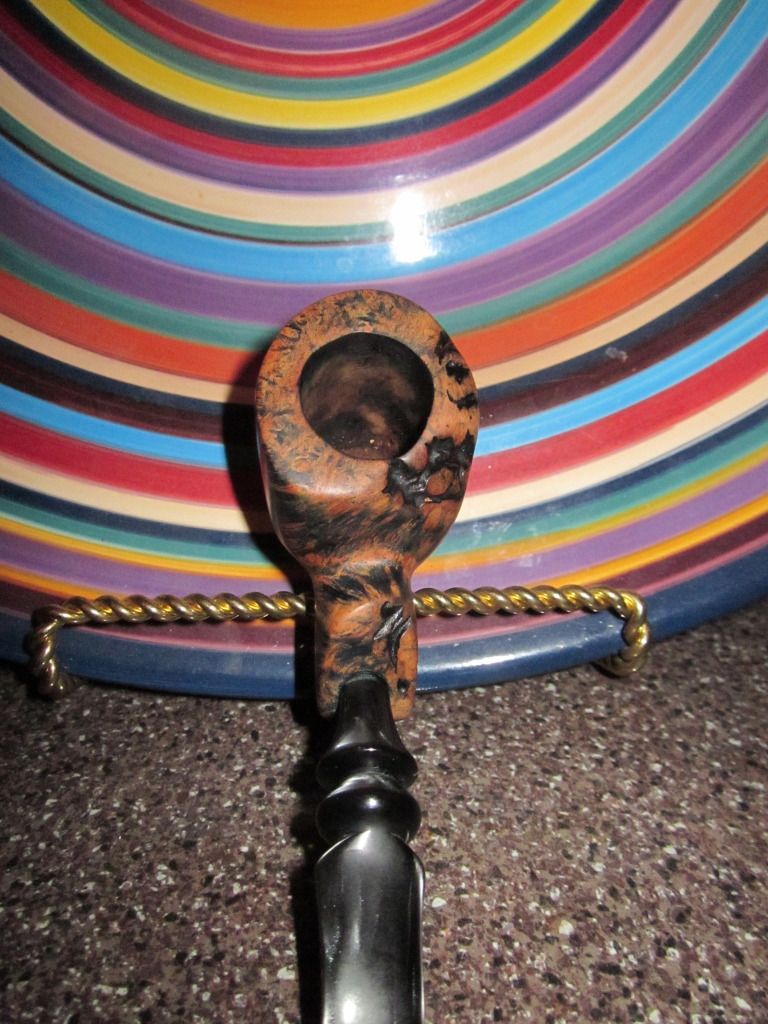
Oh, what are those 3 little dots ... _____ _________ CRAPPIT! It doesn't go all the way to the bowl (at least that I can see from the inside) but it's still there, I'm afraid to remove any more material. This thing is FULL of pits/crap/junk which is a shame, because I was FLYING along on it. I count 11 pits on this thing (counting that long line as one :p )
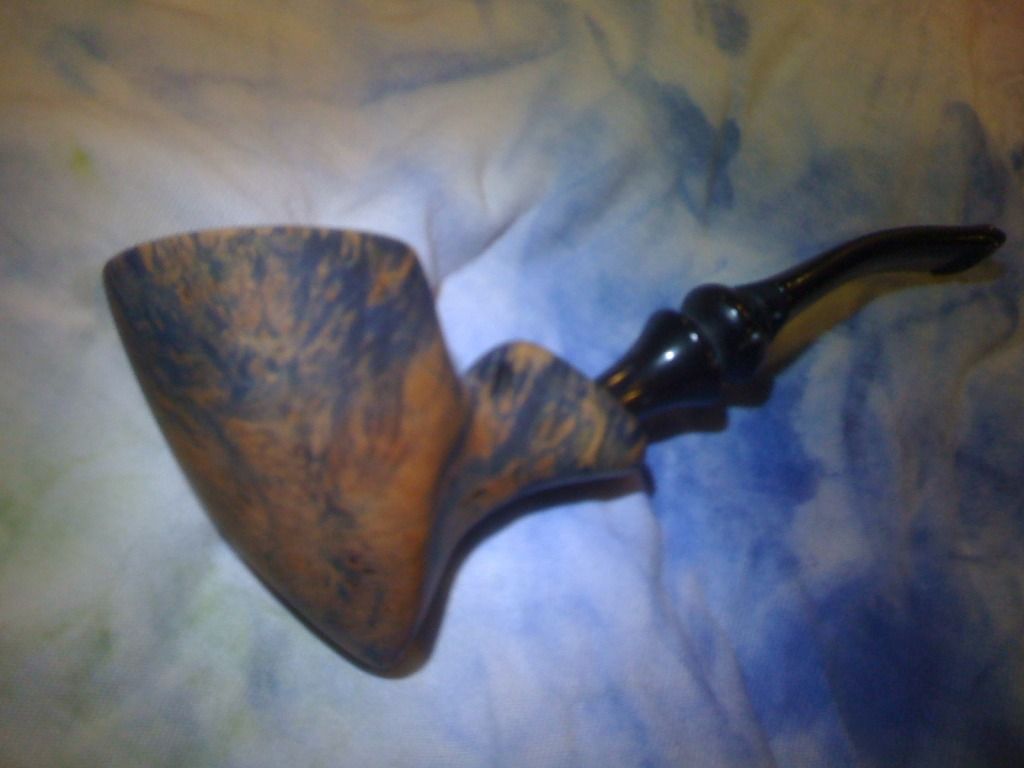
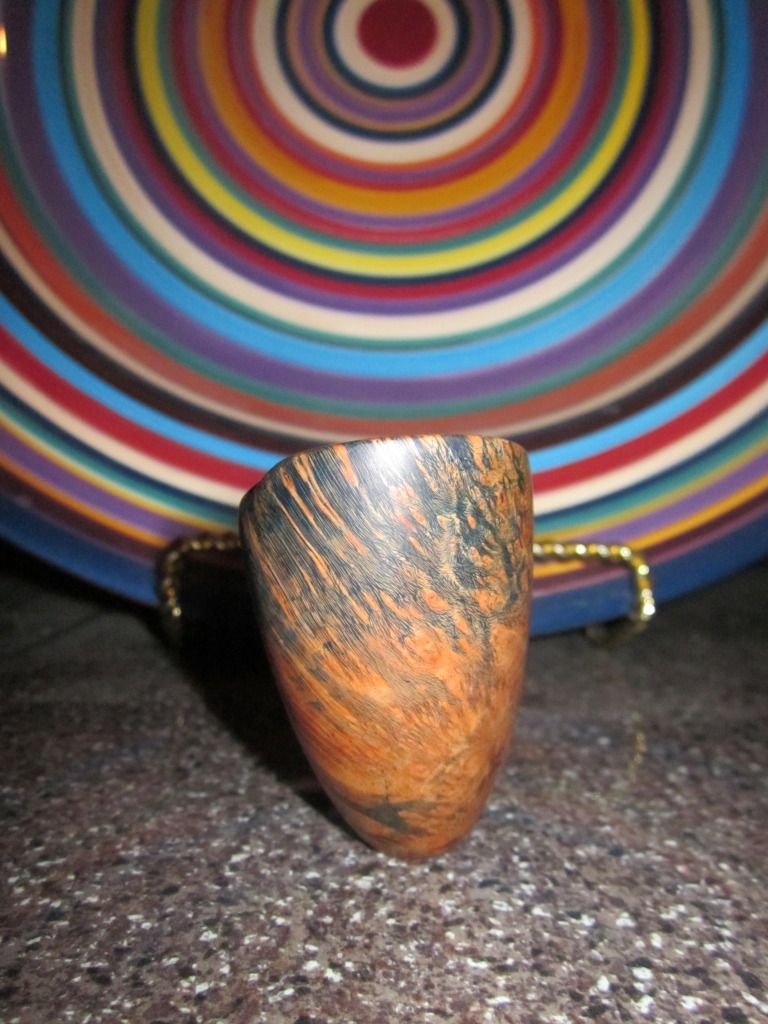
Pretty side:
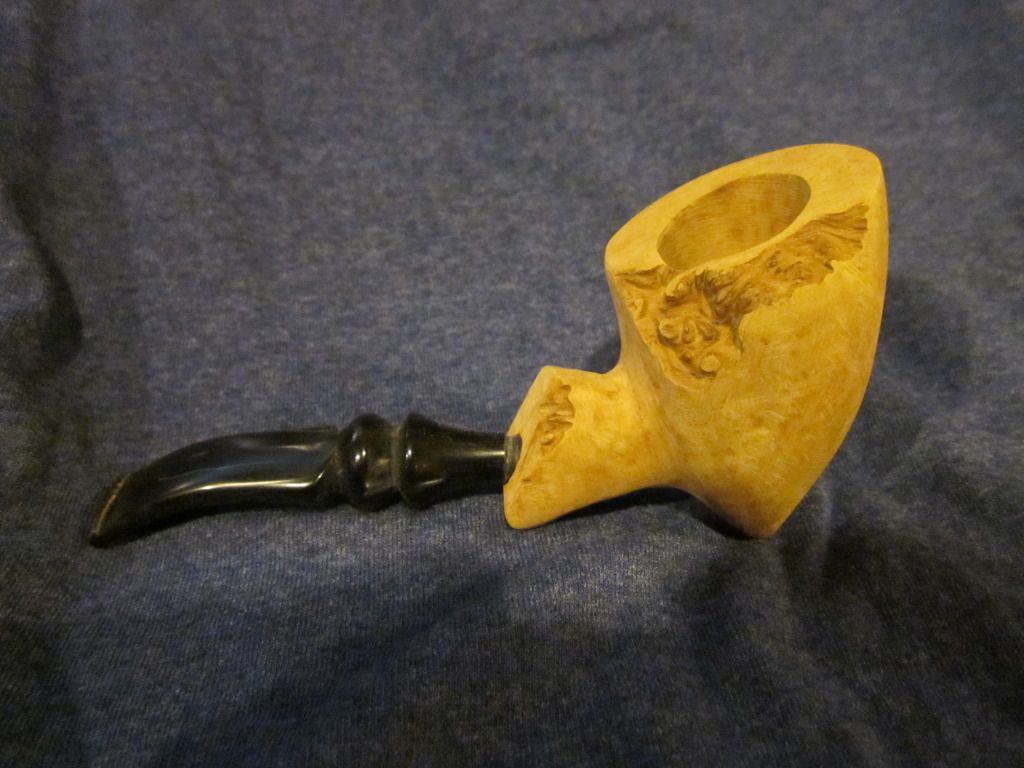
Pitty side: